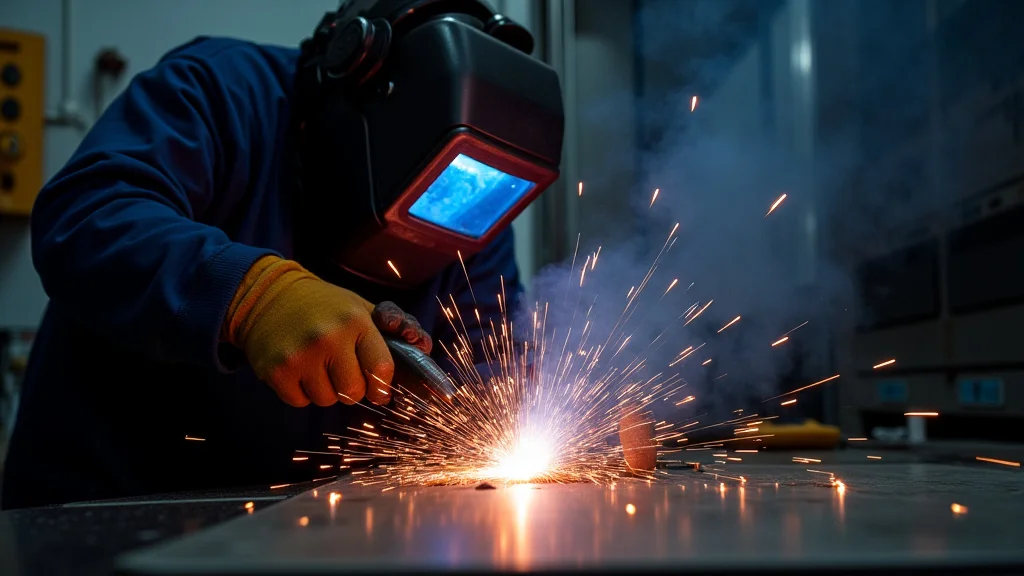
Learning to MIG weld can feel a bit tricky at first, and many people wonder about What Are the Common MIG Welding Mistakes? It’s okay if you find it challenging; lots of beginners do! The good news is, most of these problems are easy to fix once you know what to look for. We’ll walk through them simply, step-by-step, so you can weld like a pro.
Get ready to learn the secrets to perfect welds.
Key Takeaways
- Incorrect wire feed speed causes many welding issues.
- Proper gun angle is essential for good weld penetration.
- Shielding gas problems lead to weak and porous welds.
- Travel speed affects the weld bead’s width and appearance.
- Electrical grounding is critical for a complete circuit.
- Machine settings must match the metal thickness being welded.
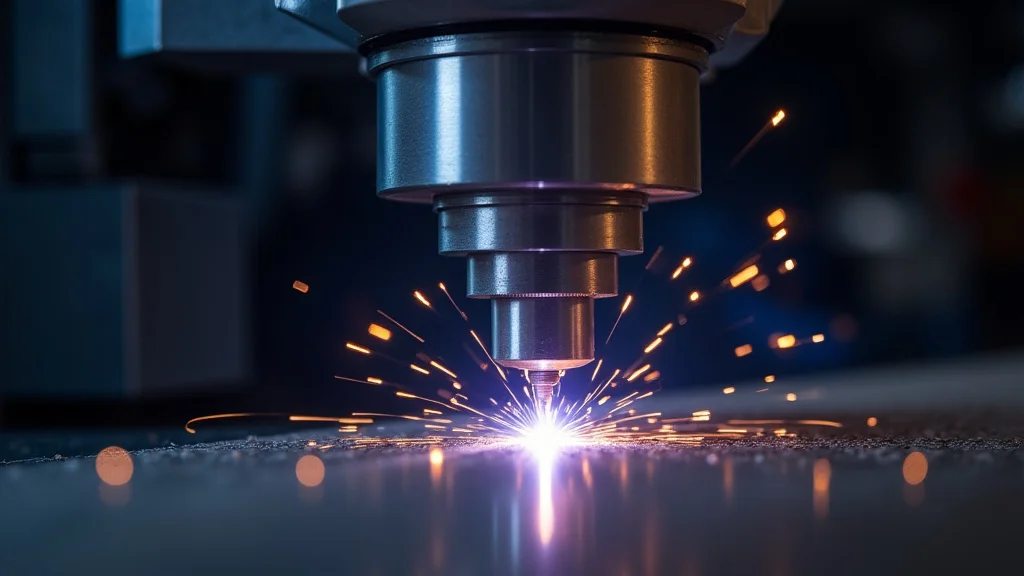
Understanding MIG Welding Basics
MIG welding, also known as Gas Metal Arc Welding (GMAW), is popular because it’s generally easier to learn than other welding types. It uses a continuous wire electrode that melts and joins two pieces of metal. A shielding gas flows from the torch to protect the molten metal from the air.
When it works, it’s smooth and effective. But when it doesn’t, it can create a mess of bad welds.
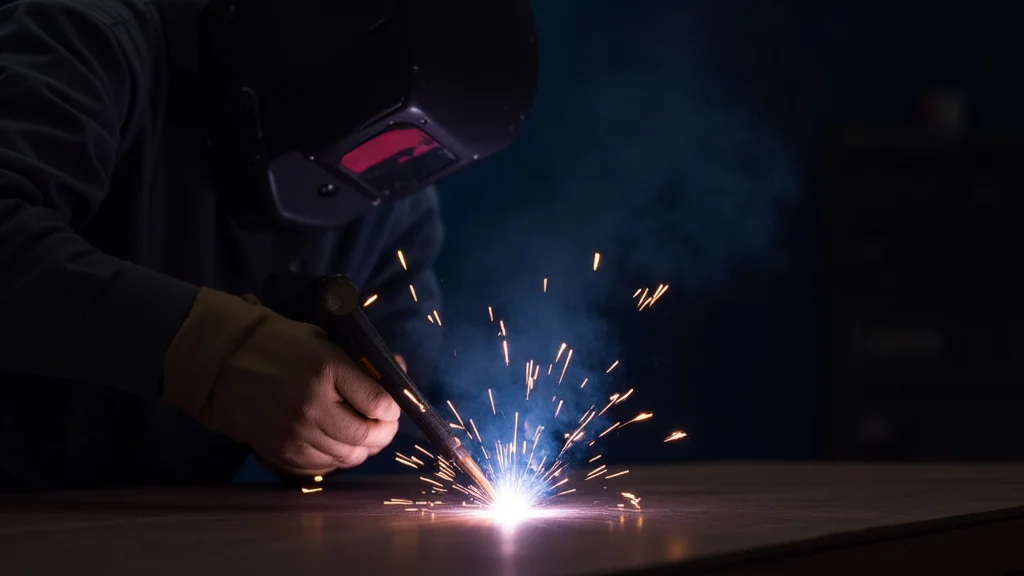
Common MIG Welding Mistakes and How to Fix Them
Let’s break down the common problems beginners run into and how to get them right. Most issues stem from a few key areas.
1. Wire Feed Speed Problems
This is one of the most frequent culprits for poor welds. If the wire feeds too fast, it can jam or create a spatter-filled weld. If it’s too slow, the arc might be weak and unstable.
You might also get a “bird’s nest” where the wire tangles at the drive rolls.
Too Fast Wire Feed
When the wire goes too fast, it can push out of the weld pool faster than it can melt. This results in a weak, often lumpy weld bead. You’ll see a lot of spatter, which is molten metal that has been blown away from the weld.
Too Slow Wire Feed
A slow wire feed makes the arc too long. The wire might not feed into the joint effectively. This can lead to incomplete fusion, where the metal doesn’t join properly.
The weld will be weak and easily breakable. You might also notice the arc sputtering and unstable.
Fixing Wire Feed Issues
The best way to fix this is to use your machine’s recommended settings as a starting point. Most MIG welders have a chart that suggests wire speed and voltage based on the thickness of the metal you’re welding. Always start with these recommendations.
Then, make small adjustments. Listen to the sound of the arc; it should be a steady sizzle, not a harsh crackle or a weak hiss. You can also watch the wire feed; it should come out smoothly and consistently.
2. Incorrect Gun Angle
The angle of your MIG gun makes a big difference in how well the weld penetrates the metal. Pushing or pulling the gun the wrong way can lead to a weak weld that doesn’t fuse properly.
Push vs. Pull Technique
For most MIG welding, you’ll want to use a “push” technique. This means you’re pushing the gun forward, away from the direction you’re traveling. A slight forward angle, usually around 5-15 degrees, helps the shielding gas flow correctly and allows for better visibility of the weld pool.
Pushing also creates a wider, flatter bead.
The “pull” technique, where you drag the gun backward, can create a narrower, more peaked bead. It’s sometimes used for specific applications or on thicker materials for deeper penetration. However, it can also lead to more spatter and can trap more impurities in the weld if not done carefully.
Consequences of Wrong Angle
If your gun angle is too extreme in either direction, you might not get good fusion. The weld might be too shallow, or the shielding gas might not protect the molten metal, leading to porosity (tiny holes) in the weld. An incorrect angle can also make it harder to control the weld pool, resulting in an uneven bead.
Setting the Right Angle
Aim for a slight push angle. Imagine you’re “painting” the weld bead onto the metal. Keep the angle consistent as you move.
You’ll get a feel for what feels right over time. Watch how the weld pool forms and adjust your angle slightly until you see good fusion and a smooth bead.
3. Shielding Gas Problems
The shielding gas is vital. It protects the molten weld pool from oxygen and nitrogen in the air, which can make the weld brittle and weak. If the gas isn’t flowing correctly, or if you’re using the wrong type of gas, your welds will suffer.
Insufficient Gas Flow
If the gas flow is too low, the shielding gas won’t create a large enough “cup” of protection around the arc. This allows air to get in, causing porosity and contamination. You’ll see lots of little holes in your finished weld, making it weak.
Too Much Gas Flow
On the other hand, too much gas flow can cause turbulence. This turbulence can actually pull air into the weld pool, defeating the purpose of the gas. It can also blow the molten metal away, creating an uneven bead and poor appearance.
You might notice the flame from the torch seems to be blowing around erratically.
Wrong Type of Gas
Different metals require different shielding gases. For steel, a common mix is 75% Argon and 25% CO2. For aluminum or stainless steel, you’ll need different mixtures, often with pure Argon or Argon/Helium mixes.
Using the wrong gas for the material won’t provide adequate protection and will result in a poor weld.
Fixing Gas Flow and Type
Check your gas regulator settings. A good starting point for most steel is around 15-25 cubic feet per hour (CFH). You can test your flow by squeezing the trigger on the gun (without welding) and holding it a few inches from your face.
You should feel a steady flow of gas. Also, ensure your gas cylinder valve is fully open. Always refer to your welding machine’s manual or the metal manufacturer’s recommendations for the correct gas type.
4. Incorrect Travel Speed
The speed at which you move the MIG gun along the joint affects the weld bead’s size, shape, and penetration. Moving too fast or too slow creates problems.
Too Fast Travel Speed
When you move too fast, the weld bead will be narrow and have a high crown. There won’t be enough time for the metal to melt and fuse properly. This results in a weak weld with poor penetration.
It might look like a thin bead sitting on top of the metal rather than being fused into it.
Too Slow Travel Speed
Moving too slowly allows too much heat to build up in one spot. This can cause the metal to burn through, especially on thinner materials. It can also lead to a wide, flat, and often ‘washy’ looking bead that doesn’t have good structural integrity.
The weld might be excessively large and not neat.
Finding the Right Speed
The ideal travel speed creates a bead that is about 1.5 to 2 times as wide as your wire diameter. Aim for a steady, consistent movement. Listen to the sound of the arc; a consistent sizzle usually means you’re at the right speed.
Watch the weld pool and try to keep it a consistent size and shape as you move. Practice on scrap metal to get a feel for it.
5. Poor Electrical Grounding
A good electrical ground clamp connection is absolutely essential for MIG welding. If the connection is poor, you won’t have a complete circuit, and the welding arc will be unstable or won’t even start.
Loose Ground Clamp
A ground clamp that isn’t firmly attached to the workpiece or the welding table can cause a weak connection. This leads to an unstable arc and potential spatter. The electricity can’t flow smoothly to create the weld.
Dirty or Rusted Surfaces
The ground clamp needs to make direct contact with clean metal. If the surface where you attach the clamp is painted, rusted, or covered in dirt or grease, the connection will be poor. This can cause arcing at the clamp itself, which is dangerous and inefficient.
Incorrect Grounding Location
The ground clamp should be as close to the welding area as possible. A long distance between the clamp and the weld can create resistance, leading to a weaker arc and more voltage drop. Ensure the clamp is on the actual workpiece you are welding, not just a nearby piece of metal that might not be electrically connected.
Ensuring a Good Ground
Always clean the surface where you attach the ground clamp. Use a wire brush to remove paint, rust, or debris. Make sure the clamp is firmly tightened.
If you’re welding multiple pieces together, ensure they are all connected to the ground clamp or are in direct contact with the grounded workpiece.
6. Improper Machine Settings
MIG welders have several settings, including voltage and wire speed. Choosing the wrong settings for the material thickness and type is a common mistake.
Voltage Too High or Too Low
Voltage controls the arc length. If the voltage is too high, the arc will be long and “washy,” leading to a wide, flat bead with poor penetration. If the voltage is too low, the arc will be short and “stubby,” resulting in a tall, narrow bead with limited penetration and lots of spatter.
It can also lead to a “cold” weld that isn’t properly fused.
Wire Speed Mismatch
As discussed earlier, wire speed controls the heat input. If it’s not matched with the voltage and material thickness, you’ll get issues like poor penetration, excessive spatter, or burn-through. The wire speed and voltage work together; changing one often requires adjusting the other.
Material Thickness Matters
Thicker metals need more heat (higher voltage and wire speed) to melt through and fuse properly. Thinner metals require less heat to avoid burning through. Always consult your machine’s guide or welding charts for recommended settings based on the metal’s thickness.
Setting the Machine Correctly
Start with the manufacturer’s recommended settings for your material. For example, if you’re welding 1/8 inch steel, find the recommended voltage and wire speed for that thickness. Make small adjustments based on the results you see.
A good weld should have a consistent bead width, good penetration, and a smooth, sizzle-like sound.
7. Contaminated Base Metal
Just like with grounding, the material you’re welding needs to be clean for a good weld. Grease, oil, dirt, rust, or paint can contaminate the weld pool.
How Contamination Affects Welds
When contaminants get into the molten weld pool, they can cause porosity, reduce the weld’s strength, and lead to cracks. They can also create surface defects that look bad and weaken the joint.
Cleaning the Metal
Always clean the metal before welding. Use a wire brush or a grinder to remove rust, paint, and heavy grease. For oily or greasy surfaces, use a degreaser or solvent cleaner.
The cleaner the metal, the stronger and cleaner your welds will be.
8. Incorrect Stick-Out
The “stick-out” is the length of the welding wire that extends beyond the contact tip of the MIG gun. This length affects the heat and penetration of your weld.
Too Long Stick-Out
A longer stick-out (more wire exposed) means the electricity has to travel further, increasing resistance and heat. This can lead to a softer arc, more spatter, and less penetration. It can also make it harder to control the weld pool.
Too Short Stick-Out
A very short stick-out (wire almost touching the tip) can restrict the flow of electricity. This can lead to a “stiff” arc, poor penetration, and a lot of spatter. It can also cause the contact tip to overheat and get clogged with molten metal.
The Ideal Stick-Out
For most steel welding, a stick-out of about 1/4 to 1/2 inch is ideal. It provides a good balance of heat input and control. Keep this distance consistent as you weld.
You can measure it by holding the gun against the metal and seeing how much wire sticks out.
Frequently Asked Questions
Question: Why is my MIG weld so spattery?
Answer: Excessive spatter is often caused by incorrect wire feed speed, too high voltage, wrong gun angle, or dirty metal. Try adjusting your wire speed and voltage settings, ensure a clean welding surface, and maintain the correct gun angle.
Question: My MIG welds are not penetrating the metal. What am I doing wrong?
Answer: Poor penetration usually means not enough heat. Check that your voltage and wire speed are set correctly for the material thickness. Ensure your ground clamp is making good contact and that your stick-out isn’t too long.
Question: What is the difference between pushing and pulling a MIG gun?
Answer: Pushing the gun means moving it forward, away from the weld pool, creating a wider bead and better gas coverage. Pulling the gun means dragging it backward, which can create a narrower, more peaked bead but may lead to more impurities.
Question: How do I know if I’m using the right shielding gas?
Answer: The type of shielding gas depends on the metal you’re welding. Steel typically uses an Argon/CO2 mix, while aluminum often uses pure Argon. Check your machine’s manual or material supplier for the correct gas recommendations.
Question: My MIG wire keeps jamming. What should I do?
Answer: Wire jamming can be due to kinks in the wire, incorrect tension on the drive rolls, or a bent liner in the MIG gun. Check your wire spool for tangles, adjust the drive roll tension, and inspect the gun liner for obstructions.
Final Thoughts
Fixing common MIG welding mistakes is all about paying attention to a few key things. Getting your wire speed and voltage right, holding the correct gun angle, and making sure your shielding gas is flowing properly are big steps. Always start with clean metal and a solid ground.
Practice makes perfect, so keep at it. You’ll get better welds with every attempt.