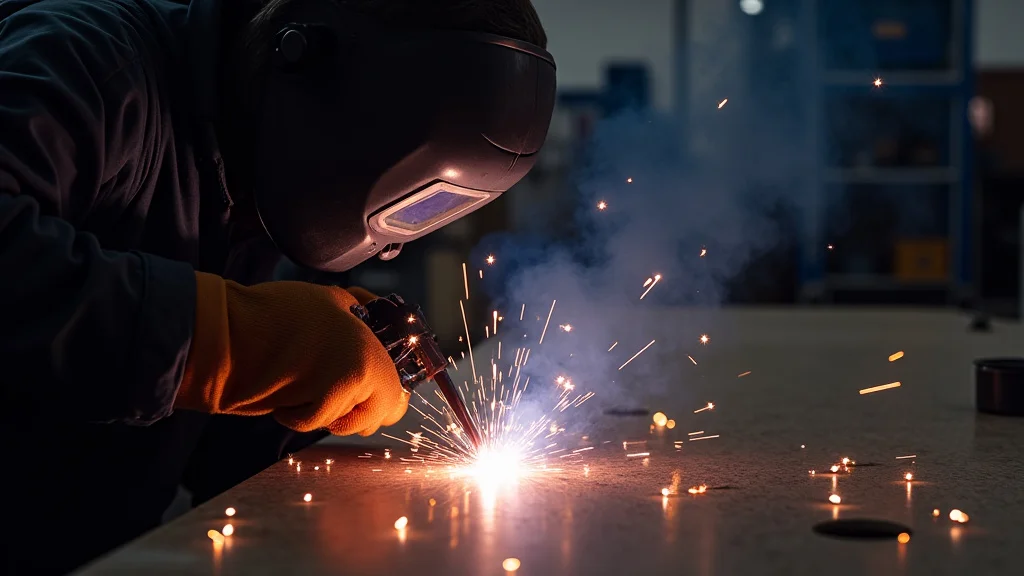
Welding metal can sometimes cause it to bend or warp, which is called distortion. If you’re new to welding, figuring out How Do You Prevent Welding Distortion on Metal? can seem tricky. But don’t worry!
This guide will show you simple steps to keep your metal flat. We’ll cover easy tips to help you weld without unexpected shape changes. Let’s get started on making your welding projects look great.
Key Takeaways
- Understanding how heat affects metal is key to preventing distortion.
- Clamping and holding metal firmly stops it from moving during welding.
- Welding in a specific order, like back-stepping, helps control warping.
- Using the right amount of heat and weld size makes a big difference.
- Proper planning and preparation are essential for minimizing distortion.
- Cooling methods can also play a role in managing metal’s shape.
Understanding Welding Distortion
Why Does Metal Warp When Welded?
When you weld, you’re applying a lot of heat to the metal. This heat causes the metal to expand. As it cools down, it shrinks.
This expansion and shrinking process puts a lot of stress on the metal. If the metal can’t handle this stress evenly, it will bend or warp. Think of it like a piece of paper you heat up; it might curl.
Metal does something similar, but much stronger.
Different types of metals behave differently. Some metals expand and shrink more than others. The thickness of the metal also matters.
Thicker metal can resist warping more than thin metal. However, even thick metal can distort if the heat is not managed well.
Types of Welding Distortion
There are a few main ways metal can distort:
Longitudinal Distortion
This happens along the length of a weld seam. The metal pulls and buckles in one direction.
Transverse Distortion
This distortion happens across the width of the welded piece. It often looks like the metal is bending or cupping.
Angular Distortion
This is when the pieces of metal change their angle relative to each other. Imagine two flat pieces that are supposed to be at a 90-degree angle, but one starts to tilt after welding.
Rotational Distortion
This is less common but can happen with tubes or pipes. The cross-section of the pipe can twist.
Simple Ways to Prevent Welding Distortion
1. Proper Joint Preparation and Fit-Up
Before you even pick up your welding torch, make sure your metal pieces fit together well. A good fit-up means there are no large gaps. If there are gaps, you’ll need to add more weld metal to fill them.
More weld metal means more heat and more chance for distortion.
Ensure the edges you are joining are clean. Rust, paint, or dirt can cause uneven heating and create problems. Clean metal heats and cools more predictably.
2. Clamping and Fixturing
This is one of the most effective ways to stop distortion. Clamps are your best friend. Use strong clamps to hold the pieces of metal firmly in place while you weld.
This stops them from moving as they heat up and cool down.
Fixtures are special tools that hold the metal in a precise position. For repetitive work or complex shapes, a good fixture is essential. It makes sure the metal stays where you want it throughout the welding process.
Types of Clamps and Fixtures
- C-clamps
- Vise grips
- Weld positioners
- Custom-built jigs
3. Control Heat Input
Less heat often means less distortion. Try to use the lowest heat setting possible that still gives you a good weld. This means using the right size welding wire or electrode for the job.
A smaller wire or electrode will require less power and put less heat into the metal.
The travel speed of your weld also matters. Welding too slowly can build up too much heat. Welding too quickly might not give you a strong enough weld, and can also cause issues.
4. Welding Sequence
The order in which you make your welds is very important. If you weld from one end of a seam to the other, the heat builds up and causes distortion. A common technique is called “back-stepping”.
Back-Stepping Technique
Instead of welding in a straight line, you weld short sections. You weld a short section, then move back towards the beginning and weld another short section next to it, and so on. This helps to spread the heat out and reduce the overall stress.
Intermittent Welding
For long seams, you don’t always need to weld the entire length in one go. You can weld short sections, skip a gap, and then weld another section. This is called intermittent welding.
It allows the metal to cool between weld passes.
5. Preheat and Post-Weld Heat Treatment
Sometimes, heating the metal before welding (preheating) can help. It makes the metal expand evenly. This can reduce the stress that happens when it cools.
Post-weld heat treatment, like annealing or stress relieving, can be done after welding to relax the metal and reduce any built-up stress.
These methods are more advanced and depend on the type of metal and the thickness. For most common projects, focusing on clamping and heat control is enough.
6. Peening
Peening is a technique where you hammer the weld bead after it has cooled slightly. This hammering stretches the weld metal and can help to counteract the shrinkage that causes distortion. It’s like stretching a rubber band to make it straighter.
This is usually done with a chipping hammer or a special peening tool. It needs to be done carefully so you don’t damage the weld.
7. Proper Cooling
Letting the metal cool down properly is also part of controlling distortion. Don’t try to cool it too quickly by dousing it with water unless the metal type allows it. Natural cooling allows the stresses to release more gradually.
For some situations, controlled cooling might be needed, but for most beginner projects, letting it air cool is best. Place welded parts on a flat surface that won’t transfer heat too quickly.
8. Weld Placement
Think about where you put your weld. If you are welding a flange to a pipe, welding on both sides at the same time can help keep things balanced. If you weld only on one side, it can pull the flange out of alignment.
Consider the forces that will act on the finished piece. Try to place welds so they don’t put unnecessary stress on the metal.
9. Use the Right Welding Process and Settings
Different welding processes create different amounts of heat. For example, TIG welding often creates less heat than MIG welding on thin materials. Choosing the right process can help.
Within each process, there are settings for voltage, amperage, and wire speed. Finding the right balance for your specific material and thickness is key. Lower amperage generally means less heat.
10. Build Up Welds Evenly
If you need a large weld bead, build it up in layers. Don’t try to make one massive weld in a single pass. Weld a small bead, let it cool a bit, then add another bead on top.
This gradual build-up controls the heat and shrinkage better than a single large pass.
This is especially useful when filling large gaps or building up material.
Examples of Distortion Prevention
Scenario 1: Welding Two Flat Plates Together
Imagine you need to join two flat steel plates edge to edge. You want them to stay perfectly flat.
- Preparation: Ensure the edges are clean and square.
- Clamping: Use several C-clamps along the seam to hold the plates down firmly to a flat workbench.
- Welding: Use the back-stepping technique. Weld a few inches, skip a few inches, weld another few inches.
- Heat Control: Use the lowest amperage and wire speed that gives good fusion.
- Cooling: Let the piece air cool naturally.
Scenario 2: Building a Square Frame
If you’re making a square frame from angle iron, you want the corners to stay at 90 degrees.
- Preparation: Cut the ends of the angle iron precisely at 45 degrees.
- Fit-Up: Assemble the frame loosely and check that all corners are square before any welding.
- Clamping: Use corner clamps or a welding jig to hold the pieces at the correct angle.
- Welding: Weld one corner, then move to the opposite corner. This helps balance the heat. Weld small sections at a time.
- Sequence: Weld the inside corner first, then the outside.
Common Mistakes to Avoid
- Not using enough clamps.
- Welding too hot or too cold.
- Welding in a straight line from start to finish on long seams.
- Not planning the weld sequence.
- Rushing the cooling process.
Frequently Asked Questions
Question: What is the quickest way to stop metal from warping?
Answer: The quickest and most effective way is to use strong clamps or a fixture to hold the metal firmly in place before and during welding.
Question: Does welding thickness affect distortion?
Answer: Yes, thinner metals are much more prone to distortion because they heat up and cool down faster and have less structural strength to resist the forces.
Question: Can I use water to cool welded parts down faster?
Answer: Usually, it’s best to let metal air cool naturally. Rapid cooling with water can sometimes cause other problems like cracking or changing the metal’s properties, depending on the type of metal.
Question: How does the type of weld affect distortion?
Answer: Larger, thicker welds generate more heat and shrinkage, which can lead to more distortion. Building up welds in layers rather than one big pass helps control this.
Question: Is it possible to completely eliminate distortion?
Answer: It’s very difficult to eliminate distortion completely, especially on complex projects. The goal is to minimize it as much as possible so it doesn’t affect the final product’s function or appearance.
Final Thoughts
Preventing welding distortion is about managing heat and controlling the metal’s movement. You learned that clean metal, good fit-up, and strong clamping are your first lines of defense. We explored how the order of your welds, like back-stepping, helps spread heat evenly.
Controlling the amount of heat you use and your travel speed also plays a big part. These simple steps will help you keep your welded projects looking flat and straight. Practice these methods, and you’ll see a big improvement in your results.