Is your MIG welder’s wire feed acting up? It’s a super common problem, especially when you’re just starting out. Sometimes the wire just stops moving, or it gets really jerky.
Don’t worry, it’s usually something simple to fix! We’ll walk through exactly what to do, step by step, so you can get back to welding. Keep reading, and you’ll learn the tricks to solve How to Fix MIG Welder Wire Feed Stuck Problems.
Key Takeaways
- You will learn the most common reasons why MIG welder wire feed gets stuck.
- You will discover simple checks you can do to fix wire feed issues quickly.
- You will find out how to properly clean and maintain your MIG welder’s wire feed system.
- You will understand how different wire types and sizes can affect wire feeding.
- You will know when it’s time to replace parts in your wire feed system.
Why Your MIG Welder Wire Feed Gets Stuck
It’s frustrating when your MIG welder’s wire feed stops working right in the middle of a job. This often happens because something is blocking the wire, or the parts that push the wire are worn out or dirty. For new welders, figuring out why it’s stuck can be confusing.
But usually, it’s not a big, complicated repair. Let’s break down the common culprits.
Common Causes of Wire Feed Problems
1. Dirty or Damaged Wire
The wire itself is a frequent source of trouble. If the wire is dirty, rusty, or kinked, it won’t feed smoothly. Dirt and grime on the wire can get stuck in the feed system.
Kinks are like bad bends in a hose; they stop anything from flowing through.
2. Worn Drive Rollers
The drive rollers grip the wire and push it through the liner. Over time, these rollers can wear down, especially if you’re using the wrong size for your wire or if they’re made of soft material. When they’re worn, they can’t grab the wire properly, leading to slipping and stalling.
3. Incorrect Drive Roller Tension
The tension on the drive rollers is important. If it’s too loose, the rollers will slip and not push the wire. If it’s too tight, it can crush the wire or make it hard to feed, especially softer wires.
You need just enough pressure to grip the wire without damaging it.
4. Liners That Are Too Long, Too Short, or Damaged
The liner is a flexible tube inside the welding gun that guides the wire from the drive rollers to the contact tip. If the liner is too long, it can create friction. If it’s too short, the wire might not be guided properly.
Damage like kinks or bends inside the liner will also stop the wire.
5. Dirty or Worn Contact Tip
The contact tip is where the electricity transfers to the wire. If it’s clogged with spatter or worn out, the wire can get stuck inside it. A dirty tip also causes poor electrical contact, leading to an inconsistent arc and potential wire feeding issues.
6. Problems with the Gun Cable
The gun cable houses the wire liner and the welding leads. If the cable itself is bent sharply or kinked, it can pinch the liner and obstruct the wire. Also, if the connection between the gun cable and the welder is loose, it can cause electrical problems that affect wire feed.
7. Issues with the Drive Motor or Gearbox
Less commonly, the motor that turns the drive rollers or the gearbox that powers it might be the problem. This could be due to an electrical issue with the motor or a mechanical problem within the gearbox itself.
How to Fix MIG Welder Wire Feed Stuck Problems: Step-by-Step
Let’s get your wire feeding again. Follow these steps carefully.
Step 1: Check the Wire Itself
First, look at the wire spool. Is the wire tangled? Is it rusty or dirty?
Try to unwind a few feet of wire. If you see kinks, try to straighten them out gently or cut off the kinked section. If the wire is very dirty, it might be best to replace the spool.
Step 2: Inspect and Clean the Drive Rollers
Open up the wire drive system. Most welders have a cover you can remove. Take a look at the drive rollers.
Are they clean? Is there any metal dust or spatter on them? Use a wire brush to clean them.
Also, check if they are worn down or have grooves that don’t match your wire size.
Important: Make sure you have the correct size groove on the drive rollers for the wire you are using. Check your welder’s manual for guidance.
Step 3: Adjust Drive Roller Tension
Gently tighten the tension knob on the drive rollers. Then, try feeding the wire. If it still slips, tighten it a little more.
If the wire looks like it’s getting squashed or is hard to push, loosen the tension. You want enough pressure to grip the wire firmly but not so much that it deforms the wire.
A good test: with the welder off, try to pull the wire back by hand. It should offer some resistance but shouldn’t be impossible to pull.
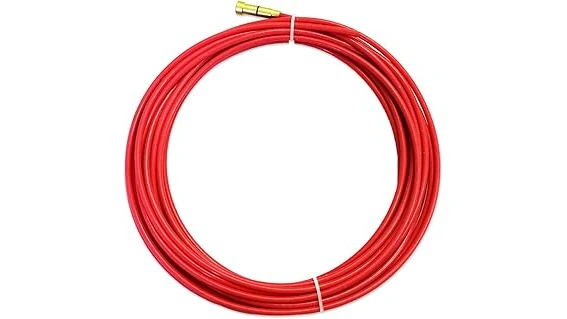
Step 4: Examine the Gun Liner
This is a crucial step. Disconnect the gun cable from the welder. Then, carefully pull the wire out of the gun cable.
As you pull the wire, feel for any resistance. If you feel a lot of drag, the liner might be dirty, kinked, or damaged.
If you suspect the liner is bad, you’ll need to replace it. This usually involves carefully pulling out the old liner and threading in a new one. Make sure the new liner is the correct length and type for your gun.
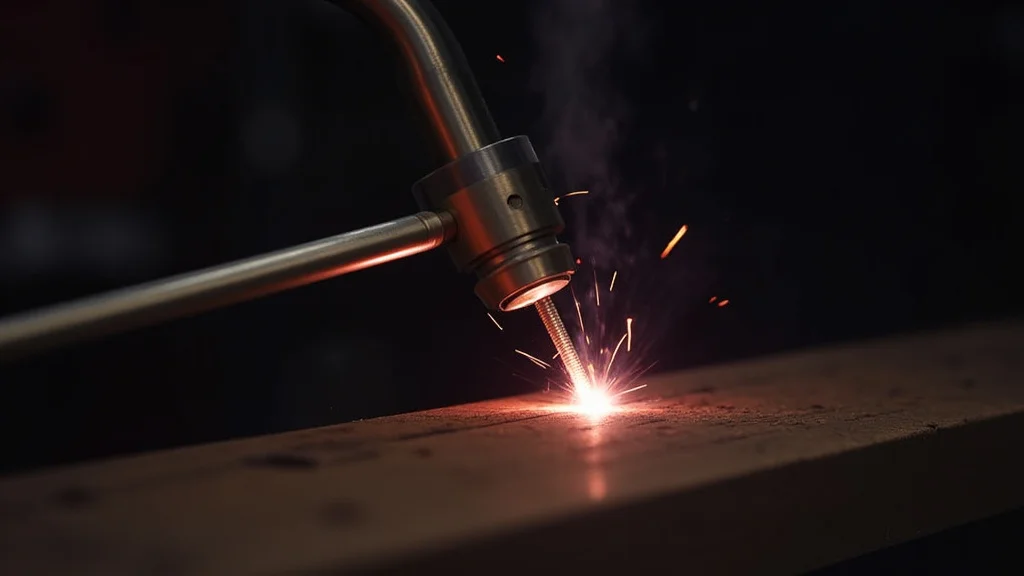
Step 5: Clean or Replace the Contact Tip
Unscrew the contact tip from the end of your welding gun. Look inside it. If you see spatter buildup, use a small wire brush or a tip cleaning tool to remove it.
If the hole in the tip looks enlarged or misshapen, it’s time to
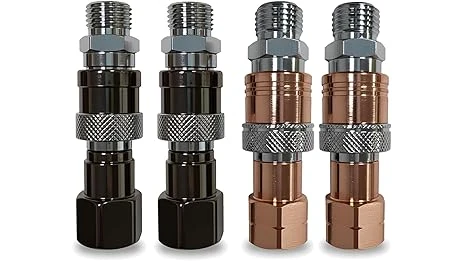
Step 6: Check the Gun Cable and Connections
Look over the entire length of the gun cable. Are there any sharp bends or kinks? Straighten them out if possible.
Also, check where the gun cable connects to the welder. Make sure the connection is clean and tight. A loose connection can cause all sorts of electrical issues.
Step 7: Test with New Wire or a Different Size
Sometimes, the wire itself is the problem. If you have an old spool or a spool that’s been sitting around for a while, it might be brittle or rusty. Try a new spool of wire.
Also, if you recently switched wire sizes, double-check that your drive rollers and contact tip are the correct size for the new wire.
Step 8: Consider Motor or Gearbox Issues (Advanced)
If you’ve tried all the above and the wire still won’t feed, there might be a problem with the drive motor or its gearbox. This is less common and might require a technician to diagnose and fix. Check if the motor hums or tries to turn when you engage the wire feed.
If there’s no sign of life, it could be an electrical or mechanical failure.
Preventing Wire Feed Problems
The best way to avoid being stuck with a wire feed issue is to do some regular maintenance:
- Keep your wire clean and dry. Store it in a protected place.
- Clean your drive rollers and the wire path regularly.
- Check your contact tips for spatter and wear.
- Avoid sharp bends or kinks in your gun cable.
- Use the correct size drive rollers and contact tips for your wire.
Frequently Asked Questions
Question: My MIG welder wire keeps stopping and starting. What should I do?
Answer: This often means there’s a slight blockage or the drive roller tension is off. First, check for any kinks in the wire. Then, clean the drive rollers and the contact tip.
Make sure the drive roller tension is set correctly – not too tight, not too loose.
Question: How often should I clean the contact tip?
Answer: It’s a good idea to clean your contact tip every time you weld, or at least very frequently. Spatter builds up quickly and can cause wire feed issues and poor weld quality. A quick clean with a wire brush or tip cleaner takes just a few seconds.
Question: What’s the difference between grooved drive rollers?
Answer: Drive rollers have different grooves designed for specific wire sizes and types. You’ll see V-grooves for soft wires like aluminum and knurled grooves for harder wires like steel. Using the wrong groove can cause the wire to slip or get damaged.
Question: Can humidity affect my MIG wire?
Answer: Yes, humidity can cause rust or corrosion on steel welding wire, which will definitely cause feeding problems. It’s best to store your wire spools in a dry environment. If you suspect rust, it’s usually better to use a fresh spool.
Question: My wire feed motor sounds weak. What could be wrong?
Answer: A weak-sounding motor might indicate it’s struggling to push the wire due to resistance in the gun liner or a clogged tip. However, it could also mean the motor itself is failing or the gearbox has a problem. Try cleaning the entire wire path first.
If it still sounds weak, it might need professional attention.
Final Thoughts
Fixing a stuck MIG welder wire feed is usually a straightforward process. By checking the wire, cleaning the drive rollers, adjusting tension, inspecting the liner and tip, and ensuring good connections, you can solve most common problems. Regular maintenance keeps your equipment running smoothly, so you can focus on making great welds.
Don’t let a stubborn wire feed stop your projects; these simple steps will get you back to welding in no time.