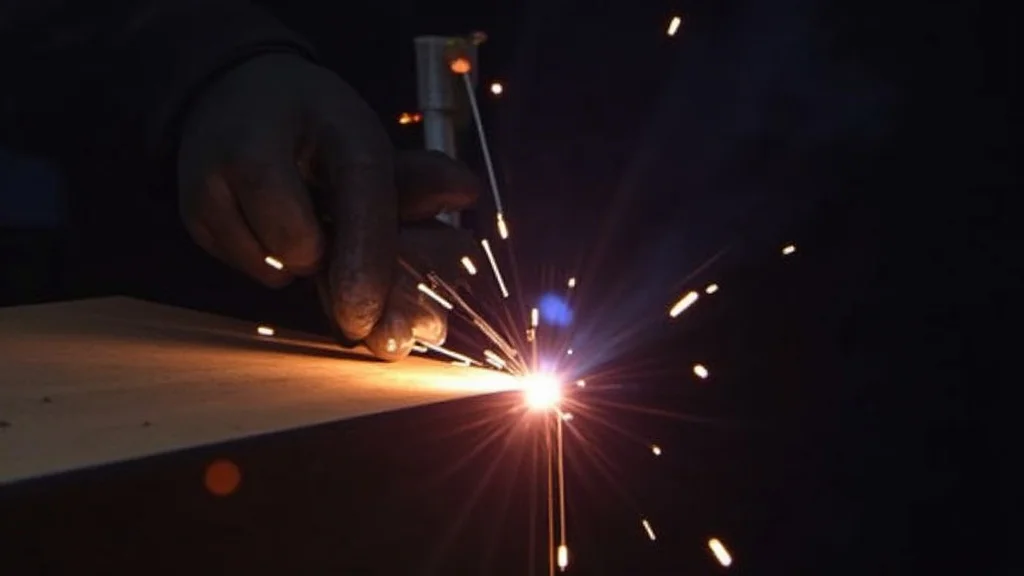
Have you ever pulled the trigger on your MIG welder and nothing happens, or it stays stuck on? It’s a common frustration, especially when you’re learning. This can really slow down your work and make you feel stuck.
But don’t worry, we’re going to make this simple. We’ll walk through exactly what to do, step-by-step, so you can get back to welding smoothly. Let’s figure out what’s going on with that trigger.
Key Takeaways
- You will learn the most common reasons why a MIG welder trigger might get stuck.
- We will cover simple checks you can do yourself to fix a stuck trigger.
- You’ll discover how dirt and debris can cause trigger issues.
- We’ll explain how to check and clean the trigger switch itself.
- You will learn about checking the wire feed system for blockages.
- You will gain confidence in troubleshooting common MIG welder problems.
Why Your MIG Welder Trigger Might Be Stuck
A MIG welder trigger that gets stuck is a common issue for many people new to welding. It can happen for a few simple reasons. Often, it’s not a big mechanical failure, but something small that’s out of place or dirty.
When you press the trigger, it tells the machine to do several things at once: start the gas flow, power up the welding circuit, and push the wire out through the gun. If any part of this chain is broken, the trigger might feel off.
The most frequent culprit is dirt or debris. Over time, dust, metal shavings, or even old grease can build up. This buildup can jam the delicate parts inside the trigger mechanism.
Another reason could be a problem with the wire feed system. If the wire gets tangled or jammed, it can create back pressure that makes the trigger feel stiff or stuck. Sometimes, the wire itself might be the wrong size or type for your setup, causing it to bind.
It’s also possible that the trigger switch inside the gun has failed or is damaged. These switches are like tiny buttons that send signals to the welder. If one gets worn out or breaks, it won’t send the right signal, and the welder might not respond properly or the trigger could stick.
We’ll break down how to check these things one by one.
Common Causes for a Stuck MIG Welder Trigger
When your MIG welder trigger decides to stick, it usually boils down to a few main suspects. Understanding these can help you pinpoint the problem quickly and get back to your project.
Dirt and Debris
This is by far the most common reason for a sticky or stuck trigger. Welding environments are often dusty and filled with metal particles. These tiny bits can get into the trigger mechanism, gumming up the works.
Think of it like grit getting into a door hinge; it makes it hard to move. The trigger assembly in your MIG gun has small moving parts that are sensitive to contamination.
If you weld in a dirty shop or outdoors, this is a prime suspect. Even seemingly clean environments can have airborne dust that settles over time. This buildup can prevent the trigger’s internal components from returning to their normal position after you release it.
It can also make the initial pull feel stiff and resistant.
Wire Feed Issues
Sometimes, the problem isn’t directly with the trigger itself, but with what the trigger is supposed to start: the wire feed. If the wire gets jammed in the gun liner, the drive rolls, or the contact tip, it can create resistance. This resistance can sometimes feed back and make the trigger feel like it’s stuck or very hard to pull.
A common scenario is when you finish a weld and the wire doesn’t stop feeding smoothly, or it jams. The next time you try to pull the trigger, the system is already under strain. Also, using the wrong size wire for your drive rolls or liner can cause it to slip or bind, leading to trigger problems.
Bent or damaged wire can also cause it to get stuck in the liner.
Worn or Damaged Trigger Switch
Inside the MIG gun handle is a trigger switch. This is a small electronic or mechanical component that tells the welder when to start and stop. Like any switch that’s used repeatedly, it can wear out over time.
The contacts inside can get dirty, corroded, or physically damaged.
A worn-out switch might not send the correct signal to the welder, or it might fail to return to its off position properly. This can result in the trigger feeling “sticky” or staying engaged even after you’ve let go. In some cases, the spring mechanism that helps the trigger return to its resting state can also break or weaken, causing it to hang up.
Problems with the Gun Liner or Contact Tip
The liner is a flexible tube inside your MIG gun that guides the welding wire from the machine to the tip. If the liner gets kinked, damaged, or has debris inside, it can create friction. This friction makes it harder for the wire to feed, and as mentioned, can affect the trigger feel.
Similarly, the contact tip is where the welding current transfers to the wire. If the tip is worn out, clogged with spatter, or not properly seated, it can restrict wire flow. This blockage can cause the wire to bunch up, making it difficult for the drive rolls to push it and for the trigger to operate smoothly.
Electrical Connections
Loose or corroded electrical connections can also be a hidden cause. The trigger switch connects to wires that run back to the welder’s control board. If these connections are not secure, or if they have oxidized over time, the electrical signal might not be transmitted properly.
This can lead to intermittent issues, including a trigger that feels stuck or unresponsive.
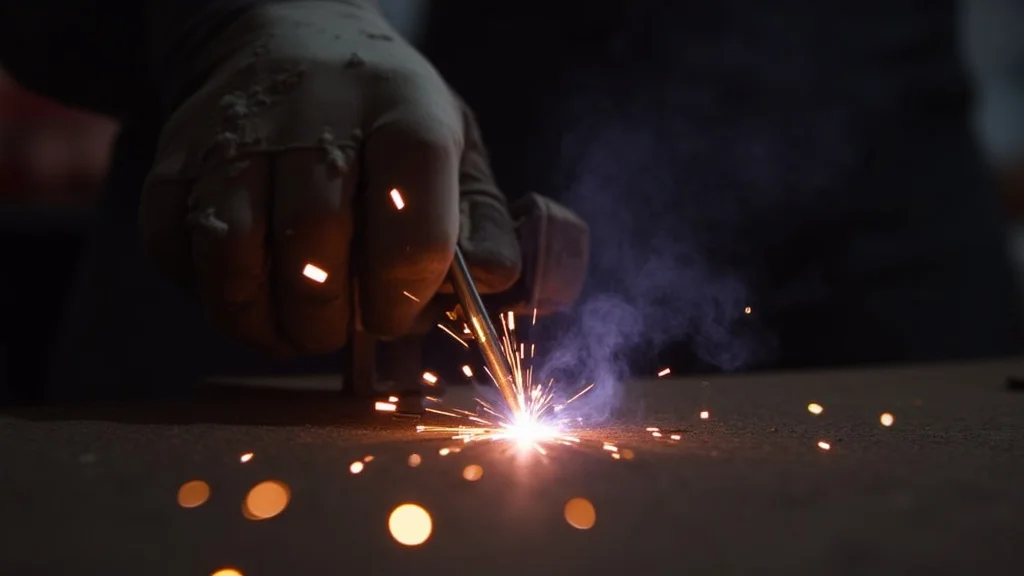
Troubleshooting Steps for a Stuck MIG Welder Trigger
Now that you know why it might be happening, let’s get this fixed. These steps are designed to be easy to follow, even if you’re new to this.
Step 1: Safety First! Disconnect Power
Before you do anything else, always disconnect the main power to your welder. Unplug it from the wall or turn off the circuit breaker. This is extremely important for your safety.
You don’t want to risk getting shocked while working on the equipment.
Step 2: Inspect the Trigger Area
Take a close look at the trigger itself. Is there any obvious dirt, grime, or damage around where the trigger pivots? Sometimes, a quick visual inspection can reveal a big piece of debris lodged in there.
If you see dirt, try to gently blow it away with compressed air. Be careful not to force anything. If there’s a lot of buildup, you might need to carefully use a small brush or a lint-free cloth.
Avoid using oily sprays or solvents right on the trigger mechanism initially, as this can attract more dirt later.
Step 3: Check the Wire Feed System
This involves looking at where the wire comes from the spool and goes into the welder. Make sure the wire is feeding smoothly off the spool. Check the drive rolls to ensure they are clean and set to the correct tension for your wire size.
If you can, carefully unthread the welding wire from the gun. This will help you see if the wire itself is bent or kinked. Feed a new section of wire through the gun liner to check for any blockages.
If the wire feeds easily when it’s not connected to the gun, the problem is likely within the gun assembly.
Step 4: Clean the MIG Gun and Liner
The MIG gun can accumulate spatter and debris over time. Remove the contact tip and nozzle. Clean them thoroughly.
You can use a wire brush or a tip cleaner tool. Make sure the threads where the tip screws in are also clean.
If you suspect the liner is dirty or kinked, it’s best to replace it. Liners are relatively inexpensive and are designed to be replaced periodically. To remove it, you’ll usually unscrew it from the back of the gun where it connects to the welder.
Then, feed a new one in from the front after cleaning the gun.
Step 5: Inspect the Trigger Switch (Requires Disassembly)
This step requires a bit more work, as you’ll need to open up the MIG gun handle to access the trigger switch. Consult your welder’s manual for specific instructions on how to safely disassemble your gun. Most MIG guns have screws that hold the handle together.
Once you have the handle open, carefully examine the trigger switch. Look for any signs of damage, corrosion, or debris. You can try cleaning the switch contacts with a contact cleaner spray specifically designed for electronics.
Be sure to let it dry completely before reassembling. If the switch looks physically broken or burnt, it will likely need to be replaced.
Step 6: Check Electrical Connections
Inside the gun handle, where the trigger switch wires connect to the main cable going to the welder, check these connections. Ensure they are tight and free from corrosion. Sometimes, a small amount of dielectric grease can be applied to electrical connections to prevent corrosion and ensure good contact, but follow your manual’s guidance.
Step 7: Test the Welder
After performing these steps, reassemble the MIG gun. Reconnect the power to the welder. Slowly and carefully pull the trigger.
It should operate smoothly without sticking. If it still has issues, you may need to seek professional help or consider replacing the MIG gun itself.
Maintaining Your MIG Welder for Smooth Operation
Keeping your MIG welder in good shape means fewer headaches down the road. Regular maintenance is key to preventing problems like a stuck trigger.
After each use, take a moment to wipe down your MIG gun. Brush off any spatter that has accumulated. This prevents it from hardening and making things difficult later.
Check your contact tips for wear and replace them as needed. A worn tip can affect weld quality and can contribute to feeding problems.
Periodically, check the drive rolls for wear or debris. Clean them with a wire brush. Ensure the tension is set correctly – too tight can damage the wire, and too loose can cause slipping.
Also, make sure your gun liner is clean and free of kinks. If you weld a lot, consider replacing the liner every six months to a year, depending on usage.
Store your welding wire in a dry place. Moisture can cause rust and make the wire difficult to feed. Keep your welder itself clean and dust-free.
Use compressed air to blow out any dust buildup inside the machine’s housing periodically. Following these simple steps will help keep your MIG welder running smoothly and prevent issues like a stuck trigger.
Frequently Asked Questions
Question: What is the first thing I should do if my MIG welder trigger is stuck?
Answer: The very first thing you should always do is disconnect the main power to the welder. Safety is the most important step.
Question: Can I fix a stuck trigger by just spraying something into it?
Answer: While cleaning is important, simply spraying a lubricant or solvent into the trigger without inspection might not fix the underlying issue and could attract more dirt. A targeted cleaning of the mechanism is usually best.
Question: How do I know if I need to replace my MIG gun?
Answer: If you’ve tried cleaning and checked the wiring, and the trigger still sticks or doesn’t work correctly, it’s likely the gun itself or the trigger switch inside needs replacement.
Question: What kind of dirt causes trigger problems?
Answer: Metal dust, grinding debris, shop dust, and even oil or grease can build up and jam the trigger mechanism.
Question: My wire is feeding fine, but the trigger still sticks. What else could it be?
Answer: If the wire feed is smooth, the problem is more likely with the trigger switch itself, its electrical connections, or the physical mechanism within the gun handle.
Final Thoughts
Dealing with a MIG welder trigger that sticks can be frustrating, but as we’ve seen, it’s often a simple fix. Most of the time, it’s just a matter of dirt, a minor jam in the wire feed, or a worn part like the contact tip or liner. By following these straightforward steps, you can identify the cause and get your welder working perfectly again.
Remember to always prioritize safety by unplugging the welder before you start working. A clean machine and regular checks will keep your MIG welder performing its best.