Working with thin metals using MIG welding can feel tricky at first, especially when you’re not sure about the wire speed. It’s easy to burn through the metal or get a weak weld. But don’t worry!
Learning How to Adjust MIG Wire Feed for Thin Metals is simpler than you might think. We’ll walk through it step-by-step. First, let’s look at what you’ll learn.
Key Takeaways
- You will learn why thin metals need a different wire feed setting.
- Discover the common problems beginners face with thin metal MIG welding.
- Understand how wire speed affects weld quality on thin materials.
- Get practical tips for setting your MIG welder for thin sheets.
- Find out how to test your settings before welding your project.
Understanding MIG Wire Feed for Thin Metals
When you’re MIG welding, the wire you feed into the weld is like the filler material. It melts and joins your pieces together. The speed at which this wire comes out is called the wire feed speed.
This speed is super important, especially when you’re working with thin metal.
Thin metals are different. They don’t have much material to spare. If your wire feed is too fast or your heat is too high, you can easily poke a hole right through the metal.
This is called “burn-through.” It ruins your piece and makes you start over. For beginners, this is one of the biggest challenges when trying How to Adjust MIG Wire Feed for Thin Metals.
Why Thin Metal is Tricky
Think of it like this: thin metal is like a piece of paper. If you apply too much heat or pressure, it tears or burns. Thick metal is like a piece of wood.
It can take more heat and force without damage.
When you MIG weld, you’re using an electric arc to melt both the wire and the metal you’re joining. The wire feed speed controls how much metal you add. It also affects how hot the weld puddle gets.
On thin metal, you have a small window of heat and wire speed that works. Too much of either leads to problems.
The voltage setting on your MIG welder is also tied to the wire feed speed. They work together. Usually, when you adjust one, you need to adjust the other a bit.
This can be confusing for new welders.
Factors Affecting Wire Feed Speed for Thin Metals
Several things play a role when you’re figuring out the right wire speed for thin metal.
Metal Thickness
This is the most obvious one. The thinner the metal, the lower your wire feed speed needs to be. You want just enough wire to fill the gap without adding too much heat.
For example, welding 24-gauge steel (about 0.024 inches thick) will need a much slower wire speed than welding 16-gauge steel (about 0.059 inches thick).
Type of Metal
Different metals conduct heat differently. Steel, stainless steel, and aluminum all have their own needs. For beginners, sticking to mild steel is usually easiest when learning How to Adjust MIG Wire Feed for Thin Metals.
Wire Diameter
MIG wires come in different sizes. Common sizes are 0.023 inches, 0.030 inches, and 0.035 inches. Smaller wires generally need a lower wire feed speed to match the heat input.
If you’re using a 0.030-inch wire, your settings will be different than if you’re using a 0.023-inch wire on the same thickness of metal.
Shielding Gas
The gas you use (like C25, which is 25% Argon and 75% CO2) also impacts the weld. The right gas helps protect the molten metal and can affect how hot your arc is. For thin metals, using the correct gas flow is important.
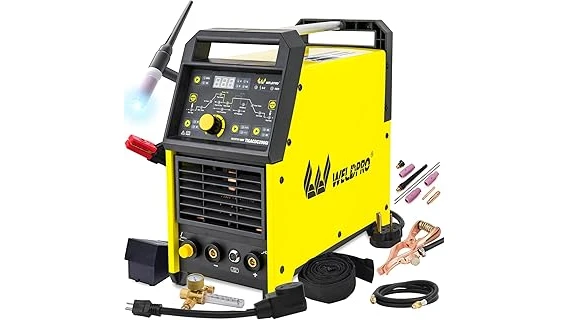
Setting Up Your MIG Welder
Getting your welder ready is the first step. You’ll want to make sure you have the right consumables and that your machine is set up properly.
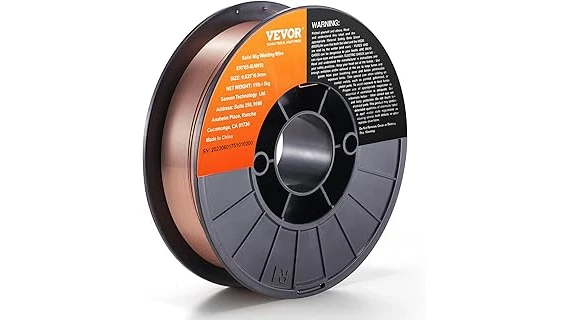
Choosing the Right Wire
For thin steel, a 0.023-inch or 0.030-inch solid wire is usually a good choice. These smaller diameters help you control the heat input better.
Gas Settings
For most steel applications on thin metal, a mix like 75% Argon and 25% CO2 (C25) is common. Make sure your gas flow rate is set correctly. A common starting point is around 15-20 cubic feet per hour (CFH).
Too much gas can cause turbulence and also lead to issues.
Understanding Your Welder Controls
Most MIG welders have two main controls you’ll adjust for thin metals: wire feed speed and voltage. Some welders have a combined “WFS/Voltage” knob, while others have separate controls.
For beginners, look for welders with “synergic” settings. These systems automatically adjust voltage when you change wire speed, making it much easier to find good settings. If your welder doesn’t have this, you’ll need to learn how to set them together.
Finding the Right Wire Feed Speed and Voltage
This is where practice really pays off. There isn’t one single setting that works for every situation, but we can find a good starting point.
Reading the Manual
Your welder’s manual is your best friend. It will usually have a chart with recommended settings based on the thickness of the metal, the type of wire, and the gas you’re using.
Starting with Recommended Settings
Let’s say you’re welding 20-gauge steel (about 0.035 inches thick) with 0.023-inch wire and C25 gas. Your manual might suggest a wire speed of around 150-200 inches per minute (IPM) and a voltage of 16-18 volts. These are just examples, and your welder might be different.
Note: Welders measure wire speed in different ways. Some use inches per minute (IPM), while others use meters per minute (MPM).
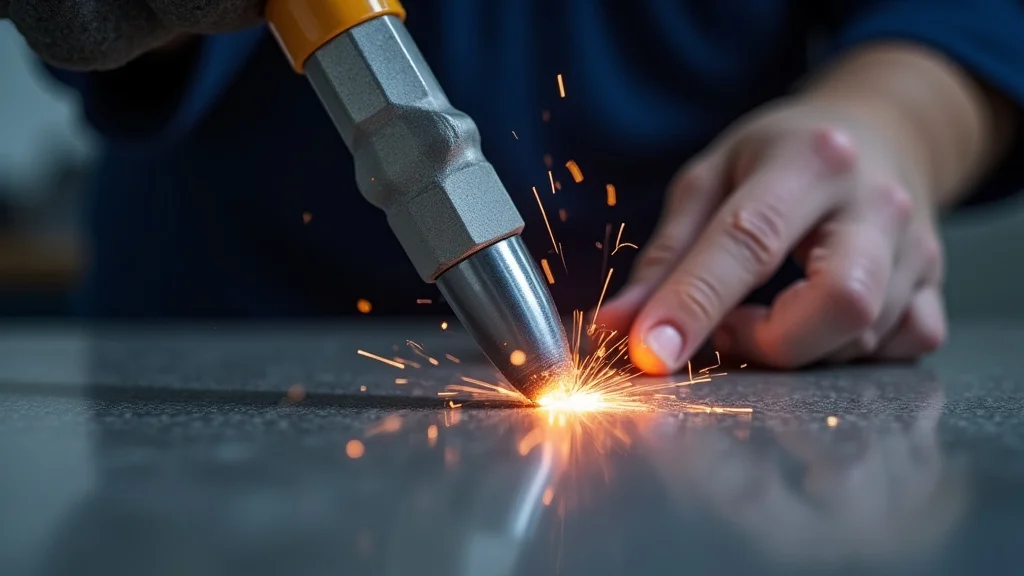
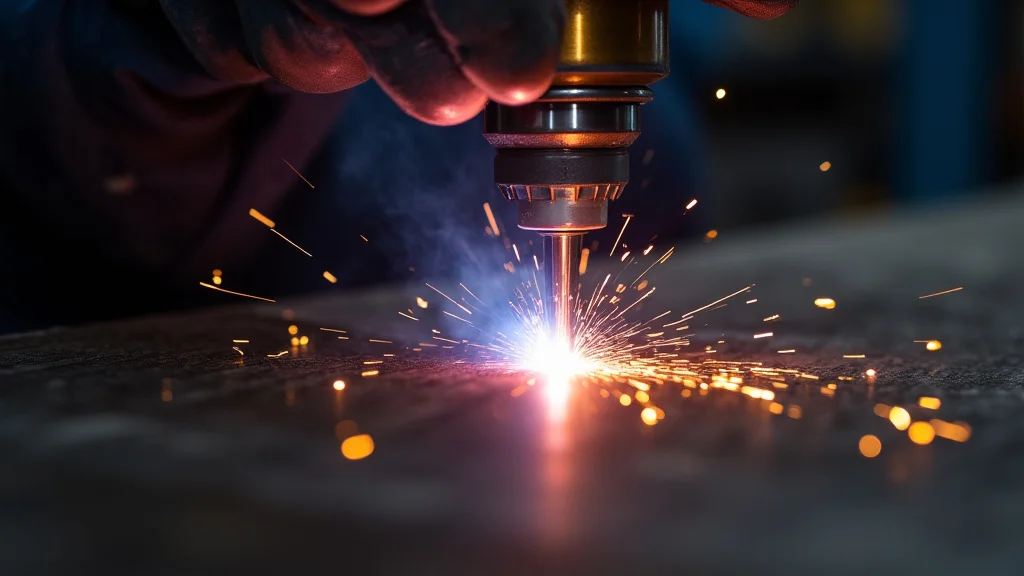
Testing on Scrap Metal
Before you weld your actual project, always test your settings on a piece of scrap metal that is the same thickness and type as your project. This is the golden rule for How to Adjust MIG Wire Feed for Thin Metals.
Lay down a short bead. Watch and listen. Does it sound smooth and crackly, or is it loud and spattery?
What to Look For During Testing
- Too Fast Wire Speed / Too High Voltage: You’ll hear a loud, crackling, or popping sound. The weld will look wide and flat, and you might see signs of burn-through, like small holes or the metal glowing too much. The arc might feel unstable.
- Too Slow Wire Speed / Too Low Voltage: The arc will feel weak and “stubby.” The weld bead will be narrow, tall, and might look like it’s not penetrating well. You might hear a buzzing sound.
- Just Right: You’ll hear a smooth, consistent sizzling or crackling sound. The weld bead should be nicely formed, with a slight crown, and you shouldn’t see any burn-through. The arc feels stable and controlled.
Making Adjustments
If your test bead isn’t right, make small adjustments.
- If you’re burning through: Lower the wire feed speed and/or the voltage slightly.
- If the weld looks weak or not penetrating: Increase the wire feed speed and/or the voltage slightly.
It’s often best to adjust one setting at a time. If your welder has separate controls, try adjusting the wire speed first, then fine-tune the voltage. If it’s a synergic machine, just adjusting the wire speed should automatically make the voltage suitable.
Common Mistakes and How to Avoid Them
Even with a good guide, beginners often make a few common mistakes when learning How to Adjust MIG Wire Feed for Thin Metals.
Mistake 1: Too Much Heat
This is the most common one. Beginners often think more heat equals a stronger weld. On thin metal, too much heat leads to burn-through.
The solution is to use lower settings and practice precise movement.
Mistake 2: Not Testing on Scrap
Jumping right into welding your project without testing is a recipe for disaster. Always use scrap pieces first. This gives you a safe space to find the sweet spot for your settings.
Mistake 3: Moving Too Fast or Too Slow
Your travel speed matters. If you move too fast, the weld won’t have enough time to form properly. If you move too slow, you’ll build up too much heat and likely burn through.
Aim for a consistent, steady pace that allows the wire to melt and form a good bead.
Mistake 4: Incorrect Gun Angle
Hold your MIG gun at a slight angle, pushing it into the direction of your weld. A drag angle can sometimes lead to more heat and penetration, which you want to avoid on thin materials.
Troubleshooting Specific Issues
Sometimes, even with careful setup, you might run into problems. Here’s how to fix them.
Problem: Weld Spatter
Excessive spatter means your settings might be off, or your gas flow isn’t right.
- Solution: Check your wire feed speed and voltage. Make sure your gas flow is set correctly and not too high.
Ensure your MIG gun tip is clean.
Problem: Inconsistent Arc
If the arc is unstable, sputtering, or sounds rough, your settings are likely wrong.
- Solution: Verify your wire feed speed is correct for the metal thickness. Adjust voltage to match.
Ensure your ground clamp has a clean, solid connection to the metal.
Problem: Bird Nesting
This happens when the wire gets tangled up at the MIG gun’s feed rollers. It often occurs when the wire feed speed is too high, or there’s a blockage in the gun liner.
- Solution: Ensure the feed rollers are set to the correct tension for your wire size.
Check the liner for any kinks or debris. Make sure your wire spool is feeding smoothly.
Frequently Asked Questions
Question: What is the main problem beginners have with thin metals?
Answer: The most common problem is burning through the thin metal because the heat and wire feed speed are too high.
Question: How does wire diameter affect settings for thin metal?
Answer: Smaller diameter wires (like 0.023″ or 0.030″) generally require lower wire feed speeds and voltages to avoid burning through thin metals.
Question: Should I push or pull my MIG gun on thin metal?
Answer: It’s generally recommended to push your MIG gun on thin metals for better control and less heat input.
Question: How can I tell if my wire feed speed is too high?
Answer: If the arc sounds very loud and crackly, the weld bead is wide and flat, and you’re seeing burn-through, your wire feed speed is likely too high.
Question: Can I use the same settings for steel and aluminum thin metal?
Answer: No, steel and aluminum require different settings. Aluminum needs lower heat and often a different wire and gas combination.
Final Thoughts
Mastering How to Adjust MIG Wire Feed for Thin Metals takes a little patience and practice. By understanding how wire speed and voltage work together, and by always testing on scrap, you’ll find the right settings quickly. Focus on a smooth, consistent arc and a neat weld bead.
Soon, you’ll be joining thin pieces with confidence.