If you’re new to welding, you might find that your stick welder isn’t melting the metal the way you expect. This is a super common problem when you’re just starting out, but don’t worry! It’s usually caused by a few simple things.
We’ll walk through exactly what’s going on and how to fix it, step-by-step, so you can get that nice, strong weld. Read on to see what makes a good weld happen.
Key Takeaways
- You’ll learn the main reasons why a stick welder might not melt metal correctly.
- Discover how electrode angle directly impacts melt depth.
- Understand the importance of arc length for proper fusion.
- Find out how travel speed affects the weld puddle and penetration.
- Learn how to choose the right amperage for different materials and thicknesses.
- Gain insights into common electrode issues and how to fix them.
Why Your Stick Welder Might Not Be Melting Metal Properly
It can be really frustrating when you’re trying to weld, and the metal just isn’t melting the way it should. You might be pushing the rod around, but nothing is really joining together. This common issue, where you find yourself dealing with a Stick Welder Not Melting Metal Properly, often has simple explanations.
For beginners, it’s easy to get confused by all the settings and techniques. But the good news is that fixing this usually comes down to a few key adjustments. We’ll explore what’s really happening and how to make your welds strong and solid.
Understanding the Basics of Stick Welding
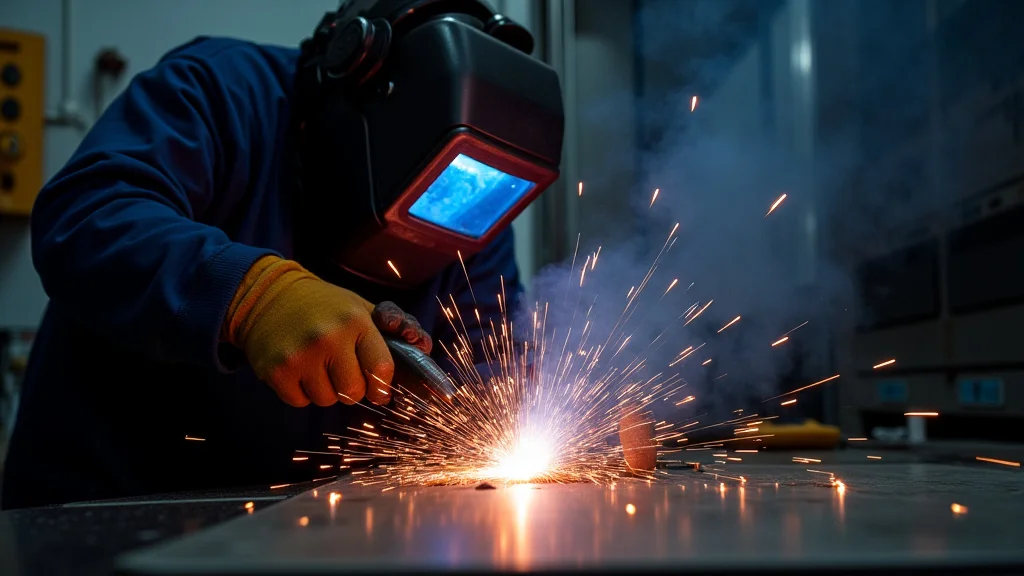
Stick welding, also known as Shielded Metal Arc Welding (SMAW), uses an electric arc to melt and join metal pieces. A flux-coated electrode creates a shield of gas and slag that protects the molten metal from the air. This process is popular because it’s versatile and can be used in many different situations, even outdoors.
However, getting the hang of it takes practice. The arc is the heart of the weld. It’s where the magic happens, melting the base metal and the electrode together to form a strong bond.
The Role of the Electric Arc
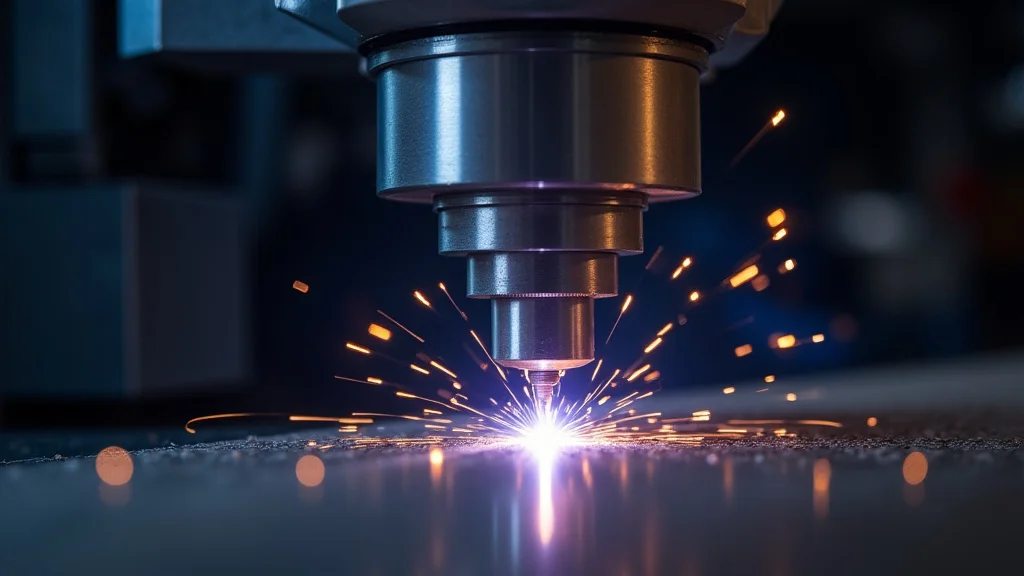
The electric arc is essentially a controlled electrical discharge between the electrode and the workpiece. It’s incredibly hot, reaching temperatures that can melt steel almost instantly. The intensity of this arc is what melts the metal.
If the arc is too weak, it won’t melt enough material. If it’s too strong, it can blow holes through thin metal or create a messy weld. Getting the arc length just right is key to a good weld.
What is Arc Length?
Arc length refers to the distance between the tip of the electrode and the surface of the molten weld pool. This is one of the most critical factors affecting how well your metal melts. Think of it like a campfire.
If you hold your marshmallow too far away, it won’t get hot enough to toast. If you hold it too close, it will burn. The same applies to welding.
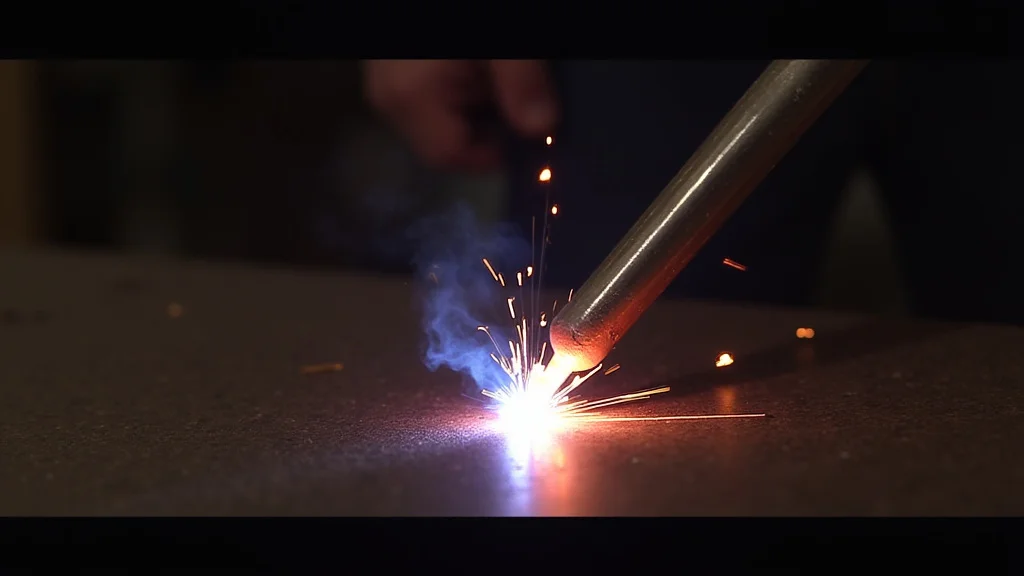
Too Short of an Arc Length
When the arc is too short, the electrode is practically touching the molten puddle. This can cause the electrode to stick to the workpiece, often called “sticking.” It also leads to spatter, where molten metal flies everywhere. More importantly, a very short arc can restrict the flow of shielding gas and prevent the flux from doing its job properly.
This can result in a weak weld that doesn’t penetrate deeply.
Too Long of an Arc Length
An arc that’s too long is another common reason why your Stick Welder Not Melting Metal Properly. If the electrode is too far from the workpiece, the arc struggles to transfer enough heat to melt the metal effectively. The arc will seem unstable and jumpy.
You’ll notice a lot of spatter and the weld will be wide and flat, with very little penetration. This creates a weak weld that sits on top of the base metal rather than fusing with it.
The Ideal Arc Length
The goal is to maintain an arc length that’s about the same as the diameter of the electrode you’re using. For a 1/8-inch electrode, aim for an arc gap of about 1/8 inch. This provides enough heat to melt the metal thoroughly while keeping the shielding gas and flux working effectively.
It results in a smooth, consistent bead with good penetration. You’ll hear a consistent crackling sound, like bacon frying, when the arc length is just right.
Understanding Amperage Settings
Amperage (amps) controls the amount of electrical current flowing through the arc. It’s the main dial you’ll use to adjust the heat of your welding arc. Getting the amperage setting correct is fundamental to melting metal properly.
Too little amperage means not enough heat. Too much amperage can burn through your metal.
Amperage and Metal Thickness
The thickness of the metal you’re welding is a primary factor in determining the correct amperage. Thicker metals require more heat (higher amperage) to melt them effectively. Thinner metals need less heat (lower amperage) to avoid burning through.
As a general rule, you’ll use higher amperage for thicker materials and lower amperage for thinner ones.
Amperage and Electrode Type
Different types of electrodes also require different amperage ranges. Each electrode packaging will usually provide recommended amperage settings. Always check the manufacturer’s recommendations.
For example, a 6010 electrode might run hotter than a 7018 electrode of the same diameter. Understanding these differences is key.
Here’s a simple guide for common electrode sizes and metal thicknesses:
| Electrode Diameter (in) | Metal Thickness (in) | Amperage Range (A) |
|---|---|---|
| 1/16 | ~1/16 | 30-50 |
| 3/32 | ~1/8 | 50-85 |
| 1/8 | ~3/16 – 1/4 | 75-125 |
| 5/32 | ~1/4 – 1/2 | 100-170 |
Remember, these are just starting points. You’ll often need to fine-tune the amperage based on your specific welding machine, the exact metal, and your welding position.
The Impact of Travel Speed
Travel speed is how quickly you move the electrode along the joint. Just like arc length and amperage, it plays a big role in how the metal melts. Move too fast, and you won’t get enough heat.
Move too slow, and you can burn through or create a large, messy bead.
Moving Too Fast
If you move the electrode too quickly, the arc doesn’t have enough time to melt the base metal effectively. You’ll end up with a narrow, raised bead that sits on the surface. This is often called “cold lapping” or “lack of fusion.” The weld won’t be strong because the base metals haven’t properly joined.
Moving Too Slow
Conversely, if you move too slowly, you apply too much heat to one spot. This can cause you to burn through thin materials or create an excessively wide, flat bead with a lot of spatter. The weld puddle can become too large and difficult to control, leading to a weak and porous weld.
Finding the Right Speed
The correct travel speed allows the electrode to melt into the base metal, creating a smooth, consistent weld puddle that fuses the materials together. You want to maintain a steady pace, letting the arc do its work. A good rule of thumb is to move at a speed that keeps the weld puddle a manageable size, typically about 1.5 to 2 times the width of the electrode.
You’ll also hear that consistent crackling sound, and the bead will be about the same width as the electrode itself.
Electrode Angle Matters
The angle at which you hold the electrode also influences how the molten metal flows and how well you get penetration. For most flat welding, a slight drag angle is recommended.
Drag Angle
A drag angle means you are pulling the electrode backward along the joint, so the electrode is angled slightly away from the direction of travel. This typically results in deeper penetration and a narrower bead. It also helps the flux and shielding gases protect the molten puddle more effectively.
Push Angle
A push angle means you are pushing the electrode forward in the direction of travel. This generally leads to less penetration and a wider, flatter bead. It can be useful in some specific situations, but for general welding, a drag angle is usually preferred.
Perpendicular vs. Angled
Holding the electrode perfectly perpendicular to the workpiece can sometimes lead to uneven melting or difficulty controlling the puddle. A slight drag angle, usually between 5 to 15 degrees, is often the sweet spot for optimal fusion and bead appearance.
Common Electrode Issues
Sometimes, the problem isn’t with your settings or technique, but with the electrodes themselves.
Damaged or Old Electrodes
Electrodes can become damaged if they are dropped or stored improperly. The flux coating can chip or crack. If the flux coating is compromised, it won’t provide adequate shielding, leading to porosity and poor welds.
Old electrodes can also absorb moisture from the air, which can cause arc instability, excessive spatter, and a weaker weld.
How to Store and Handle Electrodes
Always store electrodes in a dry place, preferably in their original sealed containers. If you have opened a container, consider using a rod oven to keep them dry, especially for moisture-sensitive electrodes like 7018. Handle them with care to avoid damaging the flux coating.
Using the Wrong Electrode Type
Different electrodes are designed for specific applications and metals. Using an electrode that isn’t suited for your project can lead to poor melting and weak welds. For example, using an all-position electrode like a 6010 on thick steel might not give you the penetration you need, while using a general-purpose electrode like a 6013 when deep penetration is required might also fall short.
Choosing the Right Electrode
Always consult charts or experienced welders to determine the best electrode for your specific base metal, thickness, and welding position. Common electrodes include:
- 6010: Deep penetrating, good for dirty or rusty metal, all-position.
- 6011: Similar to 6010 but for AC or DC machines, good for dirty metal.
- 6013: General purpose, good for thin metal, easy to use, all-position.
- 7018: Low-hydrogen, high-strength, requires dry storage, excellent for structural work.
Troubleshooting Common Problems
Let’s put this all together and see how to fix specific issues.
Problem: The Electrode Sticks to the Metal
This is a classic beginner issue, often caused by an arc that’s too short or not enough amperage. The electrode freezes to the workpiece before it can melt properly.
- Solution: Increase your amperage slightly. Ensure your arc length is correct – about the diameter of the electrode. Try a quick, sharp “jiggle” motion if it sticks, then pull away.
Problem: Lots of Spatter, Wide, Flat Bead, Little Penetration
This usually means your arc length is too long and possibly your amperage is too low.
- Solution: Shorten your arc length. Listen for that consistent sizzling sound. Check your amperage settings against the metal thickness and electrode type. Make sure you’re not moving too fast.
Problem: The Electrode Burns Through the Metal
This is typically caused by too much amperage or moving too slowly, especially on thin materials.
- Solution: Lower your amperage. Increase your travel speed to move the heat along more quickly. Ensure you are using the correct electrode for the metal’s thickness.
Problem: The Weld Puddle is Unstable and Jumpy
This can be due to a long arc, incorrect polarity for the electrode, or moisture in the electrodes.
- Solution: Shorten the arc. Double-check that you have the correct polarity settings for the electrode you are using (this is crucial for some electrodes). If using 7018 or other low-hydrogen rods, ensure they are properly dried and stored.
Practice Makes Perfect
The best way to get a feel for your stick welder and how it melts metal is through practice. Set up some scrap metal of the same thickness you plan to weld. Experiment with different amperage settings, arc lengths, and travel speeds.
Pay attention to the sound of the arc and the appearance of the weld puddle. You’ll quickly learn to recognize what a good weld looks and sounds like.
Frequently Asked Questions
Question: Why is my stick welder leaving a bead on top instead of melting into the metal?
Answer: This usually means your arc length is too long, your travel speed is too fast, or your amperage is too low. You need more heat and time for the electrode to fuse with the base metal. Shorten your arc, slow down your travel, or increase your amperage.
Question: Can using the wrong polarity settings cause my stick welder not to melt metal properly?
Answer: Yes, absolutely. Every electrode has a recommended polarity (DC+ , DC-, or AC). Using the wrong polarity can make the arc unstable, lead to poor penetration, excessive spatter, and an inability to melt the metal correctly.
Always check the electrode manufacturer’s recommendations.
Question: I’m welding thin sheet metal, and it keeps burning through. What should I do?
Answer: Thin metal requires less heat. Lower your amperage significantly. Also, try using a smaller diameter electrode (like 1/16″ or 3/32″).
Maintain a faster travel speed to keep the heat moving. A quick tack weld followed by a stitch weld can also help.
Question: My welds are rough and uneven. Does this mean the metal isn’t melting properly?
Answer: Roughness can be a sign of improper melting and fusion. It could be due to inconsistent arc length, incorrect travel speed, or the wrong electrode angle. Focus on maintaining a steady, consistent arc and movement.
Aim for a smooth, regular bead.
Question: How do I know if I’m using enough heat to melt the metal correctly?
Answer: You’ll see a consistent, molten puddle that you can control. The weld bead should appear to have fused with the base metal, not just sat on top. A good, steady crackling sound from the arc is also a good indicator of proper heat transfer.
Final Thoughts
When your Stick Welder Not Melting Metal Properly, it often comes down to controlling the heat and the arc. Focus on keeping your arc length consistent, using the right amperage for the metal and electrode, and maintaining a steady travel speed. Practice these fundamentals, and you’ll see a big difference.
You’ll get stronger, cleaner welds.