It’s common for folks just starting MIG welding to run into a little trouble, and one of the trickiest parts can be figuring out How Do You Prevent Burnback in MIG Welding? When your wire melts right to the tip of your welding gun, it’s frustrating! But don’t worry, it’s a simple fix once you know the steps. We’ll show you exactly what to do to keep that from happening so you can make great welds every time.
Key Takeaways
- Burnback happens when the welding wire melts too quickly at the tip.
- Proper voltage and wire speed settings are key to preventing burnback.
- Maintaining the correct distance between the welding tip and the workpiece is important.
- Checking and cleaning your welding gun’s contact tip is a vital step.
- Understanding the relationship between amperage, voltage, and wire speed helps avoid this issue.
- Simple adjustments can easily solve burnback problems for beginners.
What is Burnback in MIG Welding?
Burnback is a common issue that pops up when you’re MIG welding, especially if you’re new to it. It’s when the welding wire melts right at the end of your welding gun’s tip, sticking there. This can make a real mess and stop your welding cold.
It often happens when the wire melts faster than it’s being fed through the gun.
When burnback occurs, you’ll see the end of the wire fused to the contact tip. Sometimes it can even melt all the way back into the gun liner. This can damage your equipment and really interrupt your work.
Learning how to stop it is a big step in becoming a better welder.
Why Does Burnback Happen?
There are a few main reasons why burnback happens in MIG welding. Most of them have to do with the settings on your machine and how you’re holding the gun.
Incorrect Voltage Settings
Voltage controls the arc length and how hot your weld puddle is. If your voltage is too high for the wire speed you’re using, the wire will melt too fast. This excess heat causes it to fuse to the contact tip.
Think of it like this: if you turn your oven up too high, your food cooks too quickly and might burn on the outside before it’s done inside. In welding, too much voltage makes the wire melt too soon.
Wire Speed Too Low
Wire speed controls how fast the welding wire is fed into the weld puddle. When the wire speed is too low, the wire doesn’t get pushed into the molten metal fast enough. This gives the tip of the wire too much time to heat up and melt onto the contact tip.
This is similar to trying to fill a bucket with a tiny trickle of water. It takes a long time, and the water might evaporate before it even fills the bucket. With welding, the wire melts before it can join the metal properly.
Work Clamp Not Connected Properly
Your work clamp creates the electrical circuit needed for welding. If the clamp isn’t making good, solid contact with the metal you’re welding, the electricity has to find another way. This can cause an unstable arc and inconsistent heat, leading to burnback.
A loose or dirty work clamp is like having a weak connection in a light switch. The light flickers and doesn’t work right. The same happens with your welding arc.
You need a strong, steady flow of electricity.
Contact Tip Too Far from the Workpiece
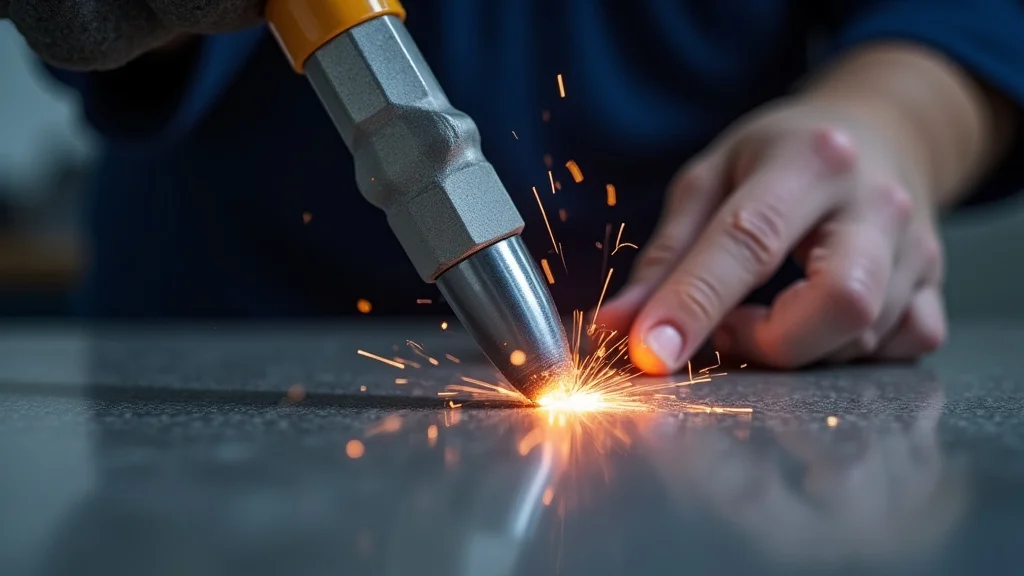
The distance between your welding gun’s contact tip and the metal you’re welding is called the stick-out. If you have too much stick-out, the wire is exposed to more heat before it reaches the weld. This extra exposure can cause it to melt too soon.
Imagine holding a marshmallow too far from a campfire. It will get warm, but if you hold it too close, it will quickly char and burn. The same principle applies to your welding wire and the arc.
Dirty or Worn Contact Tip
The contact tip is a small brass part inside your welding gun. It’s where the welding wire passes through and makes electrical contact. If this tip is dirty, damaged, or the wrong size, it can cause problems with wire feeding and heat transfer.
A dirty or worn tip can restrict the wire’s movement or create a poor electrical connection. This can lead to arcing issues and, you guessed it, burnback. It’s like trying to shoot a ball through a bent or dirty hoop; it won’t go in smoothly.
Welding on Thin Material with Incorrect Settings
Welding very thin metal requires precise settings. If you use settings that are too hot for thin material, you’ll burn through it, and you might also get burnback. The wire can melt through the thin metal and stick to your tip.
It’s like trying to use a powerful hose to water delicate flowers. You’ll likely damage the flowers. You need the right pressure and flow for the job.
How Do You Prevent Burnback in MIG Welding?
Now that we know why burnback happens, let’s look at how to stop it. Preventing burnback is mostly about getting your settings right and keeping your equipment in good shape.
1. Adjust Your Voltage and Wire Speed
This is the most important step. You need to find the sweet spot where the wire feeds smoothly and the arc is stable. The general rule is to set your wire speed first, then adjust your voltage to match.
For most common materials like mild steel, a good starting point for wire speed might be around 150-200 inches per minute (IPM). Then, you’d adjust the voltage. You want a nice, crackling sound, not a loud, hissing roar or a sputtering noise.
If the wire is melting to the tip, try increasing the wire speed slightly. If the arc seems too short and spattery, you might need to adjust the voltage down or wire speed up.
Here’s a simple way to think about it:
- Too much heat (too high voltage or too low wire speed): Wire melts too fast, leading to burnback.
- Not enough heat (too low voltage or too high wire speed): Weak arc, poor penetration, and spatter.
2. Maintain Proper Stick-Out
Keep your contact tip about 1/4 inch to 1/2 inch away from the metal you’re welding. This distance ensures the wire is protected by the shielding gas for as long as possible and doesn’t get too much heat from the surrounding air.
When you’re welding, try to keep this distance consistent. It takes practice, but it makes a big difference in weld quality and preventing burnback.
3. Ensure a Solid Work Clamp Connection
Always make sure your work clamp is attached to a clean, bare metal surface. Scrape away any paint, rust, or dirt where the clamp connects. A good, solid connection means a stable electrical path for your weld.
If you’re welding on a piece of metal that’s already attached to a larger structure, like a car frame, the connection might be less direct. In those cases, find the best possible spot for a clean, firm grip.
4. Clean and Inspect Your Contact Tip
Regularly check your contact tip for any buildup of spatter or damage. You can use a wire brush to clean it. If the tip looks worn or deformed, it’s time to replace it.
Contact tips are inexpensive, and a good tip makes a huge difference.
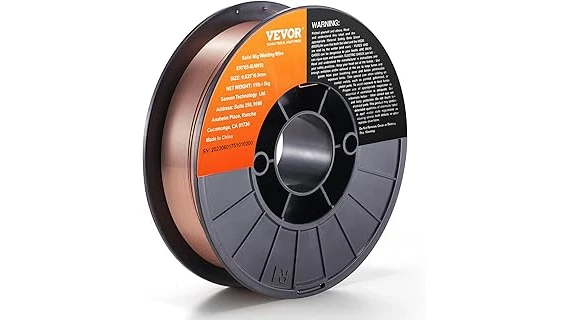
You should also make sure the tip is the correct size for the welding wire you’re using. If you have a 0.030-inch wire, you need a 0.030-inch contact tip. A tip that’s too large or too small can cause feeding issues and burnback.
5. Check Your Drive Roll Tension
The drive rolls in your wire feeder grip the welding wire and push it through the gun. If the tension on these rolls is too loose, the wire might slip, leading to inconsistent feeding. If it’s too tight, it can deform the wire, which also causes feeding problems and can even lead to burnback.
You want enough tension for the rolls to grip the wire firmly but not so much that they crush or flatten it. A good test is to try and pull the wire back while the feeder is running; it should slip if the tension is correct.
6. Use the Correct Shielding Gas
For most common MIG welding applications, a 75% Argon / 25% CO2 gas mix is used. This gas mix is suitable for steel and helps create a stable arc. If you’re using the wrong gas, or if your gas flow rate is too low, you won’t get proper shielding, and this can affect the arc and lead to burnback.
Make sure your gas cylinder is open and that the flow meter is set to the recommended rate, usually around 15-20 cubic feet per hour (CFH).
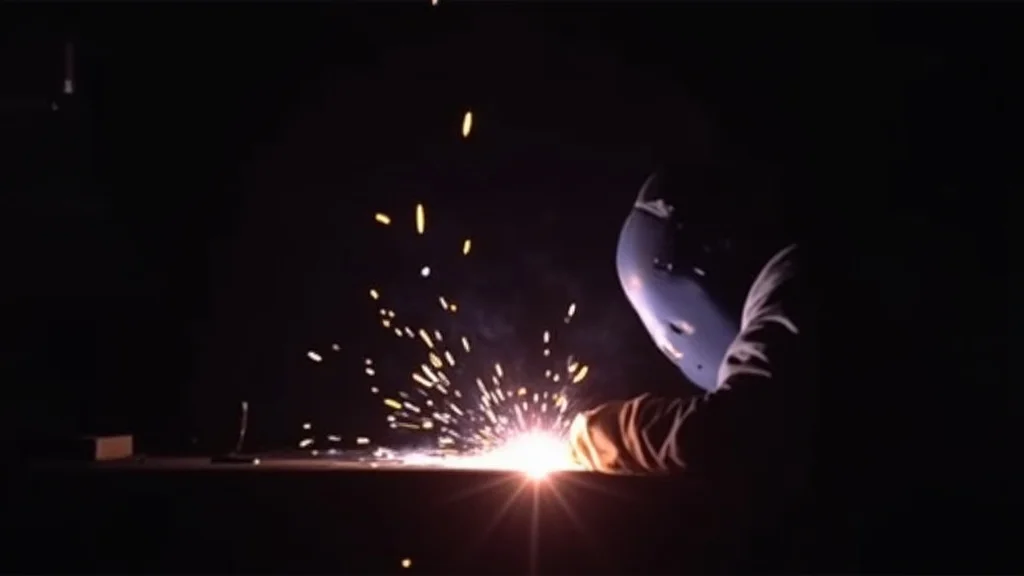
7. Practice and Listen
Welding is a skill that improves with practice. Pay attention to the sound of your arc. A good MIG arc sounds like a steady sizzle or bacon frying.
If it’s sputtering, popping, or hissing loudly, your settings might be off, and you could be heading for burnback.
Try welding on scrap pieces of metal first. Adjust your settings until you get that consistent sound and a smooth, clean bead.
Common Burnback Scenarios and Fixes
Let’s look at a few typical situations where burnback might happen and how to fix them.
Scenario 1: Just started welding, and the wire melted to the tip.
Cause: Often, this is because the wire speed is too low, or the voltage is too high for the initial arc strike. When you first hit the trigger, the wire is stationary, and if there’s too much heat concentrated there, it melts.
Fix: Increase your wire speed slightly. Or, if your machine has a separate voltage control, try lowering it a bit. Make sure your stick-out is correct (around 1/4 inch).
Scenario 2: Burnback happens after welding for a while.
Cause: This could be a sign that your contact tip is starting to get clogged with spatter, or your wire feeder tension is off, causing inconsistent wire feeding. The tip might also be overheating.
Fix: Stop welding, turn off the machine, and clean your contact tip. If the problem persists, check your drive roll tension and ensure the wire is feeding smoothly.
Scenario 3: Welding on different metal thicknesses.
Cause: Using the same settings for thin and thick metal is a recipe for trouble. Thin metal burns through easily, and thick metal might not get enough heat. Both can lead to burnback if settings aren’t right.
Fix: Always adjust your voltage and wire speed for the thickness of the metal. Thicker metal generally needs more heat (higher voltage/wire speed), while thinner metal needs less.
Frequently Asked Questions
Question: What is the easiest way to stop burnback?
Answer: The simplest fix is usually to increase your wire speed or decrease your voltage. Finding the right balance between these two settings is key to preventing burnback.
Question: Can a dirty contact tip cause burnback?
Answer: Yes, a dirty or worn contact tip can cause inconsistent wire feeding and poor electrical contact, both of which can lead to burnback.
Question: How far should the welding wire stick out from the tip?
Answer: You should aim for about 1/4 inch to 1/2 inch of wire sticking out from the contact tip. This is called stick-out.
Question: Does the work clamp affect burnback?
Answer: Absolutely. A poor connection from the work clamp can lead to an unstable arc and inconsistent heat, which can contribute to burnback.
Question: What should I do if the wire is melting back into the gun liner?
Answer: This is a severe burnback. You’ll need to stop welding, clear the obstruction (which may involve disassembling the gun), and check your settings, especially wire speed and voltage, and ensure your contact tip is clean and not worn.
Final Thoughts
Figuring out How Do You Prevent Burnback in MIG Welding? gets a lot simpler when you know the common causes. It’s mostly about getting your voltage and wire speed just right for the job. Always make sure your work clamp is on tight and that your contact tip is clean and the right size.
Keeping your stick-out consistent also helps a lot. By paying attention to these simple things, you can stop burnback from happening and get back to making great welds. Keep practicing, and you’ll get the feel for it.