
It’s frustrating when your welding rod keeps sticking! This problem, often called Stick Welder Rod Sticking Frequently, is super common for folks just starting out with stick welding. Don’t worry, though.
This guide will show you simple steps to fix it. We’ll get your welding rod moving smoothly and help you make great welds.
Key Takeaways
- Understand why stick welder rods stick often for beginners.
- Learn the correct amperage settings for different electrode types.
- Discover the right way to strike an arc to prevent sticking.
- Know how to adjust your arc length for consistent welds.
- See how electrode angle affects rod sticking.
- Get tips on choosing the right welding machine settings.
Why Your Stick Welder Rod Sticks
Stick welding, also known as Shielded Metal Arc Welding (SMAW), is a fantastic way to join metal. It’s strong and can be done almost anywhere. But, beginners often run into the same issue: the welding rod sticks to the metal they’re trying to weld.
This happens a lot and can make you feel like you’re not getting anywhere.
The main reason your stick welder rod sticking frequently is because the metal is melting too fast, or you’re not moving correctly. Think of it like trying to draw a picture with a crayon that’s melting too much. It gets messy and doesn’t make a clear line.
The same thing happens with welding. When the rod touches the metal, it melts. If it melts too quickly or you hold it too close for too long, it fuses and sticks.
Several things can cause this. It could be the heat setting on your welder, how you start the weld, or how close you hold the rod to the metal. We’ll look at each of these.
Understanding Amperage and Polarity
The amperage setting on your welder is like the heat control. If it’s too high, the rod melts too fast. If it’s too low, you might not get enough heat to melt the metal properly, which can also cause sticking.
Polarity is also important. It’s about which way the electricity flows.
Amperage Settings
Every welding electrode has a recommended amperage range. This is usually printed on the electrode’s wrapper or in a welding guide. Using the right amperage is key to preventing your stick welder rod sticking frequently.
For example, a 6013 electrode, which is common for beginners, might work well between 50-120 amps. If you’re welding thin metal, you’ll want to be at the lower end of the range. For thicker metal, you’ll need more heat, so you’ll be at the higher end.
General Amperage Guidelines (Approximate):
| Electrode Diameter | Amperage Range (DCEN) | Amperage Range (DCEP) |
|---|---|---|
| 1/16 inch | 20-50 amps | 30-60 amps |
| 3/32 inch | 40-90 amps | 50-100 amps |
| 1/8 inch | 70-130 amps | 80-150 amps |
| 5/32 inch | 120-200 amps | 130-220 amps |
Always check the specific electrode packaging for the most accurate recommendations. Starting with the lower end of the recommended range and adjusting up if needed is a good practice.
Polarity Matters
Stick welders can run on Direct Current Electrode Negative (DCEN) or Direct Current Electrode Positive (DCEP), or Alternating Current (AC). Each has its uses.
- DCEN (Straight Polarity): The electrode is negative. This provides less heat penetration and is good for welding thinner materials. It can sometimes lead to sticking if the amperage is not set correctly.
- DCEP (Reverse Polarity): The electrode is positive. This provides more heat and deeper penetration. It’s often better for thicker metals and can sometimes help prevent sticking because the arc is hotter.
- AC (Alternating Current): The electricity switches direction. Some machines only offer AC. It’s a good balance but can be trickier for beginners.
The type of electrode you use will often tell you which polarity is best. For example, 6010 and 6011 electrodes typically run on DCEN or AC, while 7018 electrodes often run best on DCEP.
Striking the Arc Correctly
How you start the weld, or “strike the arc,” is a critical step. If you do it wrong, you’ll likely have your stick welder rod sticking frequently. There are two main ways to start an arc: the scratch start and the tap start.
The Scratch Start
This is similar to striking a match. You gently “scratch” the tip of the electrode across the metal surface. As soon as you see a spark, lift the electrode away slightly.
This is where many beginners make a mistake. They scratch too hard, or they don’t lift the rod up enough.
If you scratch too hard, you can bend the electrode tip or even break it. If you don’t lift the rod up enough after scratching, it will just embed itself in the metal and stick. The goal is to create a small, consistent spark, then pull the rod back to a short distance from the metal.
The Tap Start
With this method, you lightly “tap” the electrode on the metal surface, almost like tapping a pencil. Then, immediately lift it up to the correct arc length. This method can be a bit gentler and sometimes helps avoid sticking if you have a light touch.
The key to both methods is a quick, decisive movement. Once the arc is struck, you need to maintain the correct distance between the rod and the workpiece.
Maintaining the Correct Arc Length
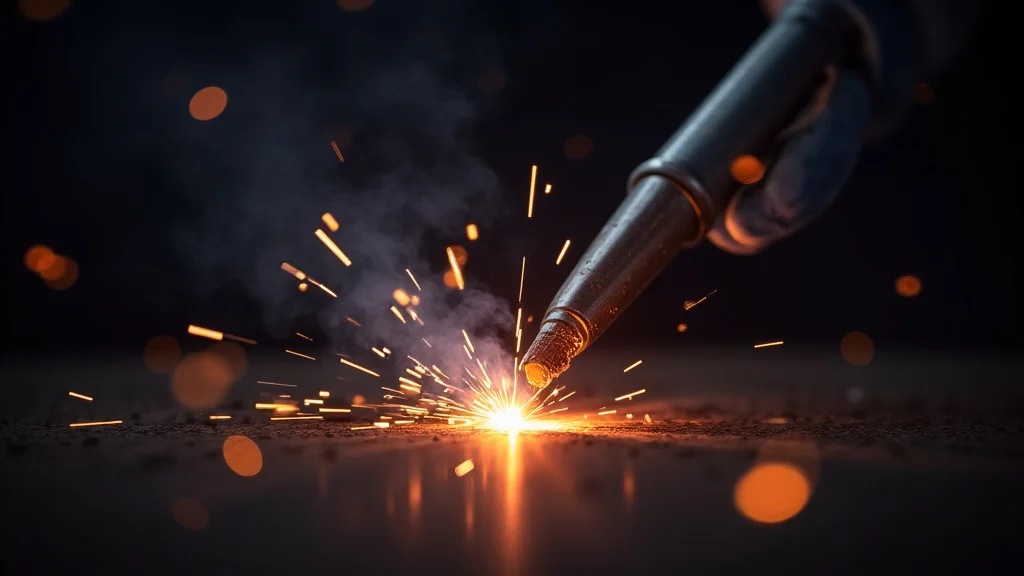
Arc length is the distance between the tip of the electrode and the molten puddle of metal. This is perhaps the most important factor in preventing your stick welder rod sticking frequently and creating good welds.
What is the Right Arc Length?
Think of the welding rod’s coating. The coating is there to shield the molten metal from the air. You want to keep the arc length about the same as the diameter of the electrode you’re using.
So, if you’re using a 1/8 inch electrode, you want about 1/8 inch distance between the rod tip and the puddle.
Too Short Arc Length: If you hold the rod too close to the metal, the electrode will melt into the puddle and stick. You’ll hear a loud, crackling sound, and the weld might look “cupped” or uneven. It’s very common for beginners to have too short an arc length, leading to frequent sticking.
Too Long Arc Length: If you hold the rod too far away, the arc becomes unstable. You’ll hear a sputtering sound. This can cause spatter (small drops of molten metal flying out) and lead to porosity (small holes) in your weld.
The weld won’t be as strong.
Just Right Arc Length: You want a steady, hissing sound, like bacon frying. The arc should be consistent, and the molten puddle should be controllable. You’ll be able to see the molten metal clearly and guide it.
Practicing Arc Length
The best way to learn this is through practice. Try welding on a scrap piece of metal. Focus on keeping that consistent distance.
Try to keep the sound steady. If you hear it sputtering, move the rod closer. If you hear it crackling and sticking, pull it away a little.
Electrode Angle and Movement
How you hold and move the electrode also plays a big role in preventing sticking. You need to keep the electrode moving at a steady pace and at the correct angle.
Forward or Drag Angle
For most stick welding, you’ll want to hold the electrode at a slight angle, leaning it in the direction you are moving. This is often called a “drag” angle. For basic electrodes like 6013 or 7018, a slight drag angle of about 10-15 degrees is usually recommended.
This slight drag helps the flux in the electrode coating burn correctly and create a smooth, stable arc. It also helps push the molten metal into the puddle. If you hold the electrode straight up and down, or push it forward, you might encounter problems like porosity or increased sticking.
Travel Speed
The speed at which you move the electrode along the weld joint is called travel speed. If you move too slowly, the heat builds up too much, and the rod can stick or you can burn through the metal. If you move too fast, you won’t get enough melting, and the weld won’t fuse properly.
Again, this comes with practice. As you get more comfortable with the arc length and amperage, you’ll develop a feel for the right travel speed. You’re looking to create a bead that’s about the same width from start to finish.
Choosing the Right Electrode
The type of welding rod you choose can make a big difference. Some rods are easier for beginners than others. Stick welder rod sticking frequently can be worse with the wrong rod.
Common Beginner Electrodes
- E6013: This is a very popular choice for beginners. It’s an all-position electrode (meaning you can weld in any direction) that runs on AC or DC. It has a softer arc and produces less spatter, making it more forgiving. It’s great for general repairs and fabrication on mild steel.
- E7018: This is a low-hydrogen electrode. It’s known for producing strong, high-quality welds. It runs best on DC and often requires a slightly hotter setting. While it can produce excellent results, it might be a bit trickier for absolute beginners than the E6013 due to its sensitivity to arc length and travel speed.
For learning, starting with E6013 rods is often recommended. Once you get the hang of striking an arc and maintaining arc length, you can move on to other types.
Troubleshooting Common Issues
Even with the best settings and technique, you might still run into problems. Here are a few common ones and how to fix them when your stick welder rod sticking frequently.
The Rod Won’t Start an Arc
If you’re scratching or tapping and nothing happens, check these things:
- Amperage: Is it too low? Try increasing it slightly.
- Connections: Are your ground clamp and electrode holder firmly connected?
- Electrode: Is the electrode old or damaged? Sometimes old electrodes can be harder to strike an arc with.
- Power: Is the welder plugged in and turned on? (A basic check, but worth mentioning!)
The Weld Puddle is Too Small or Doesn’t Melt Enough
This usually means your heat is too low.
- Amperage: Increase the amperage setting.
- Arc Length: Make sure your arc length isn’t too long. A long arc creates a weak weld.
- Travel Speed: You might be moving too fast. Slow down slightly.
The Weld Puddle is Too Big or Burns Through
This means you have too much heat.
- Amperage: Decrease the amperage setting.
- Travel Speed: You might be moving too slowly. Speed up your travel.
- Arc Length: Ensure your arc length isn’t too short.
FAQ
Question: Why does my stick welder rod stick every time I try to start it?
Answer: This is usually because you are holding the rod too close to the metal after striking the arc, or you are not lifting it quickly enough. Try a quick scratch and a swift lift to the correct arc length.
Question: Can I use any welding rod with any stick welder?
Answer: Mostly, yes, but it’s best to match the electrode type to your machine’s capabilities and the metal you’re welding. Check the recommended amperage and polarity for each rod.
Question: How do I know if my amperage is set correctly?
Answer: The electrode packaging will give you a recommended amperage range. Start at the lower end of the range and adjust based on how the arc sounds and the puddle behaves. Listen for a steady hiss.
Question: What is the most common mistake beginners make?
Answer: The most common mistake is holding the arc length too close to the metal. This causes the electrode to melt too quickly and stick. Aim for an arc length about the same as the electrode’s diameter.
Question: Should I use AC or DC for stick welding beginners?
Answer: Many beginners find DC easier to learn with, especially with electrodes like 6013 or 7018 on DCEP. However, AC can also work well. It often depends on the specific electrode and welder.
Final Thoughts
Learning to stick weld takes a bit of practice, but getting past the problem of your stick welder rod sticking frequently is totally achievable. Focus on finding the right amperage for your electrode, practicing how to strike and hold a consistent arc length, and keeping a steady travel speed. Don’t get discouraged if you have a few stuck rods.
Every welder has been there! Keep trying, and you’ll start making smooth, strong welds.