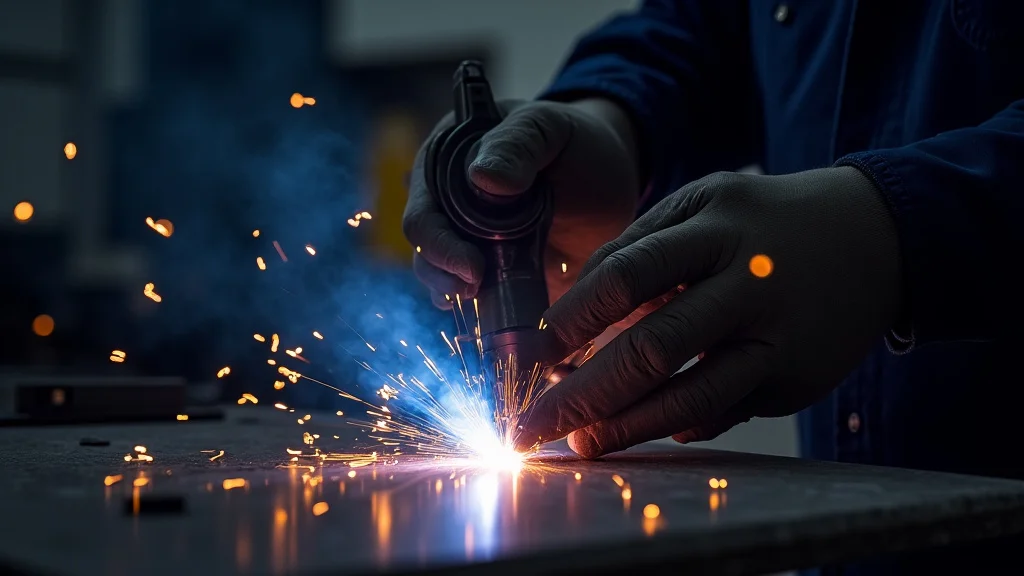
Having your TIG welder arc flicker can be really frustrating, especially when you’re just starting out. It makes it hard to get clean welds. Don’t worry, though!
This guide is here to help. We’ll walk you through simple fixes step-by-step so you can get back to smooth, steady welds. Let’s fix that flickering arc and make your TIG welding projects shine.
Key Takeaways
- You will learn common reasons why TIG welder arcs flicker.
- You will discover simple, practical steps to stop your TIG arc from flickering.
- You will understand how different settings affect arc stability.
- You will get tips on checking your equipment for issues.
- You will feel more confident in troubleshooting TIG welding problems.
Why Does My TIG Welder Arc Flicker?
It’s a common problem for new TIG welders to see their arc jump and flicker. This happens for many reasons. Sometimes, it’s a simple fix you can do yourself.
Other times, it might mean you need to adjust your machine’s settings. Understanding why the arc flickers is the first step to fixing it. We will go through these causes one by one.
Power Source Issues
The electricity you use is very important for a steady TIG arc. If the power going into your welder isn’t clean, the arc can become unstable.
Inconsistent Power Supply
Your TIG welder needs a stable amount of power. If the power in your shop or garage fluctuates, the arc will too. This is like trying to run a sensitive TV on a power line that keeps dimming and brightening.
The picture on the TV would flicker, and the same thing happens to your TIG arc. This is more common in places with older electrical systems or if you’re using a long extension cord that isn’t heavy enough.
Ground Clamp Connection
A good ground connection is super important for any welding. If your ground clamp isn’t making a solid contact with the metal you’re welding, or with the welding machine itself, the electricity can’t flow properly. This can cause the arc to jump around or be weak.
Make sure the clamp is clean and clamped tightly to bare metal. Rust, paint, or dirt can all get in the way.
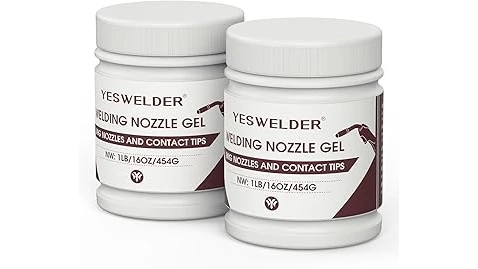
TIG Torch and Consumables
The parts of your TIG torch that touch the arc are also key to a stable weld. If these are worn out or not set up right, your arc will suffer.
Tungsten Electrode Problems
The tungsten electrode is what creates the arc. If it’s not shaped correctly, it can cause problems. For DC TIG welding on steel and stainless steel, you usually want to grind the tungsten to a point.
A dull or rounded tungsten will create a wider, less focused arc that can flicker. If the tungsten is contaminated, like by touching the puddle, it will also cause an unstable arc. You might need to re-grind or break off the contaminated tip.
Incorrect Tungsten Type or Diameter
Different jobs need different types and sizes of tungsten. Using the wrong kind can make the arc behave strangely. For example, using a thoriated tungsten on AC welding can be bad.
Also, if your tungsten is too thin or too thick for the amperage you’re using, it won’t handle the heat well. This can lead to it melting or not holding a steady arc.
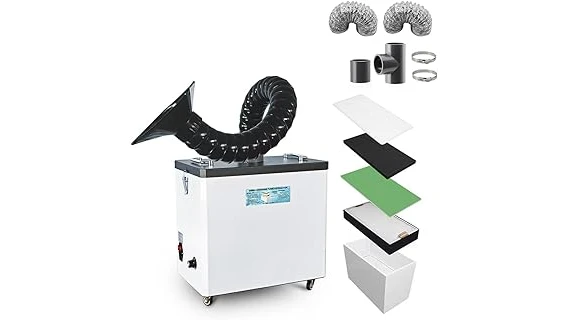
Gas Lens Issues
A gas lens helps direct the shielding gas around the tungsten and the weld puddle. If it’s dirty, damaged, or not installed correctly, it can lead to poor gas coverage. This allows air to get to the hot metal, which can cause oxidation and an unstable arc.
It’s like trying to blow out a candle with a fan that’s blowing from the side – the flame gets all shaky.
Shielding Gas Problems
Shielding gas protects your weld from the air. If it’s not working right, your weld will suffer, and so will your arc.
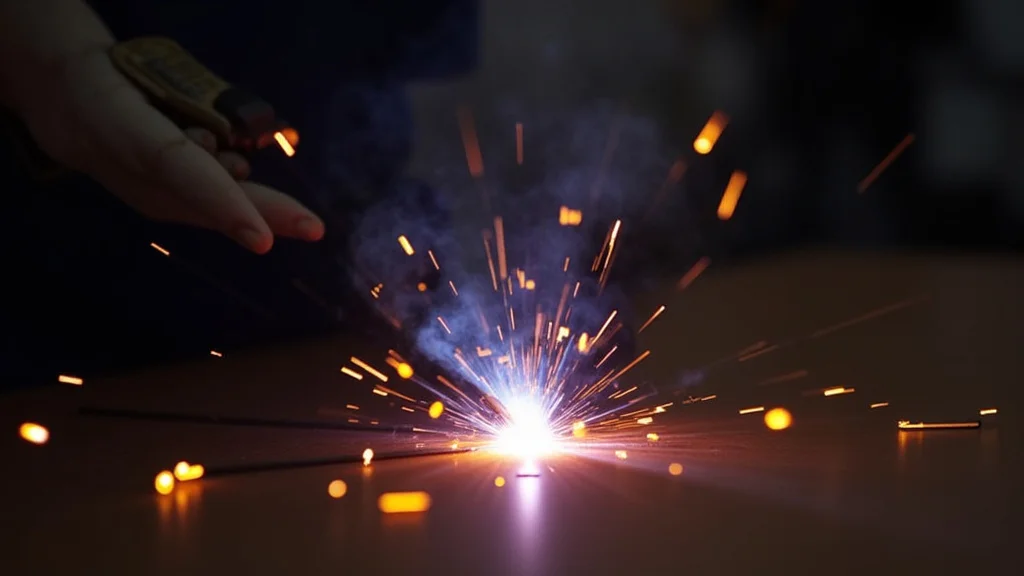
Insufficient Gas Flow
Not enough shielding gas means air gets to your weld. This is a very common cause of a flickering arc. The weld puddle can bubble and look dirty.
You need enough gas to create a protective bubble around the arc. Too little gas, and the arc will be exposed to the air, making it sputter and flicker.
Incorrect Gas Type
Argon is the most common gas for TIG welding. It’s great for most metals. However, for some specific metals or welding situations, you might need a mix of gases, like argon and helium.
Using pure argon for a job that needs a gas mix can result in an unstable arc and poor weld quality.
Gas Leaks or Drafts
If there’s a leak in your gas hose, regulator, or torch connection, you won’t get enough gas to the weld. Also, strong drafts from fans, open doors, or windows can blow the shielding gas away before it can protect the weld. This is another way air gets to the hot metal, causing arc instability.
Machine Settings
The settings on your TIG welder control how it operates. If they are not set correctly for your job, your arc can flicker.
Amperage Settings
The amperage (the amount of electrical current) is critical. If it’s too low for the thickness of the metal, the arc won’t melt the metal properly, and it can be weak and unstable. If it’s too high, you might burn through, and the arc can also become erratic.
You need to match the amperage to the metal thickness and joint type.
Frequency Settings (AC Welding)
On AC welding machines, you can adjust the arc frequency. This setting affects how focused or spread out the arc is. A low frequency can result in a wider, softer arc that might flicker more.
Increasing the frequency can help to narrow and stabilize the arc, making it more focused and less prone to flickering. For AC on aluminum, you often want a higher frequency.
Balance Settings (AC Welding)
The balance control on an AC machine adjusts the amount of cleaning action versus penetration. If the balance is set too far towards cleaning, it can make the arc less stable. Finding the right balance is key for smooth AC welding on aluminum and magnesium.
Post-Flow Setting
The post-flow setting controls how long the shielding gas stays on after you release the TIG torch trigger. If the post-flow is too short, the weld puddle and the tungsten can be exposed to air while they are still hot. This can lead to contamination and an unstable arc the next time you start welding.
Ensure your post-flow is long enough to allow cooling under gas.
Workpiece Preparation
How you prepare the metal you’re welding is just as important as the machine settings.
Surface Contamination
Any dirt, oil, grease, rust, paint, or other coatings on the metal can cause the arc to flicker. These contaminants can vaporize and get into the weld puddle, causing impurities. Always clean the metal thoroughly before welding.
For aluminum, using a dedicated stainless steel brush for aluminum is best to avoid transferring steel particles.
Poor Fit-Up
If the pieces of metal you are trying to join don’t fit together well, it can create gaps. These gaps can be hard for the arc to bridge consistently. This can lead to the arc sputtering or jumping as it tries to find a path.
Ensure your parts are aligned and fit tightly together.
Troubleshooting Steps for a Flickering TIG Arc
Now that we know some common reasons, let’s look at how to fix them. Think of this as a checklist to help you find and solve the problem.
Step 1: Check Your Power Source
Ensure a Stable Power Supply. Make sure your welder is plugged into a reliable outlet. If you’re using a long or thin extension cord, try a shorter, thicker one. Sometimes, the problem is simply the power not being steady.
You can also try plugging into a different circuit if possible to rule out electrical issues in your building.
Verify Ground Clamp Connection. Go to your welder and the workpiece. Make sure the ground clamp is attached firmly to the metal. Scrape away any paint, rust, or dirt where the clamp is connected.
A shiny, bare metal surface ensures the best electrical contact. Wiggle the clamp to ensure it’s making good contact.
Step 2: Inspect Your Torch and Consumables
Examine the Tungsten Electrode. Look at the tip of your tungsten. Is it ground to a sharp point (for DC) or a rounded tip (for AC)? If it looks dirty, has a balled-up tip, or is significantly shorter than it should be, it’s time to regrind it.
Use a dedicated grinder for tungsten to avoid contamination from other metals. Make sure you grind it lengthwise, not across the tip.
Check Tungsten Type and Diameter. Double-check that you are using the right type of tungsten for your metal and welding process. Consult your welder’s manual or a welding supply store if you’re unsure. Make sure the diameter of the tungsten is appropriate for the amperage you are using.
A chart in your manual or online can guide you.
Inspect the Gas Lens. Take your torch apart and check the gas lens components. Are they clean and free of any aluminum build-up or other debris? Is the collet and gas lens seating correctly?
Make sure the small ceramic cup is also clean and not cracked. Reassemble carefully, ensuring everything is snug but not overtightened.
Step 3: Evaluate Your Shielding Gas
Check Gas Flow Rate. Turn on your gas cylinder and check your regulator. Is the flow rate set correctly? A good starting point for most TIG welding is around 15-25 cubic feet per hour (CFH) or liters per minute (LPM), but this can vary.
You can often hear the gas flowing when you briefly press the torch trigger (with the arc turned off or very low). Feel the gas flow from the cup.
Confirm Gas Type. Ensure you are using the correct shielding gas for your application. For most steel and stainless steel, pure argon is standard. For aluminum, pure argon is also common.
If your project requires a gas mix, make sure you have the correct cylinder connected and the regulator set for that mix.
Look for Leaks and Drafts. Listen for hissing sounds from your gas setup. You can also use a gas leak detector fluid on connections. Check for strong air currents around your welding area.
If you’re welding outdoors or near a fan, try to set up a temporary windbreak to shield your weld from drafts.
Step 4: Adjust Machine Settings
Set the Correct Amperage. Consult a welding chart or your machine’s manual to determine the appropriate amperage for the thickness and type of metal you are welding. Start with the recommended setting and adjust as needed. You should see a smooth melt and a stable arc.
If the arc is weak, try increasing the amperage slightly. If you’re burning through, reduce it.
Experiment with AC Frequency. If you are welding aluminum and your arc is flickering, try increasing the AC frequency. Start around 100 Hz and go up. You’ll notice the arc becomes tighter and more focused.
Find a frequency that gives you a stable arc and good control over the puddle. You don’t always need the highest frequency.
Fine-Tune AC Balance. For AC welding, adjust the balance setting. If you have too much cleaning action (higher numbers on some machines), the arc can become unstable. Reduce the balance slightly and see if the arc steadies.
You’re looking for a balance between good cleaning of the aluminum oxide and a stable, controllable arc.
Set Adequate Post-Flow. After welding, the shielding gas needs to keep flowing to protect the cooling metal from air. Ensure your post-flow setting is long enough. A good starting point is often 5-15 seconds, depending on your gas flow rate and cup size.
If the tungsten looks oxidized or the weld looks rough immediately after welding, you might need longer post-flow.
Step 5: Prepare Your Workpiece Properly
Thoroughly Clean the Metal. Use a degreaser and a clean rag to remove any oils or grease. Then, use a dedicated stainless steel wire brush to remove any rust, paint, or scale. For aluminum, a clean wire brush is essential.
Make sure your cleaning tools are clean and dedicated to the specific metal you are working with to avoid contamination.
Ensure Good Fit-Up. Position your metal pieces so they fit together as closely as possible. Minimize gaps. If there are small gaps, you might need to practice filling them with your TIG torch to maintain a consistent arc.
Good fit-up makes a huge difference in arc stability and weld quality.
Common Scenarios and Solutions
Let’s look at a few common situations where you might see a flickering arc and what to do.
| Problem Scenario | Likely Cause | Step Solution |
|---|---|---|
| Arc sputters on thin steel. | Incorrect amperage or poor ground. | Lower amperage slightly. Clean ground clamp and connection. Check tungsten sharpness. |
| Arc is wide and wanders on aluminum. | Low AC frequency or contaminated tungsten/cup. | Increase AC frequency. Clean tungsten and gas lens. Ensure proper gas flow. |
| Arc looks “dirty” and makes popping sounds. | Insufficient shielding gas or drafts. | Increase gas flow rate. Check for leaks. Shield weld area from wind. |
| Arc seems weak and inconsistent. | Poor power connection or dull tungsten. | Check power cord and outlet. Verify ground clamp contact. Regrind tungsten to a sharp point. |
Frequently Asked Questions
Question: What is the most common reason for a TIG arc to flicker?
Answer: The most common reasons are insufficient shielding gas or a contaminated tungsten electrode. Air getting to the weld puddle causes instability.
Question: How do I know if my tungsten is bad?
Answer: A bad tungsten might look dull, balled up, contaminated with metal, or be too short. It won’t hold a sharp point for DC welding.
Question: Can a long extension cord cause arc flicker?
Answer: Yes, a long or undersized extension cord can reduce the voltage and amperage reaching your welder, leading to an unstable arc.
Question: Is it okay to use the same wire brush for steel and aluminum?
Answer: No, it’s best to use separate wire brushes. Using a steel brush on aluminum can leave steel particles that will contaminate your weld.
Question: How much shielding gas should I use?
Answer: A good starting point is usually 15-25 CFH (or LPM). However, the exact amount depends on your cup size, weld speed, and environmental conditions.
Final Thoughts
Fixing a flickering TIG arc is about checking a few key things systematically. You learned about power, your torch, gas, machine settings, and how you prep your metal. By taking these simple steps, you can find the source of the problem.
Keep your tungsten sharp, your gas flowing, and your metal clean. Practice makes perfect, and with these solutions, your TIG welds will become much smoother and more consistent. You’ve got this!