Welding can make metal warp and bend, which is a common problem. If you’re new to welding, you might wonder, How Do You Protect Metal from Welding Distortion? It can seem tricky at first, but it’s really about knowing a few smart tricks. We’ll show you simple ways to stop your metal from changing shape.
Ready to learn how to keep your projects flat and straight?
Key Takeaways
- Welding heat causes metal to expand and contract, leading to distortion.
- Proper joint preparation and fit-up minimize gaps where heat can concentrate.
- Clamping and fixturing are essential for holding parts in place during welding.
- Using tack welds strategically helps lock down the workpiece before full welding.
- Controlling heat input by adjusting amperage, voltage, and travel speed is vital.
- Peening can relieve stress and counteract some of the distortion forces.
Understanding Welding Distortion
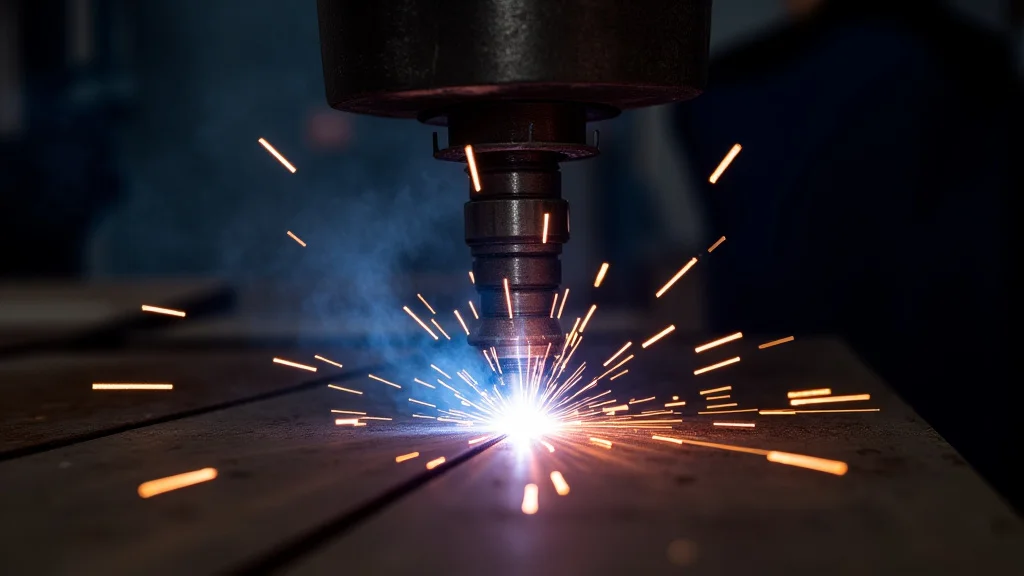
When you weld, you’re applying a lot of heat to the metal. This heat makes the metal expand. As it cools down, it shrinks.
This shrinking and expanding is what causes welding distortion. Think of it like a rubber band. You stretch it out, and when you let go, it snaps back, sometimes in a new shape.
Metal does something similar, but on a much bigger scale.
For beginners, seeing a welded piece warp can be frustrating. It might look like you did something wrong, but it’s a natural part of the process. The key is to learn how to manage this heat.
If you don’t manage it, you can end up with bent parts that don’t fit right. This can make your project look messy or even make it unusable.
The amount of distortion depends on a few things. It depends on the type of metal you’re welding. It also depends on how thick the metal is.
The design of your weld joint plays a big role too. The length and type of weld matter. Even the welding technique you use can affect how much the metal warps.
Preventing Distortion Before You Start
Good preparation is half the battle. Before you even strike an arc, there are steps you can take to get your metal ready. These steps help a lot in preventing distortion.
Joint Design and Fit-Up
How you prepare the edges of the metal you’re going to weld is super important. If you have wide gaps, the welding rod or wire has to fill them. This means you use more heat and more weld material.
Wider gaps also allow the metal to move more freely as it heats and cools.
So, aim for tight fit-ups. This means the pieces of metal should be very close together, with minimal gaps. If you’re making a butt joint, the edges should almost touch.
If you’re making a fillet weld, the pieces should form a neat corner.
Sometimes, you might need to bevel the edges of thicker metal. This creates a V-groove or U-groove. This ensures full penetration of the weld without needing huge gaps.
A well-designed joint uses the least amount of filler metal and heat, which means less distortion.
Cleaning the Metal
Always clean your metal before welding. Rust, paint, oil, and dirt can cause problems. They can create weak welds.
They can also cause porosity, which are little holes in your weld. But they can also affect how the metal reacts to heat.
Use a wire brush or grinder to get the metal clean and shiny. This helps ensure a good weld. It also helps the heat transfer more evenly.
A cleaner surface means a more predictable outcome.
Controlling Heat Input
Heat is the main cause of distortion. So, controlling how much heat you use and where it goes is key. This is one of the most important things to learn.
Welding Amperage and Voltage
Your welding machine has settings for amperage and voltage. Amperage controls the heat. Higher amperage means more heat.
Voltage affects the arc length and the shape of your weld bead. You need to find the right balance for your metal thickness and type.
For thinner metals, you’ll want lower amperage. This puts less heat into the metal, reducing warping. For thicker metals, you’ll need higher amperage to get good penetration.
But you still need to be mindful of how much heat you’re adding overall.
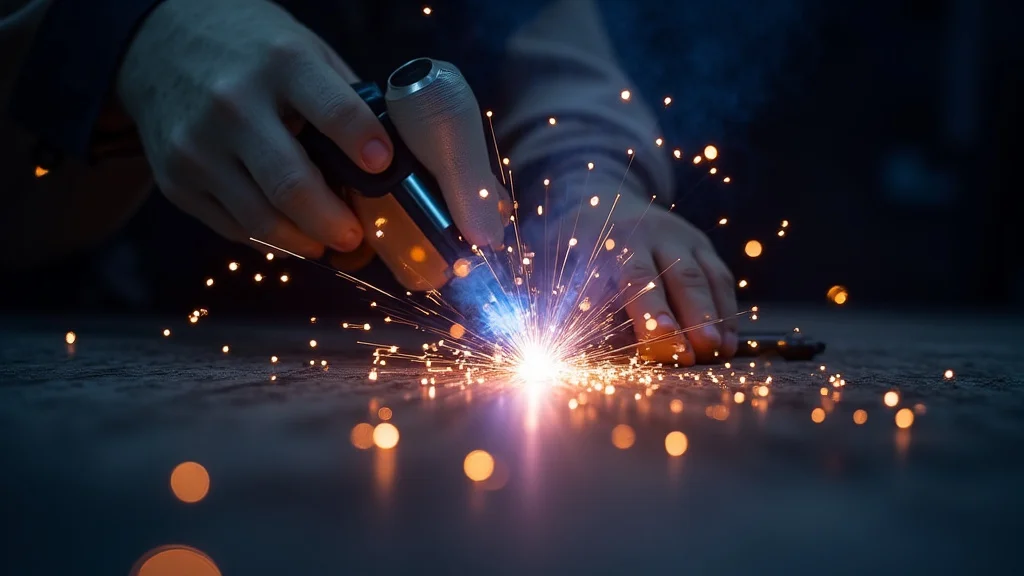
Travel Speed
How fast you move your welding torch or gun also affects heat. If you move too slowly, you deposit too much heat in one spot. This leads to excessive expansion and contraction.
If you move too fast, you might not get good penetration or fusion.
Find a steady travel speed. This will allow the weld to form properly without overheating the surrounding metal. Practice moving your hand at a consistent pace.
Weld Sequence
The order in which you lay down your welds matters. This is called the weld sequence. For long welds, don’t just weld from one end to the other.
This will cause the metal to pull and warp significantly.
Try a skip welding technique. This means you weld a short section, then skip ahead and weld another section, and then go back to fill in the gaps. For example, if you have a long seam, you might weld 2 inches, skip 4 inches, weld another 2 inches, and so on.
Then, you come back and weld the skipped sections.
Another method is backstep welding. You start welding at the end of the seam and weld towards the beginning. This can help push the molten metal forward, counteracting some of the shrinkage forces.
The best sequence often depends on the shape of the part you’re welding.
Using Clamps and Fixtures
Sometimes, you just need to physically hold the metal in place. Clamps and fixtures are your best friends for this. They resist the forces that try to pull the metal out of shape.
Types of Clamps
There are many types of clamps you can use. C-clamps, F-clamps, and locking pliers are common. For larger projects or more precise work, you might use welding clamps or toggle clamps.
These are designed to hold metal securely.
When you’re welding a joint, clamp both sides of the joint. This helps to keep the pieces aligned. It also prevents them from moving as you weld.
Make sure your clamps are strong enough for the job. They should be able to resist the forces of the cooling metal.
Welding Fixtures
For repetitive work or complex shapes, custom welding fixtures are often used. These are jigs or holding devices that are specifically made to position and hold the parts in the correct orientation. They can be very effective at preventing distortion.
Think of a fixture like a custom mold that holds your metal parts exactly where you want them. This is especially useful when welding multiple pieces together to form a larger structure.
The Role of Tack Welds
Tack welds are small, short welds. They are used to temporarily hold pieces of metal together before the main welding process. They are incredibly useful for preventing distortion.
Strategic Placement
Place tack welds at regular intervals along the joint. These tacks act like little anchors. They stop the metal from moving too much as you lay down the full weld bead.
They help to lock down the position of your parts.
For example, if you’re welding a square frame, tack weld each corner first. Then, add tacks along each side. This ensures the frame stays square.
Don’t make your tack welds too large. You want them strong enough to hold, but not so big that they add too much heat or create stress points.
Cooling Between Tacks
After laying a tack weld, let it cool for a moment before you lay the next one. This allows the heat to dissipate a bit. It also lets the metal settle.
Rushing the tack welding process can still lead to some distortion.
Post-Weld Techniques
Sometimes, even with all the precautions, some distortion can still happen. There are techniques you can use after welding to help reduce it.
Peening
Peening is a process where you hammer the weld bead while it’s still warm. You use a ball-peen hammer or a specialized peening tool. The hammering action stretches the metal on the surface of the weld.
This stretching can counteract the shrinkage forces of the cooling weld metal.
It’s important to peen correctly. You want to hammer along the length of the weld. Don’t pound too hard, as this can deform the base metal.
Peening is often used on longer welds or in situations where distortion is a major concern. It’s more common in industrial settings but can be useful for hobbyists too.
Stress Relieving
For critical applications, stress-relieving heat treatments might be necessary. This involves heating the entire welded part to a specific temperature and then cooling it slowly. This process helps to relax the internal stresses that can cause warping or cracking.
This is a more advanced technique and usually requires specialized equipment like a furnace. It’s not typically something a beginner would do in their home workshop.
Material Properties and Distortion
Different metals behave differently when heated. Understanding these properties can help you predict and manage distortion.
Thermal Expansion
Metals expand when heated. Some metals expand more than others. For example, aluminum has a higher coefficient of thermal expansion than steel.
This means aluminum will expand and contract more for the same temperature change.
When welding aluminum, you’ll often see more dramatic distortion if you’re not careful. You need to use lower heat input and faster welding speeds to manage this.
Thermal Conductivity
Thermal conductivity refers to how well a metal transfers heat. Metals with high thermal conductivity, like aluminum and copper, transfer heat quickly. This can be good because it spreads the heat out.
But it can also mean that large areas of the metal heat up and expand, leading to more overall distortion.
Metals with lower thermal conductivity, like stainless steel, hold heat in one spot longer. This can lead to localized distortion if not managed properly.
Strength at High Temperatures
Some metals lose a lot of their strength when they get hot. This makes them more prone to deforming under the forces of welding. You need to be aware of this when choosing your welding parameters.
Specific Metal Types and Distortion
Let’s look at how distortion is managed with some common metals.
Steel
Steel is very common in welding. It has moderate thermal expansion and conductivity. The main challenge with steel is managing the heat input to prevent excessive warping, especially on thin sheet metal.
Techniques like skip welding and proper clamping are very effective.
Stainless Steel
Stainless steel has lower thermal conductivity than regular carbon steel. This means heat stays in one area longer. It also has higher thermal expansion than carbon steel.
Because of this, stainless steel is very prone to distortion. Using lower heat input, faster travel speeds, and effective clamping is crucial. Backstep welding can be useful.
Aluminum
Aluminum has high thermal expansion and high thermal conductivity. It also has a lower melting point. This means it can distort quickly and easily.
You need to use higher amperage to achieve good fusion, but be careful not to overheat. Using a TIG welder often gives better control for aluminum. Keeping the arc moving and using proper gas shielding are important.
Table: Metal Properties and Distortion Tendency
| Metal Type | Thermal Expansion | Thermal Conductivity | Strength at High Temp | Distortion Tendency | Key Prevention Tips |
|---|---|---|---|---|---|
| Carbon Steel | Moderate | Moderate | Good | Moderate | Clamping, skip welding, heat control |
| Stainless Steel | High | Low | Good | High | Low heat input, fast travel, clamping, backstep welding |
| Aluminum | Very High | Very High | Lower | Very High | Fast travel, consistent heat, clamping, good shielding |
Common Beginner Mistakes
When you’re starting out, it’s easy to make a few common errors that lead to distortion. Knowing these can help you avoid them.
Too Much Heat
A very common mistake is using too much amperage or welding too slowly. This dumps excessive heat into the metal. Always try to use the lowest heat setting that still gives you good fusion.
If you’re not sure, start lower and increase gradually.
Not Enough Clamping
Skipping clamps or using too few can be a big problem. Metal needs to be held firmly while it’s hot and cooling. Relying only on gravity or tacked joints isn’t enough for many situations.
Ignoring Weld Sequence
Just welding from one end to the other in a straight line is tempting. But it’s a recipe for warped metal. Learn to use skip welding or backstep welding.
Not Cleaning the Metal
Welding over rust or paint can create a weak weld and unpredictable heat buildup. Always clean your work surface.
Frequently Asked Questions
Question: How much distortion is normal?
Answer: A little bit of distortion is often unavoidable, especially with thinner metals. The goal is to keep it to a minimum so it doesn’t affect the part’s function or appearance. The amount considered “normal” can vary a lot based on the project and the materials used.
Question: Can I weld thin sheet metal without it warping?
Answer: Yes, it’s possible. You need to use very low heat input, a fast travel speed, and good clamping. Techniques like spot welding or using a backing strip can also help.
Sometimes, adding a reinforcing bead along edges can stiffen the metal.
Question: What is the best way to weld long seams on steel?
Answer: For long seams on steel, try skip welding or backstep welding. Using clamps to hold the seam flat is also very important. Consider using a jig or fixture if you do this often.
Question: Does the type of welding process affect distortion?
Answer: Yes, it can. Processes that offer better heat control, like TIG welding, often result in less distortion than processes that are harder to control, like MIG welding on very thin materials or oxy-acetylene welding. However, skill with any process is the biggest factor.
Question: How can I fix warped metal after welding?
Answer: Sometimes, you can straighten slightly warped metal using heat and controlled cooling, or by carefully hammering it. For significant distortion, it might be necessary to cut the weld and re-weld with better techniques, or to use mechanical methods like a press or straightening machine. Prevention is always better than repair.
Final Thoughts
Keeping metal straight while welding is all about managing heat. Start with good preparation and tight joints. Then, control how much heat you use and how fast you move.
Using clamps and tack welds holds things in place. Even after welding, you can use techniques like peening to help. By learning these simple steps, you can greatly reduce welding distortion and make your projects look much better.