It’s frustrating when your TIG welder won’t start the arc every time you pull the trigger. This happens a lot to people just starting out with TIG welding. You might be wondering, Why Is My TIG Welder Not Striking Arc Consistently? Don’t worry, it’s usually a simple fix.
We’ll walk through it step-by-step to get you welding smoothly. First, let’s look at the main reasons this happens.
Key Takeaways
- Proper electrode conditioning is vital for a consistent arc.
- The tungsten electrode’s shape and length affect arc starting.
- Gas flow issues can prevent the arc from striking reliably.
- The machine’s settings play a big role in arc initiation.
- Checking your torch and consumables is important for consistent performance.
- Understanding the difference between HF start and lift start can help.
Troubleshooting Your TIG Welder’s Arc Start
Understanding How TIG Arc Starts
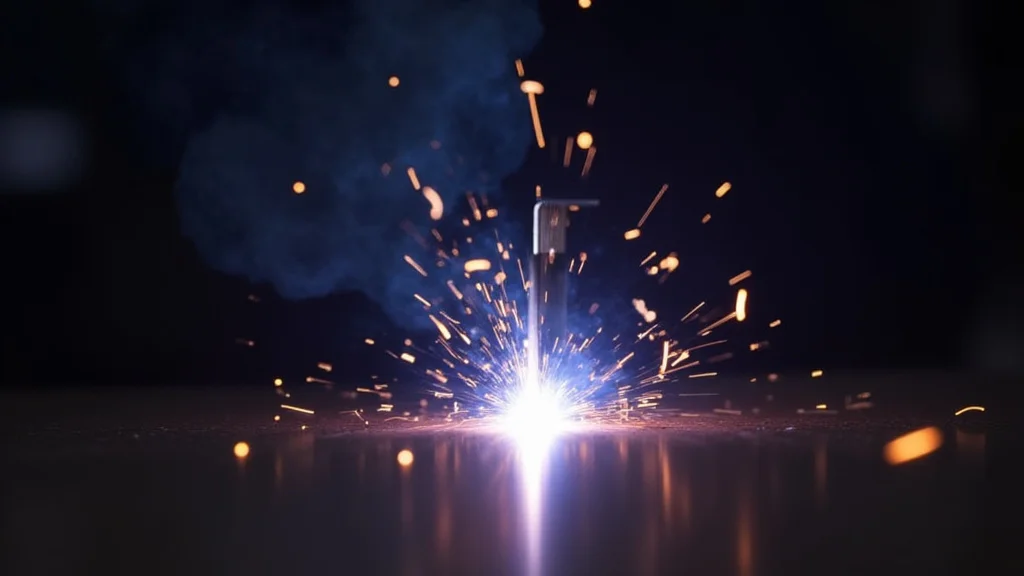
TIG welding, or Gas Tungsten Arc Welding, uses an electric arc to melt metal and join pieces together. The arc is like a powerful spark that jumps from the tungsten electrode to your workpiece. For this spark to happen, a few things need to be just right. A TIG welder creates a very hot, focused arc. This arc needs a clean path to jump and enough power to start.
Why Consistent Arc Starts Matter
When you’re welding, you want that arc to start instantly and stay steady. If it’s sputtering or not starting, it breaks your workflow. This can lead to bad welds, frustration, and wasted time. For beginners, learning to control the arc is key. An inconsistent arc makes it hard to practice and get good at TIG welding.
Common Reasons for Inconsistent Arc Starts
There are several common reasons why your TIG welder might not be striking an arc consistently. Most of these are easy to fix once you know what to look for. Let’s break them down one by one.
Electrode Conditioning
The tungsten electrode is at the heart of your TIG torch. How you prepare it makes a huge difference. Tungsten is a special metal that can handle high heat. It needs to be shaped correctly.
* Grinding the Tungsten: Always grind tungsten lengthwise on a dedicated grinding wheel. Grinding across the tip creates flat spots that can cause the arc to wander or not start at all. You want a sharp, pointed tip for DC welding and a slightly rounded tip for AC welding.
* Contamination: If your tungsten touches the weld puddle, it becomes contaminated. This contamination can prevent a clean arc start. If you see a dull, globby tip, you likely need to re-grind or even replace it.
* Tungsten Type: Different tungsten types are best for different metals and power sources. Pure tungsten is older and used for AC aluminum. Thoriated or Ceriated tungsten is common for DC steel welding. Using the wrong type can affect arc stability.
Electrode Extension
How much of the tungsten electrode sticks out of the ceramic cup is called electrode extension. This measurement is critical for arc control.
* Too Much Extension: If too much tungsten sticks out, the arc can be unstable. It’s harder for the high-frequency (HF) start to jump the gap, or the arc might wander. This can also make the tungsten prone to contamination.
* Too Little Extension: If the tungsten is too short, it can actually cause the arc to stick to the tungsten itself, leading to contamination or a difficult start.
For most DC welding, a good starting point is about 1/8 to 1/4 inch (3-6 mm) of extension.
Shielding Gas Issues
The gas flowing from your TIG torch shields the tungsten and the weld puddle from the air. If the gas isn’t flowing correctly, the arc can struggle to start and will be unstable.
* Not Enough Gas Flow: The flow rate might be too low. You need enough argon to push away the air. A common starting point is 15-25 CFH (Cubic Feet per Hour) or liters per minute depending on your setup.
* Too Much Gas Flow: While less common for starting issues, excessive gas flow can cause turbulence, which can sometimes interfere with the arc.
* Leaky Connections: Check all connections on your gas bottle, regulator, and torch. A slow leak means gas isn’t reaching the torch effectively.
* Bottle Empty or Low: It sounds simple, but make sure your argon bottle isn’t empty or running low. A gauge showing pressure doesn’t always mean there’s enough gas to weld.
High-Frequency (HF) Start Problems
Most TIG welders use High-Frequency (HF) start to initiate the arc without touching the workpiece. This is a high-voltage, high-frequency burst that ionizes the air.
* HF Setting Too Low: Your welder has an HF start setting. If it’s set too low, the HF spark might not be strong enough to jump the gap to the workpiece.
* HF Start Mode: Some welders have different HF start modes: “Start,” “Continuous,” and “Off.” Ensure it’s set to “Start” or “Continuous” if you’re using HF.
* HF Intensity: If your machine has adjustable HF intensity, try increasing it slightly.
* Damaged Torch Cable or Connections: A damaged HF cable or loose connections can prevent the HF signal from reaching the tungsten.
* Internal Welder Issue: In rare cases, the HF start circuit inside the welder itself could be faulty.
Lift Start Issues
Some TIG welders have a “Lift Start” or “Lift Arc” feature. This means you lightly touch the tungsten to the workpiece and then lift it slightly to start the arc. This method avoids HF interference with electronics.
* Not Lifting Properly: You need a consistent, smooth lift. Touching too hard or lifting too quickly can prevent the arc from starting.
* Lift Arc Setting: Make sure the Lift Arc function is enabled on your machine if you’re trying to use it.
* Dirty Workpiece: A dirty or oxidized workpiece surface can make it harder for the arc to initiate with a lift start.
Machine Settings
The settings on your TIG welder are crucial for proper arc initiation.
* Amperage Too Low for Start: While not directly an arc start issue, if your initial welding amperage is set too low, it can make it seem like the arc isn’t starting strongly. Some machines have a “peak” and “background” amperage for pulse welding, which can affect startability.
* Post-Flow Setting: While post-flow deals with gas after welding, some initial gas pre-flow settings might be too short to establish a good gas shield before the arc starts.
Sharpness of Arc Start:* Some machines have a setting that controls how quickly the amperage ramps up at the start. A slower ramp-up can sometimes make the start feel less decisive.
Torch and Consumables
The physical components of your TIG torch can also cause arc start problems.
* Loose Collet or Gas Lens: If the collet holding the tungsten is loose, or if your gas lens assembly isn’t seated correctly, it can disrupt gas flow and arc stability.
* Cracked Ceramic Cup: A cracked ceramic cup can leak gas, affecting the shield.
* Worn Electrode Holder: The part where the tungsten inserts might be worn, creating poor contact.
Step-by-Step Troubleshooting Guide
Let’s go through a logical process to fix your TIG welder’s arc start issues.
1. Check the Tungsten Electrode:
* Inspect the tip. Is it clean and pointed (for DC)?
* If it looks dull, oxidized, or globby, remove it and grind a fresh point. Make sure to grind lengthwise.
* Ensure the tungsten is the correct type for your application (e.g., 2% Ceriated for steel).
* Check how much tungsten is extended from the cup. Aim for about 1/8 to 1/4 inch.
2. Verify Gas Flow:
* Turn on the gas cylinder valve.
* Check your regulator for pressure.
* Open the torch valve or trigger the machine briefly to check for gas flow. You should hear and feel gas coming out of the cup.
* If you have a flowmeter, check the reading. Adjust if necessary.
* Listen for any hissing sounds that indicate leaks.
3. Inspect the Torch and Consumables:
* Make sure the tungsten is properly secured in the collet.
* Ensure the gas lens or standard nozzle is properly assembled and seated.
* Check the ceramic cup for cracks.
4. Review Machine Settings:
* If using HF start, ensure HF is turned on and set to “Start” or “Continuous.”
* Try increasing the HF intensity slightly if your machine allows.
* If using Lift Arc, ensure it’s enabled. Practice a smooth touch-and-lift motion.
* Check your welding amperage. Ensure it’s appropriate for the material thickness you’re welding.
5. Test the Arc Start:
* Point the torch at a piece of scrap metal.
* Pull the trigger.
* If using HF start, you should see sparks jump.
* If using Lift Arc, lightly touch the tungsten to the metal and lift smoothly.
6. Consider the Power Source:
* Ensure the welder is plugged into a suitable power outlet with the correct voltage and amperage.
7. Check the Cables and Connections:
* Inspect your ground clamp, power cable, and torch lead for any visible damage.
* Ensure all connections are clean and tight.
Advanced Checks
If the basic steps don’t solve the problem, you might need to look a bit deeper.
* Torch Assembly: Sometimes, the internal wiring or connections within the torch handle can become loose. This is usually something a repair shop would handle.
* Foot Pedal or Hand Control: If you use a foot pedal or hand amptrol, ensure it’s functioning correctly. A faulty control can prevent the machine from sending the correct signal to start the arc.
* Welder Service: If you’ve tried everything else and the problem persists, it might indicate an internal issue with the TIG welder itself. Contact the manufacturer or a qualified repair technician.
Frequently Asked Questions
How do I prepare the tungsten electrode for TIG welding?
For DC welding of steel, grind the tungsten to a sharp point lengthwise on a dedicated grinding wheel. For AC welding of aluminum, slightly round the tip. Always use a dedicated grinder and avoid contaminating the tungsten.
What is the correct tungsten extension for TIG welding?
A good starting point for most DC welding is about 1/8 to 1/4 inch (3-6 mm) of tungsten extending from the ceramic cup. Too much can lead to instability, while too little can cause contamination.
My TIG welder isn’t starting the arc with HF. What could be wrong?
Check that HF start is enabled on your machine and set to “Start” or “Continuous.” Ensure the HF intensity is sufficient, and inspect your torch cable and connections for damage. If issues persist, the HF start circuit might need professional service.
What’s the difference between HF start and Lift Arc?
HF start uses a high-voltage, high-frequency burst to jump the arc without touching. Lift Arc requires lightly touching the tungsten to the workpiece and then lifting to initiate the arc. Lift Arc is useful around sensitive electronics.
How does shielding gas affect arc starting?
Proper shielding gas flow is crucial. If you don’t have enough gas, the arc can’t form cleanly. If there are leaks in the system or the flow rate is too low, you’ll have trouble striking and maintaining a consistent arc.
Final Thoughts
Getting your TIG welder to strike an arc consistently is key to good welding. You’ve learned that the tungsten electrode’s condition and extension are vital. Shielding gas flow, machine settings, and even the torch itself all play a part.
By systematically checking these common culprits, you can pinpoint the problem. Don’t let a stubborn arc stop you; a few simple adjustments usually get you welding smoothly again. Focus on these checks, and you’ll be building great welds in no time.