Learning to weld can seem tricky at first. You might wonder, What Are the Key Welding Techniques for Beginners? It’s normal to feel a little unsure about where to start. This guide breaks down the basics simply.
We’ll show you the easy ways to get welding, step by step. Get ready to see how straightforward it can be!
Key Takeaways
- Understand the basic welding processes suitable for newcomers.
- Learn about essential safety gear and why it’s so important.
- Discover how to set up your welding equipment correctly.
- Grasp fundamental techniques like electrode angle and travel speed.
- Know how to practice and improve your welding skills.
Getting Started with Welding
Choosing Your First Welding Process
When you’re just starting out, some welding methods are easier to learn than others. We want to focus on techniques that give you good results without too much frustration. The most popular choices for beginners are Stick welding and MIG welding.
Each has its own strengths and is great for different projects. Understanding these will help you pick the right one for you.
Stick Welding (SMAW)
Stick welding, also called Shielded Metal Arc Welding (SMAW), is one of the oldest welding methods. It’s known for being tough and can be done outdoors or in windy conditions. This is because the electrode itself creates a shielding gas when it burns.
This gas protects the molten metal from the air. Stick welding equipment is often less expensive than other types, making it a good entry point for many hobbyists.
The main idea is that an electric arc forms between a consumable electrode (the stick) and the metal you are joining. This arc melts both the electrode and the base metal, creating a puddle of molten metal. As the electrode melts, it adds filler metal to the joint.
The flux coating on the electrode breaks down, forming a slag that covers the weld bead. This slag needs to be chipped off after the weld cools.
Pros of Stick Welding for Beginners:
- Affordable equipment.
- Works well outdoors and in windy spots.
- Good for thicker metals.
- Relatively simple to set up.
Cons of Stick Welding for Beginners:
- Can be messy with slag.
- Requires more practice for clean beads.
- Produces more smoke and sparks.
- Difficult to use on very thin metals.
MIG Welding (GMAW)
MIG welding, or Gas Metal Arc Welding (GMAW), is often seen as the easiest for beginners to pick up quickly. It uses a wire electrode that is fed automatically from a spool through a welding gun. A shielding gas, usually a mix of argon and CO2, flows from the gun to protect the weld puddle.
This makes MIG welding cleaner and often results in smoother welds.
With MIG, the wire electrode melts as it touches the workpiece, creating the weld. The continuous wire feed means you can lay down long, smooth beads without stopping to change electrodes as often as with stick welding. The shielding gas is critical; if it’s blown away by wind, the weld will be weak.
This is why MIG is best suited for indoor or sheltered environments.
Pros of MIG Welding for Beginners:
- Easy to learn and control.
- Produces clean welds with minimal spatter.
- Fast welding speed.
- Good for a wide range of metal thicknesses, especially thinner ones.
Cons of MIG Welding for Beginners:
- Requires a shielding gas bottle, adding cost and setup.
- Not ideal for windy or outdoor conditions.
- Equipment can be more expensive than basic stick welders.
Safety First: Your Essential Gear
No matter which welding technique you choose, safety is the absolute top priority. Welding creates intense heat, sparks, and harmful fumes. Wearing the right protective gear is non-negotiable.
It protects you from burns, eye damage, and respiratory problems. Think of it as your essential welding uniform.
What You Need:
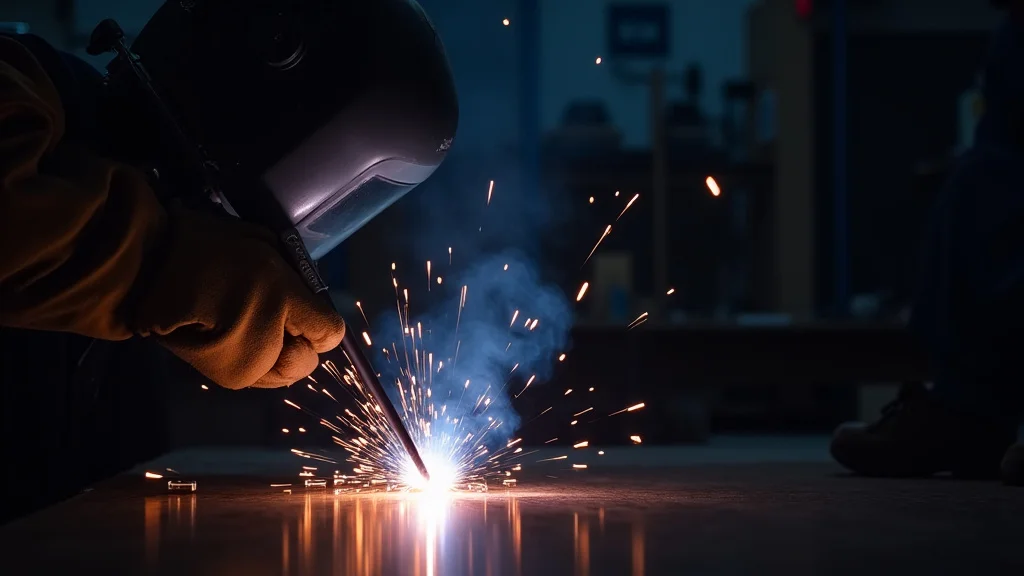
- Welding Helmet: This is your most important piece of gear. It has a special auto-darkening lens that protects your eyes from the bright arc. Make sure it meets safety standards.
- Welding Gloves: Thick, heat-resistant gloves protect your hands and arms from sparks and heat. Leather gloves are common.
- Flame-Resistant Clothing: Wear a long-sleeved shirt and long pants made of natural fibers like cotton or denim. Avoid synthetic materials that can melt. A welding jacket or apron is also a good idea.
- Safety Glasses: Always wear safety glasses under your welding helmet to protect your eyes when you’re not welding.
- Sturdy Boots: Close-toed, sturdy leather boots protect your feet from falling hot metal or sparks.
- Respirator (Optional but Recommended): For prolonged welding or in areas with poor ventilation, a respirator can filter out harmful fumes.
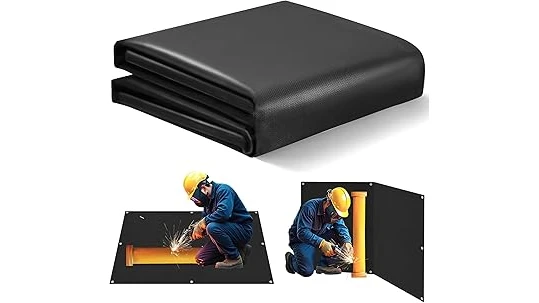
Always ensure your work area is clean and free of flammable materials. Sparks can travel surprising distances, so be aware of your surroundings.
Setting Up Your Welding Machine
Once you have your safety gear, the next step is setting up your welder. This sounds technical, but it’s quite straightforward. Different machines have different controls, but the main settings you’ll adjust are power and wire speed (for MIG) or amperage (for Stick).
For MIG Welders:
You’ll need to connect your gas bottle and set the correct gas flow rate. The wire speed controls how fast the wire feeds out of the gun. The voltage control affects the arc’s heat and how much it sputters.
Many modern MIG welders have helpful charts or even auto-set features that suggest starting points based on the metal thickness and wire type you are using. Always refer to your welder’s manual for specific instructions.
For Stick Welders:
You’ll mainly adjust the amperage. This setting controls the heat of the arc. The correct amperage depends on the size of the electrode you are using and the thickness of the metal you are welding.
Thicker electrodes and thicker metal generally require higher amperage. Like MIG welders, stick welders often have charts to help you find the right setting.
A good ground clamp is also essential for both types of welders. It ensures a solid electrical connection between the welder and the workpiece, which is vital for a good weld.
Core Welding Techniques for Beginners
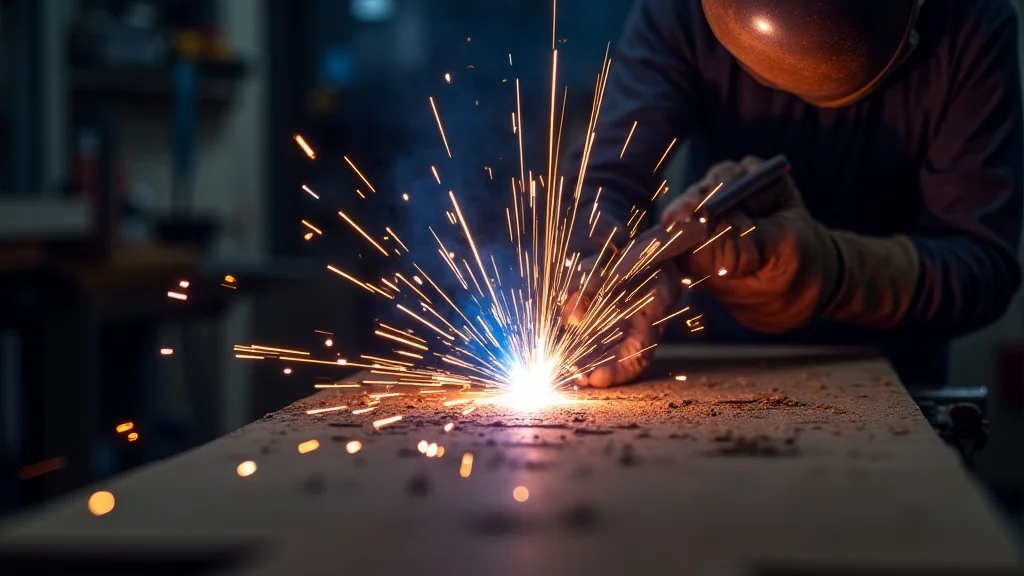
Understanding the Weld Puddle
The weld puddle is the small pool of molten metal that forms when you weld. It’s the heart of the welding process. Watching and controlling this puddle is key to making good welds.
It tells you if your settings are right and if you’re moving correctly.
A good puddle will look fluid and shiny. It should flow smoothly and melt into the base metal. If the puddle is too small, it might mean you need more heat (higher amperage or voltage).
If it’s too large or runs away from you, you might have too much heat or be moving too fast. Learning to read your puddle is like learning to read a map for your weld.
Positioning Your Electrode or Gun
How you hold your welding tool makes a big difference. For stick welding, you hold the electrode holder at an angle to the metal. For MIG welding, you hold the gun at an angle.
The general rule is to push the electrode or gun slightly in the direction you are moving. This is called a “push angle.”
For most common joints, a slight push angle works well. It helps push the molten metal ahead of the arc and can create a smoother bead. The angle usually ranges from about 10 to 15 degrees.
Experimenting with this angle will help you see how it affects the weld bead’s shape and penetration.
Controlling Travel Speed
Your travel speed is how fast you move the welding tool along the joint. Too fast, and your weld won’t have enough penetration, meaning it won’t be strong. Too slow, and you’ll melt through the metal or create a large, lumpy bead that looks bad and might be weak.
For beginners, aiming for a consistent speed is more important than hitting a specific number. Think about moving at a pace that allows the puddle to form nicely and join the edges of the metal together. You want to see the puddle expand and contract slightly as you move, creating a nice, even bead.
If you’re using MIG, the wire speed and voltage often help dictate a good travel speed.
Maintaining Electrode Stick-out (MIG) or Arc Length (Stick)
This refers to the distance between the tip of the electrode (stick welding) or the tip of the wire (MIG welding) and the metal surface. It’s a critical factor that affects heat and weld quality.
For MIG Welding:
The “stick-out” is the length of wire that extends from the contact tip of the welding gun. A good stick-out is usually around 1/4 to 3/8 inch. Too short, and you might melt the tip of the gun.
Too long, and the wire can become too hot before it reaches the weld, leading to a weak weld and lots of spatter. Keep it consistent.
For Stick Welding:
The “arc length” is the distance between the tip of the electrode and the surface of the weld puddle. A good arc length is generally about the diameter of the electrode you are using. A short arc length provides more heat and can lead to good penetration.
A long arc length creates a wider, flatter bead and can lead to less penetration, more spatter, and a weaker weld. Aim for a consistent arc length that lets you see the puddle clearly.
Making Different Welds
Once you get comfortable, you’ll start practicing on different types of joints. The basic techniques apply, but you’ll learn to adapt them.
Butt Joints
These are where two pieces of metal are placed edge-to-edge. You’ll need to ensure the edges are perfectly aligned and that your travel speed and heat are just right to fuse them together effectively. For thicker metals, you might need to bevel the edges first or make multiple passes.
Lap Joints
Here, one piece of metal overlaps another. You’ll typically be welding along the edge of the top piece, creating a fillet weld. The goal is to melt both the edge of the top piece and the surface of the bottom piece to create a strong bond.
Tee Joints
This is where two pieces of metal meet at a right angle, like the letter “T”. You’ll be making a fillet weld along the corner. Again, consistent heat and travel speed are key to getting good penetration into both pieces of metal.
Practicing and Improving
The best way to get good at welding is to practice. Start with scrap metal. Try making straight lines, then squares, and then circles.
Focus on keeping your bead consistent. Don’t worry if your first welds aren’t perfect; that’s completely normal. Every welder starts somewhere.
Look at your welds. Are they smooth? Do they look like they have good penetration?
Are they consistent? As you practice, you’ll start to notice what adjustments you need to make to your settings and technique to get the results you want. Watching videos of experienced welders can also be very helpful.
Frequently Asked Questions
Question: What is the easiest welding technique for a complete beginner?
Answer: MIG welding is generally considered the easiest for complete beginners because it’s more forgiving and easier to control. The wire feeds automatically, and it produces cleaner welds with less effort.
Question: Do I need to wear a mask when welding?
Answer: Yes, absolutely. A welding helmet with an auto-darkening lens is essential. It protects your eyes and face from the intense light, heat, and harmful UV rays produced by the welding arc.
Question: How do I know if my welding settings are correct?
Answer: You can tell by looking at the weld puddle and the resulting weld bead. If the settings are correct, the puddle will be fluid and controllable, and the bead will be consistent and have good penetration. If it’s too hot, it will look runny; too cold, and it will be bumpy and not fused well.
Question: Can I practice welding on thin metal?
Answer: Yes, but it requires careful control of heat and speed. MIG welding is often better for thinner metals because you can fine-tune the wire speed and voltage more easily. Stick welding on thin metal can easily burn through.
Question: How much does basic welding equipment cost?
Answer: Basic stick welding machines can be found for a few hundred dollars. A decent entry-level MIG welder might start around $400-$600, with the cost increasing for more advanced features. Safety gear will add to the initial cost.
Final Thoughts
Learning the key welding techniques for beginners is achievable with practice and patience. You’ve learned about the main processes like Stick and MIG, the crucial safety gear you must use, and how to set up your equipment. We’ve covered how to manage the weld puddle, position your tool, control your speed, and maintain the right distance.
Remember, consistency is your best friend. Keep practicing on scrap metal. Focus on making smooth, even beads.
Each weld you make teaches you something new. You’re building skills that can be incredibly rewarding. Keep at it, and you’ll soon be creating strong, solid joints.