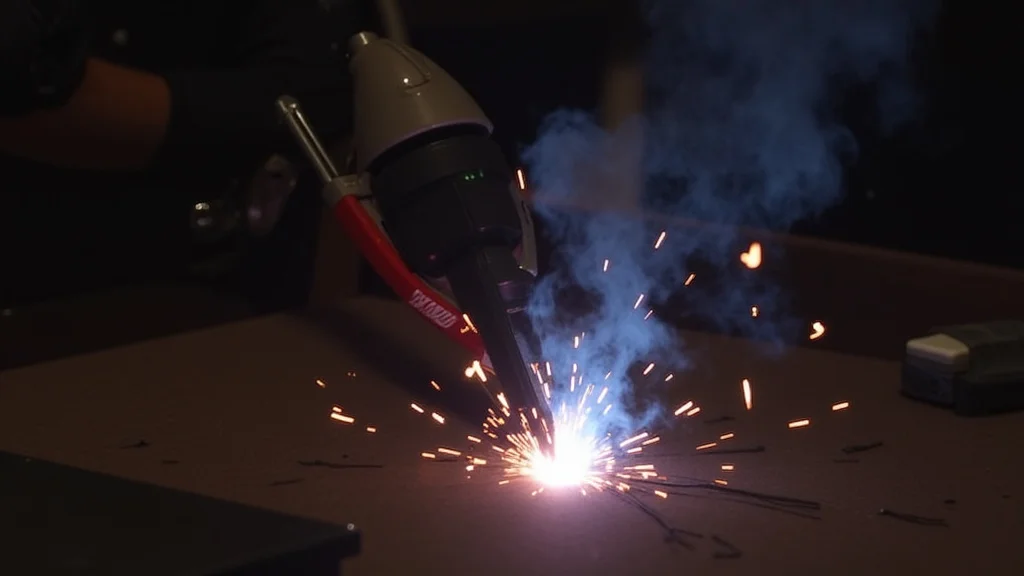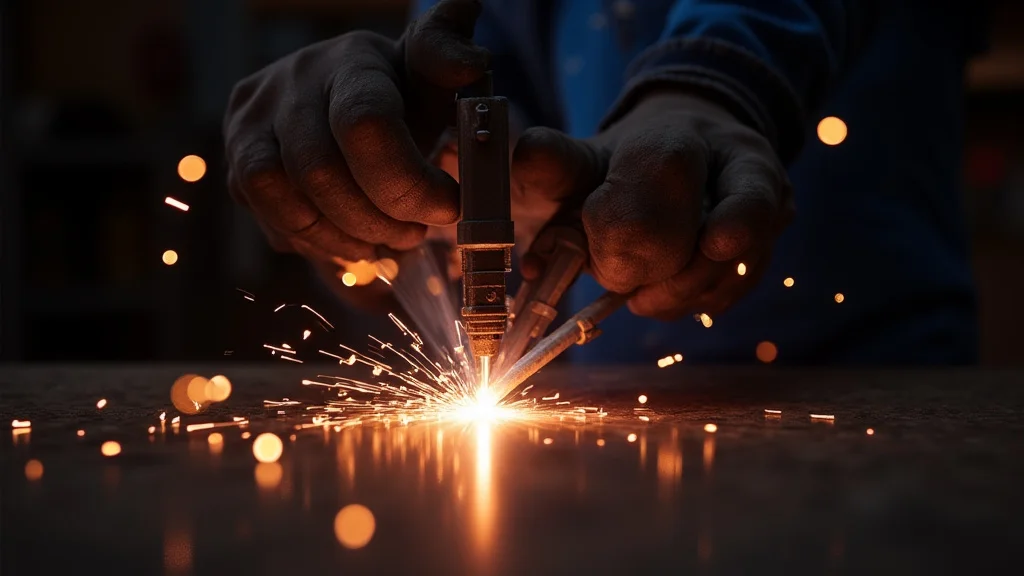
Sometimes, when you’re TIG welding, the arc just doesn’t seem to have enough heat. This is a really common problem for folks just starting out, and it can be frustrating! You want that nice, clean weld, but the metal isn’t melting right.
Don’t worry, fixing a TIG Welder Arc Not Hot Enough? Fix is simpler than you might think. We’ll walk through it step-by-step so you can get back to welding smoothly.
First, let’s look at what you’ll learn.
Key Takeaways
- You will learn the common reasons your TIG welder’s arc might not be hot enough.
- We will cover how to adjust your amperage settings correctly.
- You will discover the importance of your tungsten electrode and its condition.
- The impact of gas flow on arc heat will be explained.
- You will understand how different filler metals can affect your weld heat.
- Simple checks you can do to troubleshoot your setup will be provided.
Why Your TIG Welder Arc Might Not Be Hot Enough
It can be really puzzling when your TIG welder arc acts weak. You’re trying to melt metal, but it feels like you’re just heating it up a little. This often happens when you’re new to TIG welding. You might be setting things up correctly, but a small detail is off, and it makes a big difference in how hot your arc is. Let’s break down the most common culprits.
Amperage Settings Are Key
The most direct way to control the heat of your TIG arc is by adjusting the amperage. Amperage is like the “power” of your weld. If it’s too low for the material you’re working with, you won’t get enough heat to melt and fuse the metal properly.
Matching Amps to Material Thickness
Different metals and different thicknesses need different amounts of heat. A thin piece of aluminum needs a lot less amperage than a thick piece of steel. If you’re welding 1/8-inch steel, you’ll need more amps than if you’re welding 1/16-inch steel.
General Amperage Guidelines (for Steel)
| Material Thickness (inches) | Amperage Range (amps) |
| : | : |
| 1/16 (1.6mm) | 20-50 |
| 1/8 (3.2mm) | 50-100 |
| 3/16 (4.8mm) | 80-130 |
| 1/4 (6.4mm) | 100-175 |
Note: These are just starting points. Your exact settings may vary based on your machine, filler metal, and torch angle.
Tungsten Electrode Issues
The tungsten electrode is what the arc comes from. If it’s not in good shape, your arc won’t be stable or hot enough.
Dull or Contaminated Tungsten
A tungsten that’s dull or has a rounded tip won’t focus the arc well. It’s like trying to aim a flashlight with a bent bulb. For DC welding (like on steel), you want a sharp, pointed tip. This makes the arc more concentrated and hotter. If your tungsten is contaminated with bits of metal, it can also affect the arc.
Wrong Type of Tungsten
There are different types of tungsten electrodes, each with specific uses. Pure tungsten is generally not recommended for modern AC or DC machines. Lanthanated or ceriated tungsten are good all-around choices. Thoriated tungsten is also common but has radioactive material, so it’s best to use it with caution. Using the wrong type can lead to a less stable or weaker arc.
Gas Flow and Coverage
The shielding gas you use is vital for a clean weld, but it also plays a role in arc stability and heat.
Insufficient Gas Flow
If you don’t have enough shielding gas flowing, the air around your weld can get in. This contaminates the weld and can make your arc sputter and lose heat. It’s like trying to boil water with the lid off the pot – heat escapes easily.
Incorrect Gas Coverage
Even if you have enough gas, if it’s not covering the weld puddle properly, you’ll have problems. This can happen if your gas lens is dirty or damaged, or if you’re holding your torch too far away from the workpiece. The gas needs to create a nice, stable cone around the arc.
Filler Metal Choices
The filler metal you use can also influence how much heat you need and how the arc behaves.
Wrong Filler Material
Different metals require specific filler metals to match their properties. If you use a filler metal that’s not designed for the base metal, it might not melt at the right rate or might not fuse well. This can make it seem like your arc isn’t hot enough to get the job done.
Filler Rod Diameter
Using a filler rod that’s too thick for the job can also be an issue. A thick rod will draw more heat from the arc to melt, potentially making your arc feel less intense.
Distance to the Workpiece
The distance between your tungsten and the metal you’re welding is also important.
Arc Length
A longer arc length (meaning you hold the tungsten further from the metal) will naturally be less concentrated and feel cooler. A shorter, more consistent arc length is generally hotter and creates a more stable weld. Aim for an arc length that’s roughly the diameter of your tungsten electrode.
Machine Settings and Power Supply
Sometimes, the problem might be with the welder itself or how it’s connected.
Incorrect Polarity
For TIG welding on steel (DC), you typically use DC electrode negative (DCEN). This means the electrode is negative and the workpiece is positive. This directs most of the heat into the workpiece, which is what you want. If you accidentally set it to DC electrode positive (DCEP), the heat will be mostly on the tungsten, which can melt it and won’t give you enough heat for welding. Aluminum is usually welded with AC, which has a different polarity balance.
Low Input Voltage
If your welder isn’t getting enough power from the outlet, it can’t produce a strong enough arc. Make sure the welder is plugged into the correct outlet with the appropriate breaker size.
Troubleshooting Steps for a Weak Arc
When you notice your TIG arc isn’t as hot as it should be, go through these steps methodically.
1. Check Your Amperage Setting
* Consult charts: Look up recommended amperage settings for your material thickness and type.
* Adjust up: If you’re unsure, try increasing your amperage slightly and see if that helps. Make small adjustments.
* Feel the difference: You should feel the arc become more forceful and the metal melt more readily.
2. Inspect Your Tungsten Electrode
* Sharpen it: For DC welding, make sure your tungsten has a nice, sharp point. Grind it lengthwise on a dedicated grinding wheel, not one used for other metals.
* Check for contamination: If you see any discoloration or bits of metal on the tip, trim it off and re-grind.
* Replace if needed: If your tungsten is significantly worn or damaged, put in a fresh one.
3. Verify Your Shielding Gas
* Check the tank: Make sure your argon (or argon mix) tank is not empty.
* Turn on the gas: Briefly open the valve on your torch handle to feel the gas flow.
* Set the flow rate: Aim for 10-20 cubic feet per hour (CFH) for most steel applications. You can use a flowmeter on your regulator to check this.
* Test coverage: With the gas flowing, hold your torch close to the metal. You should feel the gas pushing air away from the area.
4. Review Your Filler Metal
* Match the base metal: Ensure you’re using the correct type and diameter of filler rod for the metal you’re welding.
* Diameter matters: If you’re using a rod that seems too thick, try a smaller one.
5. Examine Your Torch and Connections
* Electrode holder: Make sure the tungsten is securely held in the collet.
* Gas lens: If you use a gas lens, check that it’s clean and not damaged.
* Ground clamp: Ensure your ground clamp has a solid connection to the workpiece. A loose ground can cause all sorts of electrical issues.
6. Confirm Polarity Settings
* DCEN for steel: Double-check that your machine is set to DC electrode negative for steel.
* AC for aluminum: For aluminum, you’ll typically use AC.
* Refer to your manual: If you’re unsure about polarity settings, consult your welder’s user manual.
7. Check Input Power
* Outlet: Ensure the welder is plugged into a suitable outlet.
* Breaker: Verify that the circuit breaker for the outlet hasn’t tripped and is correctly sized for your welder.
Frequently Asked Questions
Question: What is the most common mistake beginners make when their TIG arc isn’t hot enough?
Answer: The most common mistake is not having enough amperage set for the thickness of the metal being welded. Beginners often start too low.
Question: How do I know if my tungsten is contaminated?
Answer: Contaminated tungsten will often look discolored, waxy, or have small balls of metal stuck to the tip. It can also cause a less stable arc.
Question: Can I use regular steel filler rod on stainless steel?
Answer: No, you should use a filler rod specifically designed for stainless steel. Using the wrong filler can lead to poor weld quality and a weaker-looking arc.
Question: How far should my tungsten be from the metal?
Answer: For a focused and hot arc, you want to keep your arc length short, typically about the diameter of your tungsten electrode.
Question: What if my TIG welder still seems weak after checking everything?
Answer: If you’ve gone through all these checks and your arc is still weak, there might be an internal issue with the welder itself. In this case, it’s best to contact the manufacturer or a qualified repair technician.
Final Thoughts
Getting your TIG welder arc to the right heat is about paying attention to a few key things. You learned that making sure your amperage is set correctly for the material is a big one. Keeping your tungsten sharp and clean helps focus that arc.
Also, ensuring your shielding gas is flowing well and covering the weld zone is crucial. Choosing the right filler metal and checking your machine’s polarity can also make a difference. Don’t get discouraged; by checking these common issues, you can make your arc hotter and your welds much better.