It’s common for new welders to run into issues, and one of the first big puzzles can be when your Stick Welder Not Producing Strong Arc. This might seem tricky at first, but it’s usually due to a few simple things. Don’t worry, we’ll walk through exactly what might be causing this and how to fix it.
We’ll cover the most likely reasons and give you clear steps to get that nice, strong arc back.
Key Takeaways
- You will learn the main reasons a stick welder might not produce a strong arc.
- Discover how electrode type and condition affect arc strength.
- Understand the impact of amperage settings on arc performance.
- Learn about the importance of clean work surfaces for a good weld.
- Identify how voltage settings can influence your arc.
- Find out simple troubleshooting steps to fix a weak arc.
Why Your Stick Welder Arc Feels Weak
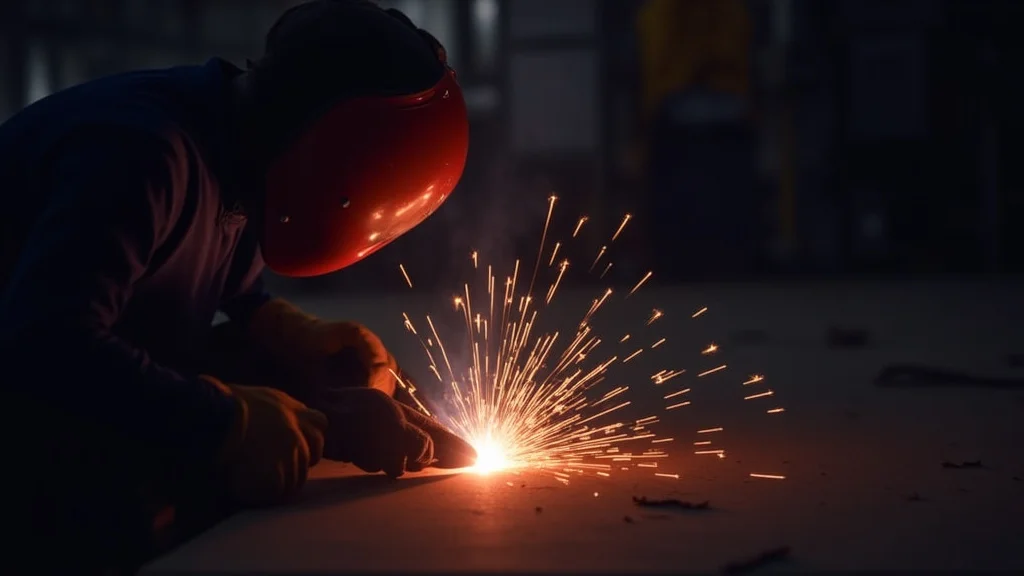
When you’re learning to stick weld, getting a good, consistent arc is key. It’s the lifeblood of a strong weld. A weak or sputtering arc can make your welds look messy and can actually weaken them.
This problem, where your Stick Welder Not Producing Strong Arc, is one of the most frequent hurdles beginners face. It’s not a sign that you’re doing something wrong fundamentally; it just means we need to look at a few common culprits.
Think of the arc as the spark that melts your metal. If that spark is weak, it’s like trying to start a campfire with damp twigs. It won’t catch easily, and it won’t burn hot enough to do the job right.
Thankfully, most of the time, fixing this isn’t complicated. We’ll go through the most common reasons, and you’ll be able to spot the issue and get back to welding with confidence.
Common Causes for a Weak Arc
There are several reasons why your stick welder might not be giving you the strong, stable arc you need. Let’s break down the most frequent ones so you can quickly identify what’s going on.
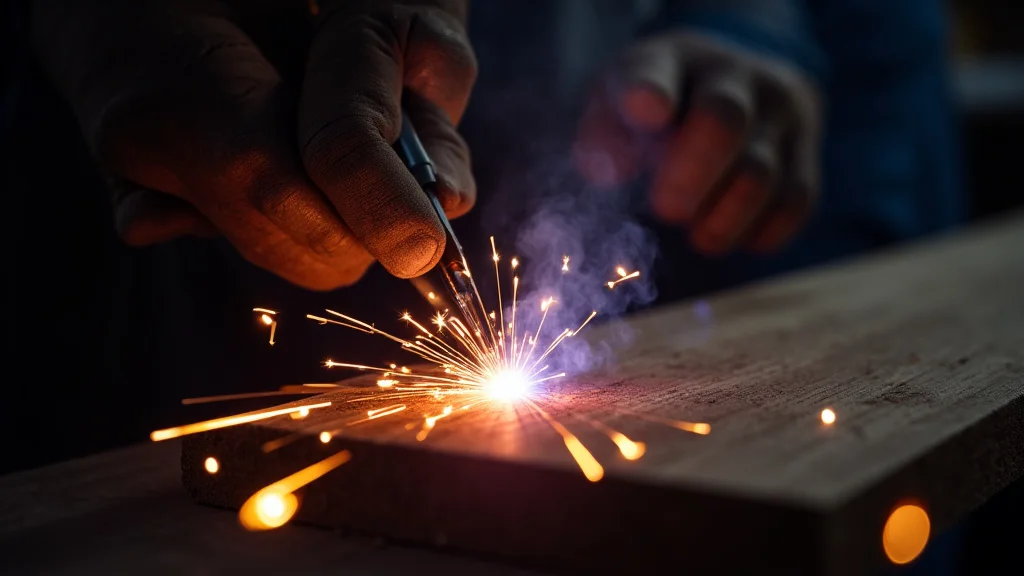
Electrode Issues
The electrode, often called a rod, is what creates the arc. If your rods aren’t in good shape, your arc will suffer. This is probably the most common reason for a weak arc.
Moisture in Electrodes
Stick welding rods are like sponges for moisture. When they absorb water from the air, that water turns into steam when you try to weld. This steam interferes with the electrical arc, making it weak and unstable.
It can also cause popping sounds and excessive spatter.
Different types of rods absorb moisture at different rates. For example, E6010 and E6011 rods are more prone to picking up moisture than E7018 rods, which are “low hydrogen” rods and are coated to resist moisture better. However, even low hydrogen rods will absorb moisture if not stored properly.
Old or Damaged Electrodes
Electrodes that are old, have been dropped, or have damaged coatings can also cause problems. If the flux coating is chipped off in places, the arc will be inconsistent. The coating is there not just to create a shielding gas but also to help stabilize the arc and control its shape.
If you find a rod that looks like its coating is flaking off or it’s bent, it’s best to set it aside and use a fresh one. You can often tell if a rod is bad just by looking at it.
Using the Wrong Electrode
Each electrode type is designed for specific metals and welding positions. Using an electrode that’s not suited for your project can lead to a weak arc and poor weld quality. For instance, trying to weld thin sheet metal with a thick, general-purpose rod might result in a weak arc that struggles to penetrate without burning through.
Always check what electrode is recommended for the type of metal you are welding and the thickness of that metal. For beginners, E6013 is often recommended because it’s forgiving and works well on various materials with AC or DC power. E7018 is another excellent rod, but it requires a bit more care and often DC power for the best results.
Amperage Settings
Amperage is the amount of electrical current flowing through your welder. It’s like the “heat” setting for your weld. Getting the amperage right is super important.
Amperage Too Low
If your amperage is set too low for the electrode you’re using, you won’t have enough power to create a strong, consistent arc. This is a very common mistake for beginners. The arc will seem “lazy” and might not even be able to melt the electrode tip properly.
It will feel like you’re just scratching the metal instead of welding.
The packaging for welding electrodes will usually have a recommended amperage range. Always check this. For example, a 1/8-inch (3.2mm) E6013 rod might need anywhere from 40 to 80 amps, depending on the brand and specific type.
Starting at the lower end of the recommended range and increasing it if the arc feels weak is a good strategy.
Amperage Too High
While less common for a weak arc, setting the amperage too high can also cause arc instability. An arc that’s too hot can be “splashy” and hard to control. It might jump around a lot, making it difficult to maintain a steady puddle.
This isn’t exactly a “weak” arc in terms of power, but it’s certainly not a strong, controllable one either.
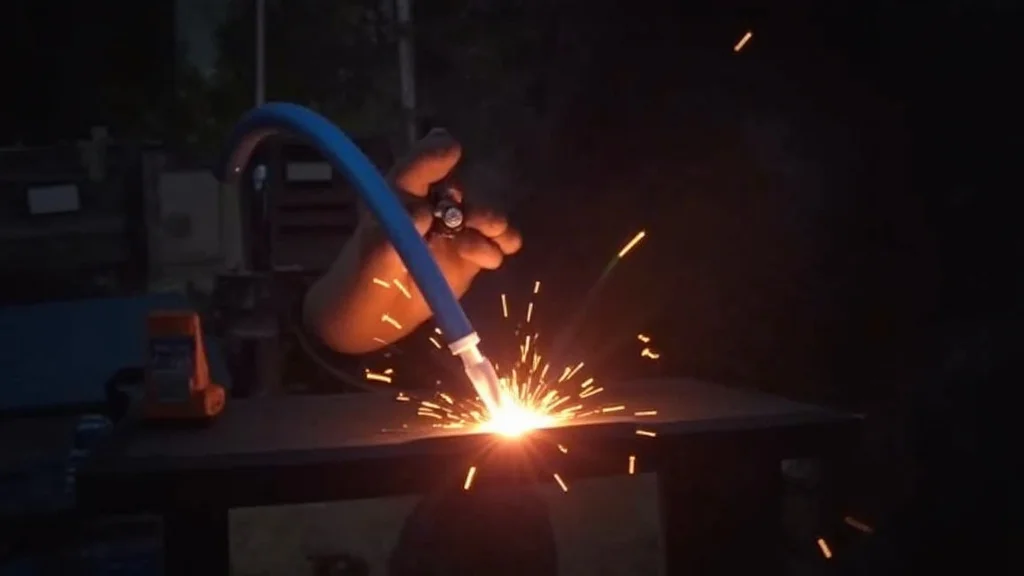
Work Surface Contamination
The surface you’re welding on needs to be clean. Dirt, rust, paint, oil, or any other gunk can get in the way of a good electrical connection and interfere with the arc.
Poor Ground Connection
Your welding machine needs a complete electrical circuit to work. The ground clamp connects your welder to the workpiece, completing this circuit. If the ground clamp isn’t making good contact, the electrical current can’t flow properly, leading to a weak arc.
Make sure the work surface where you attach the ground clamp is clean. You might need to use a wire brush to scrape away any paint, rust, or heavy mill scale. Also, ensure the clamp itself is making solid metal-to-metal contact.
A loose or dirty ground clamp is a frequent cause of welding problems.
Contaminated Base Metal
Similarly, if the metal you are welding on is covered in dirt, grease, or thick rust, it can disrupt the arc. The electricity has to fight through these contaminants to reach the metal. This can make the arc sputter and feel weak.
Always clean the area where you’ll be welding. A quick brush with a wire wheel or a grinder can make a big difference. For best results, clean both sides of the joint if possible.
Machine Settings and Condition
Sometimes, the issue might be with the welder itself or its settings beyond amperage.
Incorrect Polarity
Many stick welders can run on either AC (alternating current) or DC (direct current). DC can be further split into DCEN (Direct Current Electrode Negative) and DCEP (Direct Current Electrode Positive). Each electrode type has a recommended polarity.
Using the wrong polarity can significantly affect your arc. For instance, some electrodes run best on DCEN for better penetration, while others are designed for DCEP for a smoother arc. If your machine is set to the wrong polarity for the rod you’re using, you might get a weak or unstable arc.
Always check the electrode manufacturer’s recommendations for polarity. You can usually find this information on the box the electrodes came in or by searching online. If you’re unsure, consult your welder’s manual.
Voltage Settings (Less Common for Stick)
While most basic stick welders don’t have a separate voltage control you can adjust like some other welding machines, the “open circuit voltage” (OCV) of the welder is important. This is the voltage present when the welding arc is not striking. A higher OCV can help establish and maintain a stronger arc, especially with longer welding cables or lower amperage settings.
If your welder is older or has issues, its OCV might be lower than it should be. However, for most modern machines, the OCV is sufficient. Problems with the internal components of the welder could lead to a weak arc, but this is less common than electrode or setting issues.
Welding Cables and Connections
The welding cables (electrode holder cable and ground cable) carry the electricity. If these cables are damaged, have loose connections, or are too long for the job, they can cause voltage drop. This voltage drop means less power reaches the arc, making it weaker.
Check your cables for any cuts, frays, or damage. Ensure the connections at the welder and at the electrode holder and ground clamp are tight and clean. Using the correct size cable for your machine and application is also important.
Troubleshooting Steps for a Weak Arc
When you’re facing a weak arc, don’t panic. Follow these steps systematically to find and fix the problem.
-
Check Your Electrodes: First, grab a fresh pack of electrodes. Make sure they are the correct type for your project. If your current electrodes have been exposed to moisture (they might look dull or feel slightly sticky), try to recondition them if you have a rod oven, or better yet, use a new, dry pack.
Always store electrodes in a dry, sealed container.
-
Verify Amperage: Look up the recommended amperage range for the electrode you’re using. Start in the middle of that range. If the arc is still weak, try increasing the amperage slightly (2-5 amps at a time).
Listen to the sound of the arc – it should be a consistent sizzle, not a sputtering pop. Adjust until you get a smooth, strong arc.
-
Clean Your Work Surface: Grab a wire brush or a grinder. Thoroughly clean the area where your ground clamp will attach and the area you will be welding. Remove all rust, paint, oil, and mill scale.
Make sure the clamp is making solid metal-to-metal contact.
-
Inspect Ground Clamp: Ensure the ground clamp is securely attached to the workpiece. Wiggle it to make sure it has good contact. If the clamp is old or has corroded jaws, consider replacing it.
-
Confirm Polarity: Double-check the electrode packaging or manual for the correct polarity. Ensure your welder is set to that polarity (AC, DCEP, or DCEN). If you’re using DC and the arc seems “hotter” or more erratic than usual, try switching the polarity.
-
Examine Cables and Connections: Look at your welding cables for any signs of damage. Make sure all connections are tight – at the machine, the electrode holder, and the ground clamp.
Frequently Asked Questions
Question: What is the most common reason for a weak stick welding arc?
Answer: The most common reason is moisture in the welding electrodes, followed closely by incorrect amperage settings for the electrode being used.
Question: Should I use AC or DC for stick welding?
Answer: It depends on the electrode. Some electrodes work best on AC, others on DC, and some can use either. Always check the electrode manufacturer’s recommendation for the best results.
Question: How can I tell if my welding rods are bad?
Answer: Bad rods often look dull, might feel slightly damp, or the flux coating might be chipped or cracked. They will also produce a weak, sputtering arc.
Question: Is it okay to weld over rust or paint?
Answer: It is best to clean the metal thoroughly. Rust, paint, and other contaminants will interfere with the electrical arc, leading to a weak weld and poor penetration.
Question: What if my stick welder makes a lot of spatter?
Answer: Excessive spatter can be caused by incorrect amperage (often too high), wrong polarity, dirty metal, or a damaged electrode. Try adjusting your amperage and cleaning your workpiece.
Final Thoughts
When your Stick Welder Not Producing Strong Arc, it usually comes down to a few easy-to-fix issues. Most often, it’s about your welding rods picking up moisture or having your amperage set incorrectly. Making sure your work surface and ground clamp are clean is also super important for a good connection.
By checking your electrodes, adjusting your amperage to match the rod, and keeping your work area clean, you can bring that strong, stable arc back. Don’t get discouraged; these are common learning steps that most welders go through. Keep practicing these checks, and you’ll soon be laying down solid beads.