Ever started a welding project only to find your machine isn’t delivering the power it should? A Welding Machine Low Voltage Issue? Quick Fix can be a real headache, especially when you’re just getting the hang of things.
It’s common because many simple things can cause it, and they’re easy to overlook at first. But don’t worry! We’ll show you some easy steps to get your welder back to full strength.
Let’s figure out what’s going on.
Key Takeaways
- Understand the common causes of low voltage in welding machines.
- Learn how to safely check your welding leads and connections.
- Discover the role of the power source and its connection.
- Explore how to test your welding machine’s internal components.
- Find out simple troubleshooting steps for common low voltage problems.
Why is My Welder Suddenly Weak? Understanding Low Voltage
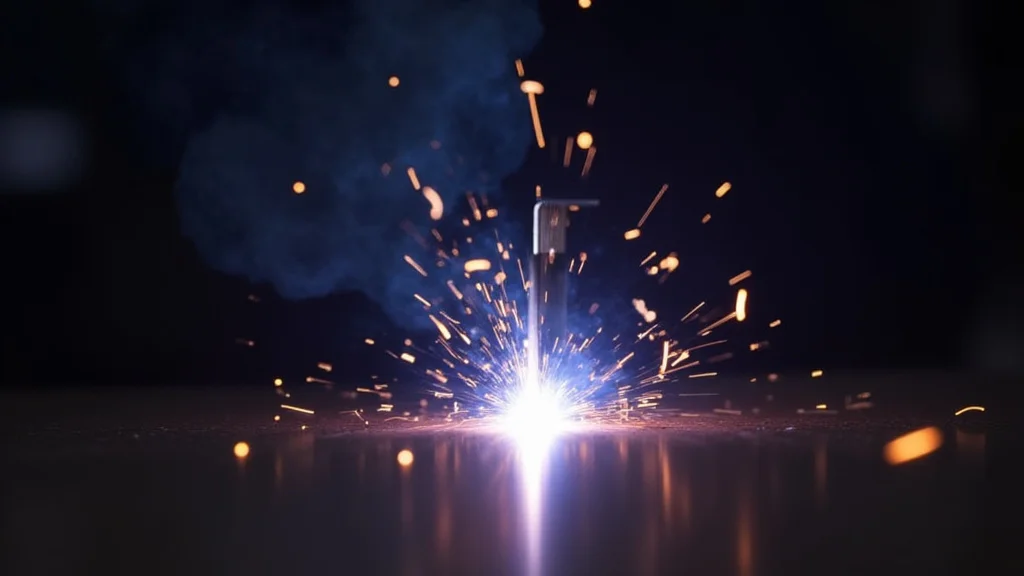
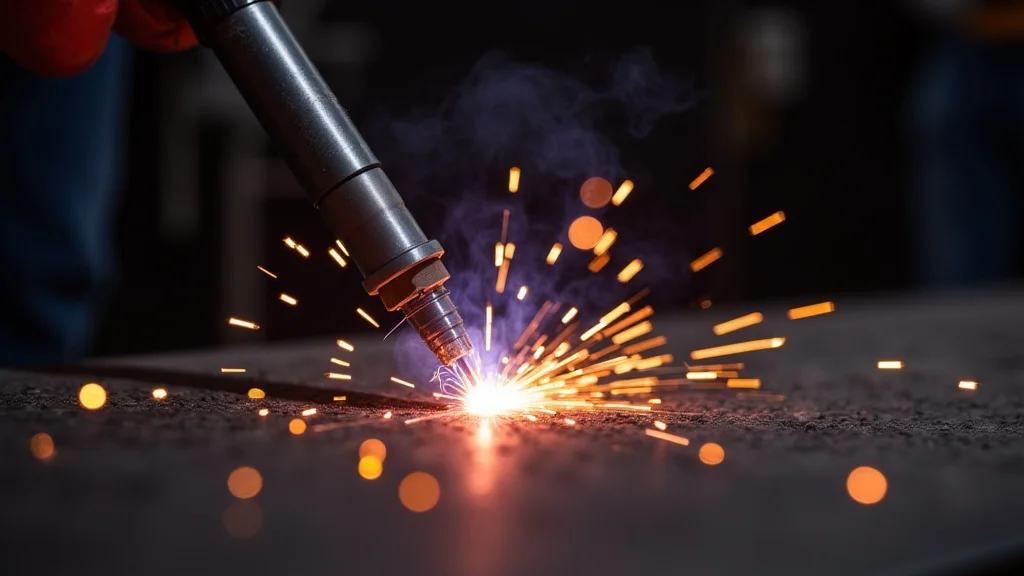
It can be frustrating when your welding machine suddenly seems to be sputtering instead of roaring. You expect a strong, consistent arc, but instead, you get a weak, unstable one. This often means there’s a low voltage issue.
This problem pops up for many reasons, and for beginners, it can be confusing because the causes are not always obvious. It’s like trying to start a car, and it just cranks weakly – you know something isn’t right, but where do you start looking?
This happens because welding machines need a steady supply of power to create the intense heat for melting metal. If that power is weak, the heat is weak, and your weld quality suffers. You might see poor penetration, spatter, or an arc that’s hard to control.
Figuring out why this is happening is key to getting back to creating strong, clean welds. We’ll walk through the most frequent culprits and how to fix them.
Common Culprits Behind the Weak Arc
Several things can lead to a welding machine operating at a lower voltage than it should. Some are very simple, while others might need a bit more attention. Knowing these common causes helps you narrow down the problem quickly.
Power Supply Problems
The electricity coming into your welder is the first place to check. If the source itself is weak, your welder can’t perform at its best.
Inadequate Outlet or Circuit
Are you plugged into the right kind of outlet? Many welders, especially larger ones, need a dedicated circuit with a higher amperage rating. A standard household outlet might not be enough.
Also, check if the circuit breaker for that outlet is tripped or faulty. Sometimes, a breaker that looks okay might not be delivering full power.
Extension Cord Issues
Using an extension cord that’s too long or too thin (low gauge) can cause voltage drop. The longer and thinner the cord, the more resistance it has, and the more power it “eats up” before it even reaches your welder. Always use the shortest, thickest gauge extension cord you can, and make sure it’s rated for the amperage your welder needs.
Welding Cable and Connection Woes
The cables that carry power from your welder to your workpiece are critical. Any issue here directly impacts the voltage delivered.
Loose Connections
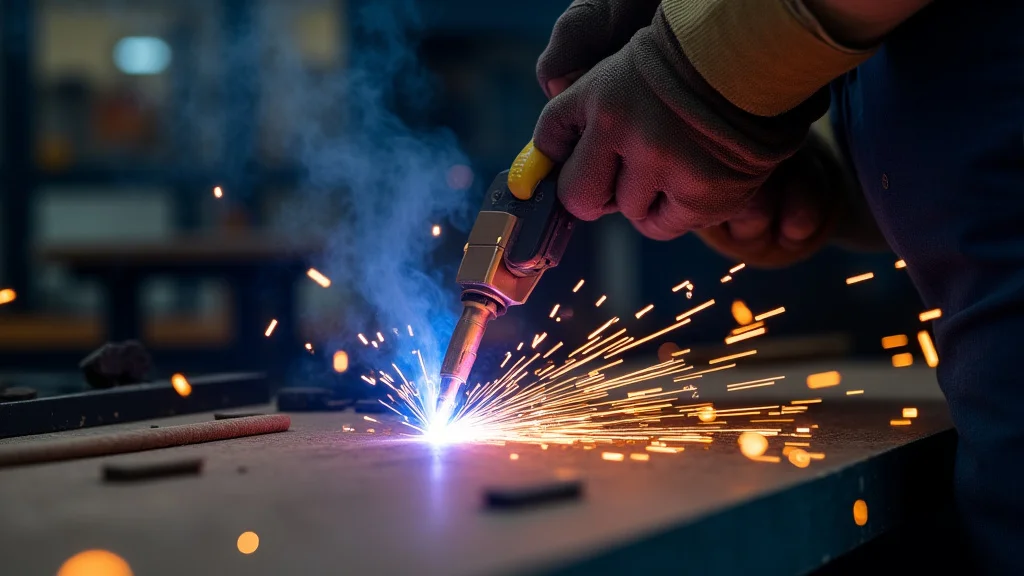
This is a super common one. Make sure the ground clamp is making solid, clean contact with your workpiece or welding table. A loose ground clamp means a poor electrical path, and voltage is lost.
Also, check the connection where the welding cable plugs into the welder itself. Ensure it’s snug and clean.
Damaged Cables
Inspect your welding cables for any signs of damage. Cracks in the insulation, cuts, or frayed wires can expose the conductor and create resistance. This resistance causes voltage to drop.
If you find damage, it’s best to repair or replace the cable. A damaged cable is also a safety hazard.
Corrosion
Corrosion on cable lugs, clamps, or connectors is a silent killer of good electrical flow. Over time, metal can oxidize, creating a barrier that hinders electricity. Clean any signs of corrosion with a wire brush or specialized cleaner to ensure a clean metal-to-metal connection.
Internal Welder Components
Sometimes, the problem lies within the welder itself. These issues might require a bit more technical know-how, but some are still manageable.
Faulty Rectifier or Transformer
The rectifier converts AC power to DC, and the transformer steps voltage up or down. If either of these components is failing, it can lead to reduced output voltage. This is often a more serious repair that might need professional help.
Internal Wiring Issues
Loose or burnt internal wiring connections can also cause voltage drop. This is something to be cautious about, as opening up a welder involves working with potentially live electrical components. If you suspect internal wiring issues, it’s often best to consult your welder’s manual or a qualified technician.
Cooling Fan Problems
While not directly a voltage component, a malfunctioning cooling fan can cause the welder to overheat. When a welder overheats, many models have safety features that reduce output power to prevent damage. So, a non-working fan can indirectly lead to perceived low voltage issues.
Troubleshooting Steps for a Welding Machine Low Voltage Issue? Quick Fix
Let’s go through a step-by-step approach to tackle that Welding Machine Low Voltage Issue? Quick Fix. Follow these steps safely to identify and resolve the problem.
Step 1: Safety First!
Before you touch anything, ensure the welder is unplugged from the power source. If you’re working with the welder open, be extremely careful. If you’re unsure about any step, especially those involving internal components, stop and seek professional help.
Step 2: Check the Power Source
Test the Outlet: If possible, plug in another appliance that draws similar power to see if it works correctly. This helps determine if the outlet itself is faulty or has low voltage. You can also use a multimeter to check the voltage at the outlet if you know how to do so safely.
It should be close to the expected voltage (e.g., 110-120V or 220-240V).
Check the Breaker: Ensure the circuit breaker isn’t tripped. If it is, reset it. If it trips again immediately, there’s a more significant electrical issue.
If it looks okay, it might still be worth replacing if you have a spare.
Step 3: Inspect Welding Cables and Connections
Ground Clamp: Make sure the ground clamp is securely attached to a clean metal surface. Scrape away any paint, rust, or dirt where the clamp connects. A shiny metal surface is best for good conductivity.
Electrode Holder/Gun: Check the connection of the electrode holder or welding gun to its cable. Ensure it’s tight and clean.
Cable to Welder: Verify that the welding cable connection at the welder is secure and free from corrosion. Unplug it and plug it back in to ensure a good fit.
Cable Condition: Look over the entire length of your welding cables. Are there any cuts, nicks, or worn spots? If you find damage, consider repairing or replacing the cable.
Step 4: Examine Extension Cords (If Used)
Gauge and Length: If you’re using an extension cord, confirm its gauge (thickness) and length are appropriate for your welder’s power requirements. A thick, short cord is always better. If you have a shorter, thicker cord, try using that instead.
Connections: Ensure the connections on the extension cord are tight and clean.
Step 5: Simple Welder Checks
Cleanliness: Ensure the welder’s air vents are clear of dust and debris. A clogged welder can overheat and reduce power.
Fan Operation: Listen to see if the cooling fan is running when the welder is powered on (and under load). If it’s not, this could be a cause of overheating and reduced power.
Manual Consult: Refer to your welding machine’s owner’s manual. It often has a troubleshooting section that can guide you through specific issues for your model.
Step 6: Testing with a Multimeter (Advanced)
If you’re comfortable using a multimeter and have a basic understanding of electricity, you can perform more detailed checks. Remember to always disconnect power before making any physical connections with the multimeter probes where there’s a risk of shorting.
Voltage at Output Terminals: With the welder powered on (and under load, if possible, though be careful), measure the voltage directly at the output terminals where the welding cables connect. Compare this reading to the expected voltage. If it’s significantly lower than the voltage at your wall outlet, the problem is likely internal to the welder.
When to Call a Professional
If you’ve gone through these steps and the problem persists, or if you’re uncomfortable performing any of the checks, it’s time to seek professional assistance. Internal component failures, such as a bad transformer or rectifier, often require specialized knowledge and tools to repair safely. A qualified welding equipment repair service can diagnose and fix these more complex issues.
Frequently Asked Questions
Question: What is the most common cause of low voltage in a welding machine for beginners?
Answer: The most common causes for beginners are often loose connections, especially the ground clamp, or using an extension cord that is too long or too thin for the welder’s power needs.
Question: Can a tripped circuit breaker cause low voltage?
Answer: Yes, a circuit breaker that is partially tripped or faulty might not deliver full power to the outlet, leading to lower voltage for your welder.
Question: How do I know if my welding cables are bad?
Answer: Inspect your welding cables for any visible damage like cuts, cracks, or frayed insulation. Also, feel for excessive heat buildup along the cable during use, which can indicate high resistance.
Question: Is it safe to open up my welding machine to check internal parts?
Answer: It can be dangerous. Welding machines contain high voltage components that can remain charged even when unplugged. Unless you are trained and comfortable working with live electrical components, it’s best to avoid opening the machine yourself.
Question: What does a voltage drop in an extension cord mean?
Answer: A voltage drop in an extension cord means that the cord is resisting the flow of electricity. This resistance causes some of the electrical power to be lost as heat before it reaches your welder, resulting in lower voltage output.
Final Thoughts
Dealing with a Welding Machine Low Voltage Issue? Quick Fix doesn’t have to be a major puzzle. By systematically checking your power source, cables, and connections, you can often find and resolve the problem yourself.
Loose clamps, damaged cords, or an overloaded circuit are frequent culprits. Remember to always prioritize safety. With a few simple checks, you’ll be back to creating solid welds in no time.