Learning to MIG weld can be exciting, but sometimes small things can feel tricky at first. For new welders, figuring out How Do You
Key Takeaways
- Contact tips wear out from heat and metal spatter.
- Regularly checking your contact tip prevents welding issues.
- A simple tool, like pliers or a wrench, is usually all you need.
- Turning off your welder and letting it cool is important for safety.
- Matching the new tip to your wire size and type is key.
- Tightening the new tip correctly ensures a good electrical connection.
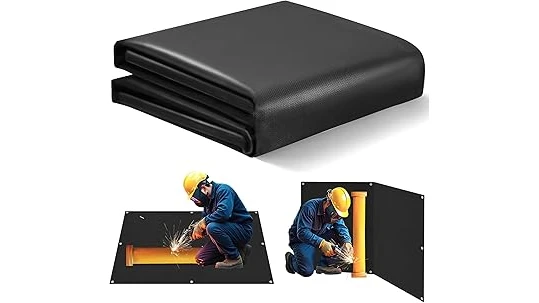
Why Contact Tips Need Replacing
The Role of the Contact Tip
Your MIG welder uses a contact tip for a very important job. It’s the part that actually touches the welding wire and sends electricity to it. This electrical connection is what melts the wire and creates your weld.
Think of it as the final gatekeeper before the electricity hits the wire and starts the melting process. It has to be just right for a smooth weld.
Wear and Tear
Welding creates a lot of heat. The contact tip is right in the middle of all that heat, melting metal, and spatter. Over time, this constant exposure wears down the tip.
The hole in the tip can get larger, and the metal can build up around it. This wear can cause all sorts of problems with your welding.
Signs of a Worn Contact Tip
You’ll usually notice when your contact tip is worn out. Your arc might start to look uneven or unstable. You might see more spatter than usual, or the wire might not feed smoothly.
Sometimes, the weld might not be as clean or strong as it should be. If your welds are suddenly looking rough, a worn contact tip is often the culprit.
When to Change Your Contact Tip
Regular Checks Save Trouble
It’s a good idea to check your contact tip regularly. You don’t need to change it every single time you weld, but a quick look every now and then is smart. If you see a lot of metal spatter stuck to it, or if the hole looks bigger than it should, it’s probably time for a change.
Catching it early makes your welding much easier.
Before and After Welding Sessions
A good habit is to check your contact tip before you start welding and again when you finish. Before you start, a quick visual inspection can tell you if it’s in good shape. After welding, cleaning off any spatter will help keep it in better condition for longer.
If you notice issues during your weld, stop and inspect it.
Troubleshooting Welding Problems
If your welds aren’t turning out right, and you’ve checked other things like your gas flow and wire tension, the contact tip is a prime suspect. A damaged or dirty contact tip can mimic problems with wire feed or power. So, before you dig deeper into other settings, take a look at the contact tip.
Gathering What You Need
Safety First!
Before you touch anything on your welder, always turn it off. Make sure the power switch is in the OFF position. It’s also wise to let your welding gun cool down for a few minutes.
The tip can get very hot during welding, and you don’t want to burn yourself.
The Right Tools
You won’t need a lot of fancy tools. Most often, you can use a pair of pliers to grip the contact tip. Some welders have a small wrench that fits the tip, which can make it easier to grip and turn.
Keep these simple tools handy.
The New Contact Tip
This is the most important part! You need to have a new contact tip ready. Make sure it’s the correct size for your welding wire.
Contact tips come in different sizes, usually measured by the diameter of the wire they are designed for (like .030″, .035″, .045″). Using the wrong size can cause feeding problems and poor welds. Also, ensure it’s the right type for your MIG gun.
If you’re unsure, check your welder’s manual or the markings on your current tip.
How Do You Replace MIG Welder Contact Tips? Step-by-Step
Step 1: Power Down and Cool
First things first: turn off your MIG welder. Find the power switch and flip it to the OFF position. If you’ve been welding, give the welding gun and contact tip a few minutes to cool down.
Safety is always number one.
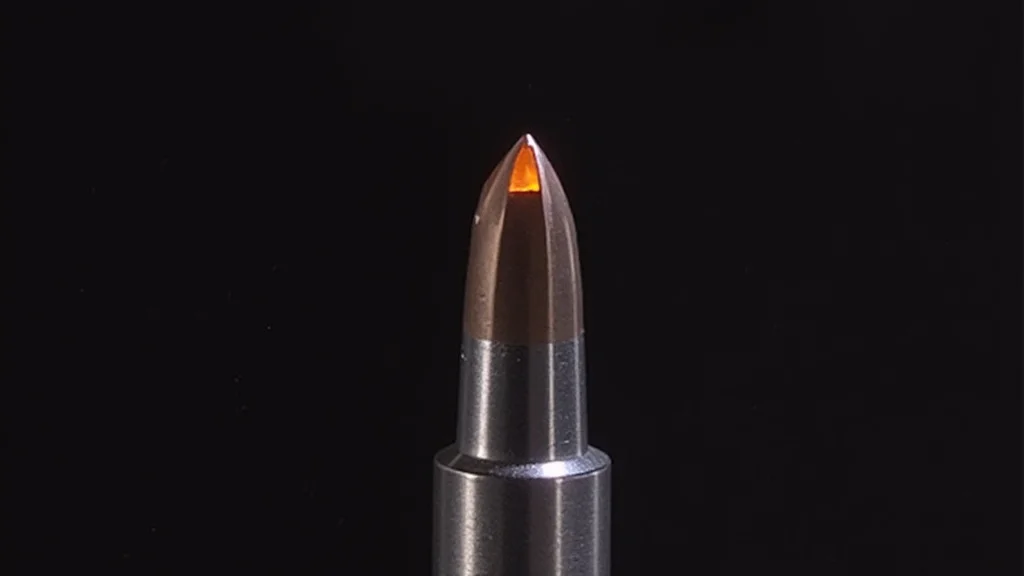
Step 2: Remove the Old Tip
Grab your pliers or the correct wrench. You’ll see the contact tip screwed into the end of your welding gun’s nozzle. It’s usually a brass-colored piece with a hole in the middle.
Grip the tip firmly and twist it counter-clockwise (to the left). It should unscrew easily. If it feels stuck, a gentle wiggle might help.
Be careful not to force it too hard, as you don’t want to damage the threads on the gun.
Step 3: Clean the Area
Once the old tip is off, take a moment to look at the tip holder. Sometimes, spatter can build up here. You can use a clean cloth or a small wire brush (if you have one and it’s safe for your gun) to gently clean away any stray metal bits.
This ensures the new tip will sit properly.
Step 4: Install the New Tip
Get your new, correct-sized contact tip. Carefully screw it into the tip holder. Turn it clockwise (to the right) by hand first.
Make sure it goes in straight and the threads catch properly. You want it to be snug, but not overly tight.
Step 5: Tighten the New Tip
Once you’ve hand-tightened the new tip, use your pliers or wrench to give it a little extra turn. You want it to be snug enough to make good electrical contact and prevent wire from escaping, but don’t crank on it with all your might. Overtightening can damage the tip or the threads.
A firm grip and a quarter-turn past hand-tight is usually enough.
Step 6: Reassemble (If Needed)
Some MIG guns have a nozzle that screws over the contact tip. If yours does, screw the nozzle back on. Make sure it’s also snug.
Step 7: Test Your Weld
Turn your welder back on. Do a small test weld on a scrap piece of metal. See how the arc looks and if the wire feeds smoothly.
If everything feels right, you’re good to go!
Choosing the Right Contact Tip
Wire Size Matters
This is super important. Contact tips are designed for specific wire diameters. If you use .030″ wire, you need a .030″ contact tip.
If you use .035″ wire, you need a .035″ tip. Using a tip that’s too small will jam the wire. Using a tip that’s too big will lead to poor electrical contact and bad welds.
Always match the tip to your wire.
Material Type
While most general-purpose MIG welding uses standard copper contact tips, some specialized applications might use different materials. For most hobbyists and general fabrication, the standard copper or copper-alloy tips are perfectly fine. They offer good conductivity and reasonable lifespan.
Brand and Gun Compatibility
Contact tips are usually specific to the brand and model of your MIG gun. While some brands might have interchangeable tips, it’s best to stick with tips designed for your gun. Using a tip from a different brand might not fit correctly or could cause problems.
Check your welder’s manual or the gun manufacturer’s information to be sure.
When to Consider Upgrades
For very high-demand or industrial welding, there are specialized contact tips available, sometimes made of more durable alloys. However, for everyday use, the standard tips are reliable and cost-effective. Unless you’re experiencing rapid wear even with proper care, standard tips will serve you well.
Common Issues and How to Fix Them
Wire Feeding Problems
If your wire isn’t feeding smoothly after changing the tip, double-check that the new tip is the correct size for your wire. Also, make sure the tip is screwed in straight and snug. Sometimes, if the tip holder is dirty, it can cause friction.
Clean it out gently.
Poor Arc Quality
A bad arc can often be traced back to the contact tip. If the tip is worn or not making good contact, the electricity flow will be inconsistent. Ensure the new tip is tightened properly.
Also, make sure you haven’t accidentally put in a tip for a different wire size.
Excessive Spatter
While spatter is normal to some extent in MIG welding, excessive spatter can mean your contact tip is worn. A worn tip doesn’t guide the arc as well. Cleaning the tip and nozzle after each use can help reduce spatter buildup, but if it persists, a new tip is likely needed.
Tip Seizing
Sometimes, a contact tip can get so stuck with spatter that it’s hard to remove. If this happens, try heating the area around the tip holder gently with a heat gun (not a torch, as that’s too hot and could damage things) to help loosen the metal. Then, try again with pliers.
If it’s still stuck, you might need a specialized tip removal tool, or it might be time to consult your welder’s manual for more advanced troubleshooting.
Frequently Asked Questions
Question: How often should I replace my MIG welder contact tips?
Answer: It depends on how much you weld and the conditions. A good rule of thumb is to check them regularly. Replace them when you notice increased spatter, inconsistent wire feed, or a rough welding arc.
Some welders might change them every few hours of welding, while others might get much more use out of a single tip.
Question: Can I use any brand of contact tip with my MIG gun?
Answer: Not always. Contact tips are often specific to the brand and model of your MIG gun. While some might be interchangeable, it’s safest to use tips designed for your specific gun.
Check your welder or gun manual to confirm compatibility.
Question: What happens if I use the wrong size contact tip?
Answer: Using the wrong size contact tip can cause problems. If the tip hole is too small for your wire, the wire will jam. If the hole is too big, you’ll have poor electrical contact, leading to a poor arc, excessive spatter, and weak welds.
Question: Is it safe to replace the contact tip while the welder is still plugged in?
Answer: No, it is not safe. Always turn off the power to your MIG welder and disconnect it from the power source before attempting to replace the contact tip. Also, allow the welding gun to cool down after use.
Question: My new contact tip feels loose, what should I do?
Answer: After screwing the new tip in by hand, use your pliers or wrench to tighten it snugly. It needs to be tight enough to make good electrical contact and prevent wire from escaping, but avoid overtightening. A firm turn past hand-tight is usually sufficient.
Final Thoughts
Changing your MIG welder contact tips is a simple but vital part of keeping your equipment in top shape. You now know that wear and tear on these small parts directly impact your welding quality. By following the easy steps of powering down, unscrewing the old, cleaning up, and screwing in the new, correctly sized tip, you ensure a good electrical connection.
This simple maintenance keeps your arc stable and your welds clean. Keep an eye on your tip, have spares ready, and you’ll be welding like a pro in no time.