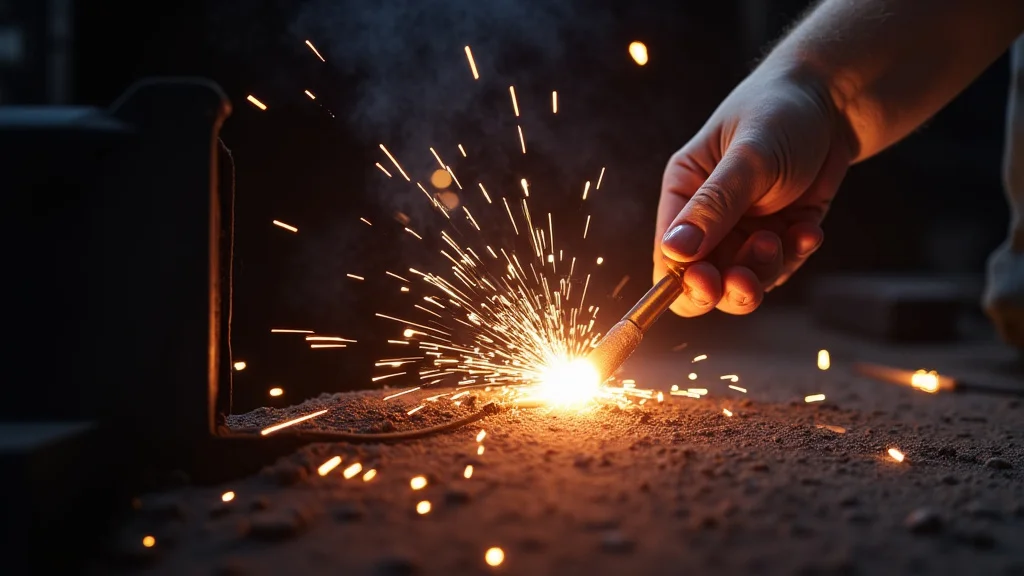
Many people starting out with MIG welding run into a common issue: spatter. It’s those little metal blobs that fly off and stick to your workpiece and surroundings. Figuring out MIG Welder Spatter Problems?
How to Solve them can feel tricky at first, but it doesn’t have to be. We’ll break it down in a simple, easy-to-follow way. Get ready to learn how to get cleaner welds with our step-by-step guide.
Key Takeaways
- You will learn what causes MIG welder spatter.
- We will show you how to fix spatter by adjusting your MIG welder settings.
- Discover tips for choosing the right welding wire and gas for less spatter.
- Understand how proper torch technique reduces unwanted spatter.
- Learn maintenance tricks to keep your MIG welder working smoothly and prevent spatter.
What is MIG Welder Spatter?
MIG welding, also known as Gas Metal Arc Welding (GMAW), is a popular welding method. It’s used by hobbyists and professionals alike because it’s relatively easy to learn and provides strong welds. However, one of the most common and frustrating issues beginners face is spatter.
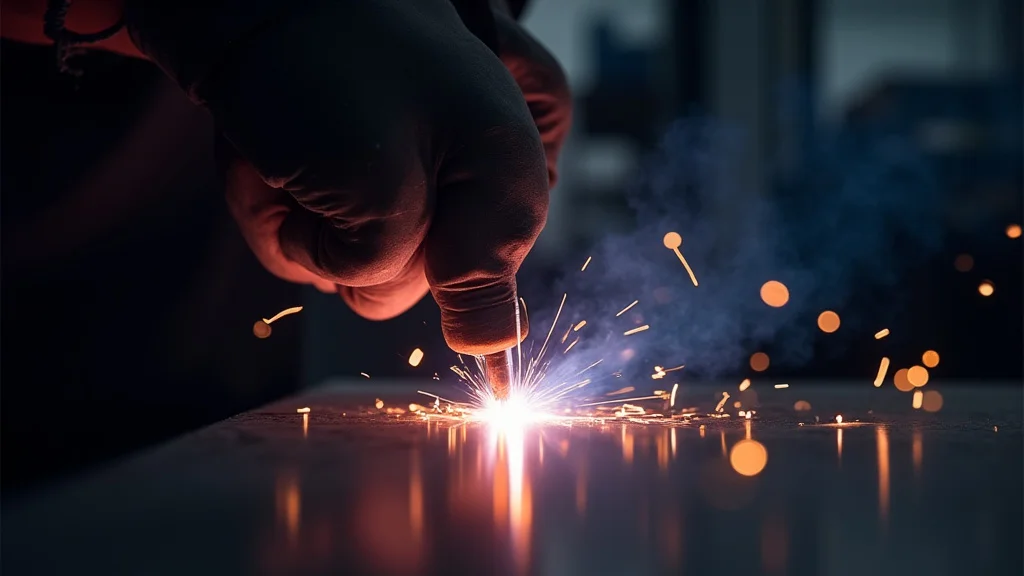
Spatter is the small droplets of molten metal that spray out from the weld pool during the welding process.
These tiny metal bits can stick to your workpiece, your welding torch, and even your protective gear. While some spatter is normal, excessive spatter can be a sign that something isn’t quite right with your welding setup or technique. It can make your welds look messy, require extra cleanup work, and in some cases, can even weaken the weld itself.
Understanding why it happens is the first step to fixing it.
Why Does MIG Welder Spatter Happen?
There are several reasons why you might be experiencing too much MIG welder spatter. These can range from how your machine is set up to the materials you’re using and even how you’re holding the torch.
Incorrect Machine Settings
This is often the biggest culprit for spatter. MIG welders have settings for voltage and wire speed (amperage). These two settings work together to control how the welding arc behaves.
Voltage Too High or Too Low
Voltage controls the arc length. If the voltage is too high, the arc becomes long and unstable, causing the molten metal to spray out erratically. Think of it like trying to hold a really long, thin stream of water; it tends to break up and splash.
Too low a voltage can also cause issues, making the arc too short and leading to a “stubby” arc that can cause poor fusion and excessive spatter.
Wire Speed Too High or Too Low
Wire speed controls how fast the welding wire is fed into the arc. This speed is directly related to the amperage (heat) of your weld. If the wire speed is too high for the set voltage, the wire will try to feed into the weld pool too quickly.
This can overload the arc with metal, forcing molten droplets to fly off. Conversely, if the wire speed is too low, you won’t get enough heat, leading to a weak weld and potentially spatter from an unstable arc.
Improper Shielding Gas
Shielding gas is crucial in MIG welding. It protects the molten weld pool from the air, which contains oxygen and nitrogen. These gases can react with the molten metal, causing defects and spatter.
The type and flow rate of your shielding gas are very important.
Wrong Type of Gas
For MIG welding with solid steel wire, you typically use a shielding gas that is a mix of argon and carbon dioxide (CO2). Pure argon can cause excessive spatter with steel. Pure CO2 can be too hot and also cause spatter.
The correct mix, often around 75% argon and 25% CO2 (known as C25), balances penetration and arc stability to reduce spatter. Using the wrong gas for your application (like using a gas meant for aluminum on steel) will cause problems.
Gas Flow Rate Too Low or Too High
If the gas flow rate is too low, there won’t be enough protection for the weld pool. This allows air to get in, leading to porosity and spatter. If the flow rate is too high, the gas can actually become turbulent and “pull” air into the weld pool, or it can blow the molten metal away from the weld area, causing spatter.
A good starting point for gas flow is usually around 15-25 cubic feet per hour (CFH), but this can vary depending on your environment and equipment.
Poor Quality Welding Wire
The welding wire itself plays a big role in spatter. Welding wire is coated with flux, which helps stabilize the arc and clean the weld. If this flux is uneven or the wire is dirty, it can lead to an unstable arc and spatter.
Using an old or contaminated spool of wire can also be an issue. Moisture or dirt on the wire can introduce contaminants into the weld, disrupting the arc. Make sure your wire is clean and properly stored.
Contaminated Base Metal
The metal you are welding needs to be clean. Dirt, oil, rust, paint, or any other contaminants on the surface of your workpiece can cause issues. When the welding arc hits these contaminants, they can vaporize, creating unstable gases that lead to spatter and poor weld quality.
Always clean the metal thoroughly before welding.
Incorrect Stick-Out or Contact Tip Issues
“Stick-out” is the length of the welding wire that extends beyond the tip of your welding gun. The recommended stick-out varies depending on the wire diameter and welding parameters, but generally, it should be about 1/4 to 1/2 inch. If your stick-out is too long, the wire can overheat before it reaches the weld pool, leading to spatter.
If it’s too short, you might be too close to the molten metal, which can also cause problems.
The contact tip is the part of the gun that the wire passes through. If the contact tip is worn out, dirty, or the wrong size for your wire, it can cause feeding problems and an unstable arc, both of which lead to spatter. A damaged or dirty tip can also restrict the flow of shielding gas.
Torch Angle and Travel Speed
How you hold and move your welding torch affects the weld. Pushing or pulling the torch at extreme angles can disrupt the shielding gas coverage and the weld puddle, causing spatter. A slight drag angle is usually recommended for MIG welding steel.
Traveling too fast or too slow can also cause issues. If you move too quickly, you won’t give the molten metal enough time to flow and form a good weld bead, and you might see spatter. Moving too slowly can overheat the weld area, leading to excessive penetration and spatter.
How to Solve MIG Welder Spatter Problems
Now that we know what causes spatter, let’s look at how to fix it. Solving these problems usually involves adjusting your machine settings, checking your consumables, and refining your technique.
1. Adjusting Your Machine Settings
This is usually the first and most effective place to start. Your MIG welder’s voltage and wire speed controls are your primary tools for managing spatter.
Finding the Right Voltage and Wire Speed (Amperage)
Most welding machines have charts or recommendations for voltage and wire speed based on the material thickness and wire diameter you are using. Start with these recommendations. If you have too much spatter, you’ll likely need to make adjustments:
- Too much spatter with a long, crackling arc: Try lowering the voltage slightly. Also, ensure your wire speed is appropriately matched to the voltage.
- Too much spatter with a short, hissing arc: Try increasing the voltage slightly. Again, check the wire speed.
- Wire burning back to the contact tip: This means your wire speed (amperage) is too high for the voltage. Lower the wire speed.
- Wire not melting into the puddle properly: This means your wire speed (amperage) is too low for the voltage. Increase the wire speed.
The goal is to find a smooth, consistent arc sound, often described as a steady “sizzle” or “bacon frying.” This usually indicates the correct balance between voltage and wire speed.
Many modern MIG welders have synergic controls. This means when you set one parameter (like wire speed), the machine automatically adjusts the other (voltage) to an optimal setting. While convenient, you may still need to fine-tune the voltage up or down slightly to achieve the perfect arc and minimize spatter.
2. Checking and Using the Right Shielding Gas
The shielding gas is critical. Ensure you are using the correct type and that it’s flowing at the right rate.
Choosing the Correct Gas
For most steel applications with solid wire, a mix of 75% Argon and 25% CO2 (C25) is ideal. This gas provides a good balance for arc stability and penetration, leading to less spatter. If you’re welding thin steel, you might use a slightly lower CO2 mix, like 90% Argon / 10% CO2, which can provide a softer arc.
For aluminum, you need 100% Argon.
Setting the Correct Gas Flow Rate
A good starting point for gas flow is 15-25 CFH. To check your flow rate, connect a flow meter to your gas cylinder regulator. With the valve on your welding gun open (but not welding), adjust the regulator until the flow meter reads in the target range.
You can also use your thumb to feel the gas flow at the torch tip; it should be a gentle, steady stream, not a strong blast. In drafty conditions (like outdoors), you might need to increase the flow rate slightly, but be careful not to go too high.
Make sure your gas bottle isn’t nearly empty, as the flow rate can drop significantly when the pressure gets low.
3. Using Quality Welding Wire
Don’t skimp on your welding wire. High-quality wire is manufactured to be consistent and clean, which translates to a more stable arc.
Selecting the Right Wire
Ensure the wire diameter matches the joint you’re welding and the capabilities of your machine. For example, a 0.030-inch wire is common for thinner materials, while a 0.035-inch or 0.045-inch wire is better for thicker metal. Always use wire designed for the type of metal you are welding (e.g., steel wire for steel, aluminum wire for aluminum).
Keeping Wire Clean and Dry
Store your wire spools in a dry place. If you notice moisture or rust on the wire, it’s best to discard that section or even the entire spool. Before welding, you can sometimes clean the first few feet of wire by pulling it through a wire brush or a clean cloth.
4. Cleaning Your Base Metal
This step is often overlooked but is crucial for good welds and minimal spatter. Contaminants on the metal surface will disrupt the arc.
Proper Surface Preparation
Use a wire brush, grinder, or a chemical cleaner to remove all rust, paint, oil, grease, and any other debris from the area you plan to weld. The metal should be shiny and clean.
5. Checking and Maintaining Your Contact Tip and Gun
The contact tip and welding gun are critical for delivering wire and gas. They need to be in good condition.
Contact Tip Maintenance
Your contact tip will wear out over time and can get clogged with spatter. Regularly inspect it for wear or damage. Clean out any spatter that accumulates inside or on the tip using a contact tip cleaner tool.
If the tip is worn or damaged, replace it. It’s a small, inexpensive part that makes a big difference.
Also, ensure the contact tip you are using is the correct size for your welding wire diameter. If you use a 0.030-inch wire, you need a 0.030-inch contact tip.
Proper Stick-Out
Maintain the correct stick-out, usually between 1/4 inch and 1/2 inch (6-12 mm). This is the length of wire extending from the tip of the contact tip. If your stick-out is too long, the wire can overheat and spatter.
If it’s too short, you might be too close to the weld pool. You can control stick-out by adjusting your wire speed – a higher wire speed often results in a slightly longer stick-out.
6. Improving Torch Angle and Travel Speed
Your welding technique matters a lot.
Torch Angle
For steel, a slight drag angle is generally recommended. This means you pull the torch slightly behind the direction of travel. The angle should be about 5-15 degrees.
This helps the shielding gas flow properly and keeps the arc focused on the joint. Avoid a severe push or pull angle, as this can disrupt the gas shield and lead to spatter.
Travel Speed
Find a consistent travel speed. If you move too fast, the weld bead will be narrow and may not have enough penetration. If you move too slow, you can overheat the metal, leading to excessive melt-through and spatter.
Aim for a steady pace that allows the molten puddle to form nicely and fuse the metals.
7. Using Anti-Spatter Spray
These sprays are chemical coatings applied to the welding nozzle and contact tip. They prevent spatter from sticking to these parts, making cleanup much easier and helping to maintain proper gas flow.
Apply the spray before you start welding. It’s a simple step that can save you a lot of frustration and time spent cleaning your equipment.
FAQ
Question: What is the most common cause of MIG welder spatter?
Answer: The most common cause of MIG welder spatter is incorrect machine settings, specifically the balance between voltage and wire speed.
Question: How does shielding gas affect spatter?
Answer: Shielding gas protects the molten weld pool from the air. If the gas type is wrong, or the flow rate is too low or too high, it can lead to an unstable arc and excessive spatter.
Question: Can the welding wire itself cause spatter?
Answer: Yes, poor quality, dirty, or wet welding wire can cause an inconsistent arc and lead to spatter.
Question: Is it normal to have some MIG welder spatter?
Answer: A small amount of spatter is normal in MIG welding. The goal is to minimize it, not eliminate it entirely, to achieve clean and strong welds.
Question: What should I do if my wire is burning back to the contact tip?
Answer: If your wire is burning back to the contact tip, your wire speed (amperage) is likely too high for the set voltage. You should reduce the wire speed.
Final Thoughts
Learning to manage MIG welder spatter is a key step for any new welder. By focusing on the right machine settings, ensuring proper shielding gas, using good quality consumables, and practicing good technique, you can significantly reduce unwanted spatter. A clean workpiece, well-maintained equipment like contact tips, and the correct torch angle all contribute to smoother, cleaner welds.
Don’t get discouraged; each weld is a chance to practice and improve. With a little attention to these details, you’ll see a big difference in your welding results.