Keeping your MIG welding equipment in good shape is super important for getting clean welds. Many people starting out wonder, How Do You Clean a MIG Welding Nozzle Properly? It might seem like a small thing, but a dirty nozzle can cause big problems with your welding. Don’t worry, it’s actually pretty simple once you know how.
We’ll walk you through it step-by-step so you can get back to welding with confidence. Get ready to learn the easy way to keep your nozzle working like new.
Key Takeaways
- A clean MIG welding nozzle is vital for good weld quality.
- Built-up spatter can block gas flow, causing welding defects.
- Regular cleaning extends the life of your welding consumables.
- Simple tools like a wire brush and anti-spatter spray are effective.
- Proper cleaning prevents costly repairs and improves welding efficiency.
Why Cleaning Your MIG Nozzle Matters
The Little Nozzle, Big Impact
Your MIG welding nozzle might be small, but it plays a huge role. It directs the shielding gas that protects your weld puddle from the air. If this gas flow is interrupted, your welds won’t be strong or look good.
Think of it like trying to talk through a stuffy nose – the message gets garbled.
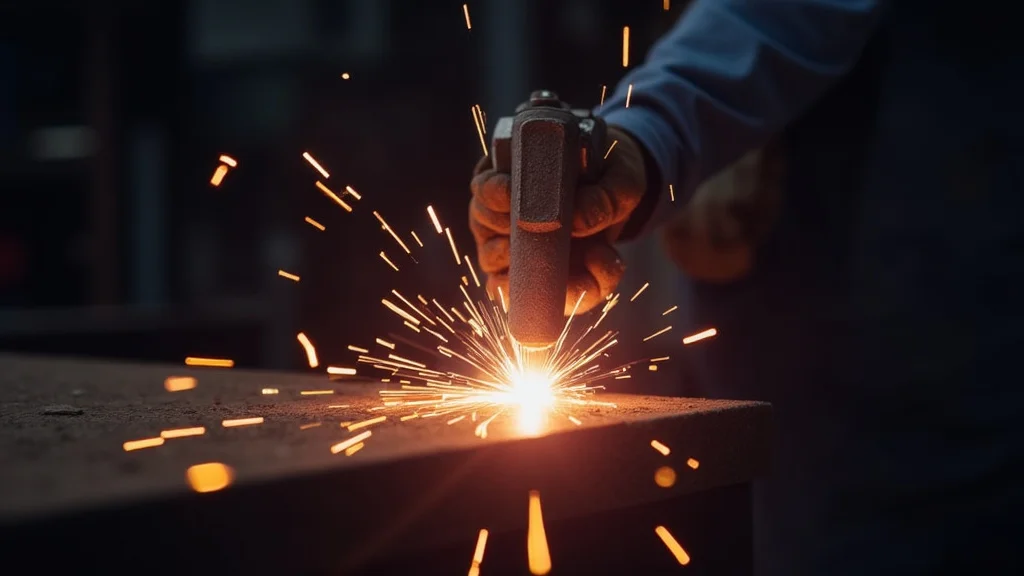
Spatter: The Welder’s Annoyance
During MIG welding, small droplets of molten metal, called spatter, can fly off and stick to the nozzle. This is totally normal. However, when enough spatter builds up, it starts to cause problems.
It can get in the way of the shielding gas and even block the wire from feeding smoothly.
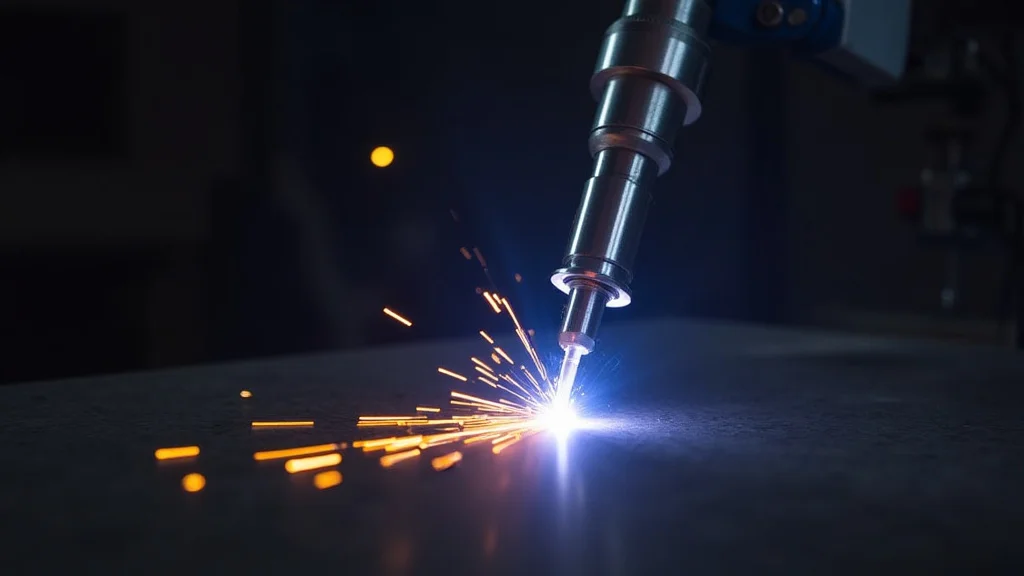
Gas Flow is King
The shielding gas is like a bodyguard for your weld. It pushes away oxygen and nitrogen from the air, which can weaken your welds and make them porous. If the nozzle is clogged with spatter, the gas can’t flow out evenly.
This means parts of your weld aren’t protected, leading to defects like porosity and inclusions.
Preventing Costly Mistakes
Ignoring a dirty nozzle can cost you time and money. You might end up with bad welds that need to be ground off and re-done. In some cases, a badly clogged nozzle can overheat and damage other parts of your MIG gun.
Regular cleaning is a cheap and easy way to avoid these headaches.
When to Clean Your MIG Nozzle
A Quick Check Before You Weld
The best time to clean your nozzle is before every welding session. It only takes a minute or two. Just give it a quick look to see if there’s any fresh spatter.
This small habit can prevent bigger issues down the road.
After Long Welding Runs
If you’re doing a lot of welding, especially on thicker materials, you might need to clean your nozzle more often. You’ll start to notice when it’s needed. If your arc sounds rough or you see spatter sticking more than usual, it’s time for a clean.
If You Notice Welding Issues
The biggest sign that your nozzle needs cleaning is a change in your weld quality. If your welds start looking rough, have bubbles, or don’t seem to be penetrating well, check your nozzle first. Often, a dirty nozzle is the culprit.
Tools You’ll Need for Cleaning
Essential Cleaning Gear
You don’t need fancy equipment. A few basic items will do the trick:
- Wire Brush: A sturdy wire brush is your best friend for knocking off spatter. You can get ones specifically made for welding nozzles.
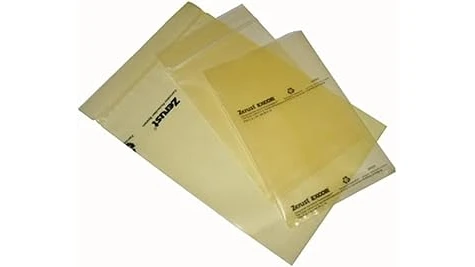
- Anti-Spatter Spray: This spray creates a barrier on the nozzle that makes spatter less likely to stick.
- Nozzle Cleaning Tool: Some welders use special tools that have different sized holes to clean out the inside of the nozzle tip.
- Rag or Shop Towels: For wiping away loose debris and excess spray.
- Safety Glasses: Always protect your eyes from flying debris.
How Do You Clean a MIG Welding Nozzle Properly? Step-by-Step
Step 1: Safety First!
Before you do anything, make sure your MIG welder is turned off and the welding gun is cool. You don’t want to burn yourself or damage the equipment.
Step 2: Remove the Nozzle
Most MIG gun nozzles can be unscrewed by hand. Some might be a bit tight, so you can gently use a wrench if needed. Be careful not to overtighten when you put it back on later.
Step 3: Brush Away the Spatter
Take your wire brush and scrub the outside and inside of the nozzle. Get into all the nooks and crannies. You want to remove all the hardened spatter.
If the spatter is really stuck on, you might need to do a bit of gentle scraping with a tool before brushing.
Step 4: Clean the Tip (Contact Tip)
The contact tip is the small part inside the nozzle that the welding wire passes through. Spatter can build up here too, affecting wire feeding and gas flow. Use your nozzle cleaning tool or a small drill bit (the size of your wire) to carefully clean out the hole in the contact tip.
Make sure the hole is clear and round.
Step 5: Apply Anti-Spatter Spray
Once the nozzle is clean, spray a light coat of anti-spatter product on the inside and outside. This will help prevent spatter from sticking the next time you weld. Don’t use too much, as it can sometimes interfere with the gas flow if it’s overdone.
Step 6: Reattach the Nozzle
Screw the nozzle back onto the MIG gun. Make sure it’s snug but not overly tight. A loose nozzle can affect gas flow, and an overly tight one can make it hard to remove next time.
Step 7: Check the Gas Diffuser
Sometimes, spatter can get into the gas diffuser, which is located behind the nozzle. This part helps spread the shielding gas evenly. If it looks clogged with spatter, you might need to remove it and clean it as well.
This usually involves unscrewing a small nut holding it in place.
Advanced Nozzle Cleaning Tips
For Stubborn Spatter
If you have really tough spatter that won’t come off with a brush, you can try using a small hammer very gently to tap on the nozzle. Sometimes this can loosen the hardened metal. You can also try heating the nozzle slightly with a torch (carefully!) to make the spatter easier to remove, but this should be a last resort and done with extreme caution.
Using a Welding Nozzle Reamer
For a more professional clean, especially for frequent users, a dedicated nozzle reamer tool is excellent. These tools are designed to precisely clean the inside of the nozzle and tip, ensuring perfect gas flow. They come in different sizes for various nozzle types.
Maintaining Your MIG Gun
Cleaning the nozzle is part of a larger maintenance routine for your MIG gun. Regularly checking the condition of the contact tip, gas diffuser, and liner can prevent many common welding problems. A well-maintained gun leads to better welds and a longer lifespan for your equipment.
When to Replace Nozzle Consumables
Even with regular cleaning, nozzles and contact tips wear out. If you notice your nozzle is significantly deformed, cracked, or the contact tip hole is enlarged or misshapen, it’s time to replace them. Worn-out parts can’t be cleaned effectively and will negatively impact your welds.
Frequently Asked Questions
Question: How often should I clean my MIG welding nozzle?
Answer: It’s best to clean your nozzle before each welding session. If you’re doing a lot of welding, you might need to clean it more often, like after every hour of use or if you notice any welding issues.
Question: What happens if I don’t clean my MIG nozzle?
Answer: If you don’t clean your nozzle, spatter will build up. This can block the shielding gas flow, leading to weak, porous welds and an unstable arc. It can also cause your wire feed to be inconsistent.
Question: Can I use a regular wire brush?
Answer: Yes, a sturdy wire brush works well. Brushes specifically designed for welding nozzles are often a bit stiffer and shaped to get into tight spots better, but a good quality metal brush will do.
Question: How do I know if my contact tip is bad?
Answer: A bad contact tip will have a deformed or enlarged hole where the wire passes through. It might also look melted or pitted. If it’s not a clean, round hole, it’s time for a new one.
Question: Is anti-spatter spray necessary?
Answer: While not strictly necessary, anti-spatter spray makes cleaning much easier and helps prevent excessive spatter buildup. It’s a very useful product for keeping your nozzle clean and your welds looking good.
Final Thoughts
Keeping your MIG welding nozzle clean is a simple task that makes a big difference. Proper cleaning ensures your shielding gas flows correctly, protecting your welds from defects like porosity and inclusions. Regularly brushing off spatter, using anti-spatter spray, and checking your contact tip will lead to more consistent, high-quality welds.
It also helps your welding equipment last longer. Making nozzle cleaning a habit is one of the easiest ways to improve your welding and avoid frustration.