Many people find Stick Welder Cable Issues? Step Solutions a bit tricky at first. It’s easy to get confused about why your cables aren’t working right.
But don’t worry! We’re going to make this super simple. You’ll get clear steps to fix common problems.
First, we’ll look at what you need to know and then we’ll get to fixing them.
Key Takeaways
- You will learn to spot common problems with stick welder cables.
- We will show you easy ways to check if your cables are good or bad.
- You will find out how to fix loose connections quickly.
- We’ll explain why damaged cables are dangerous.
- You will get tips on how to keep your cables in good shape.
- Simple solutions for common stick welder cable troubles will be covered.
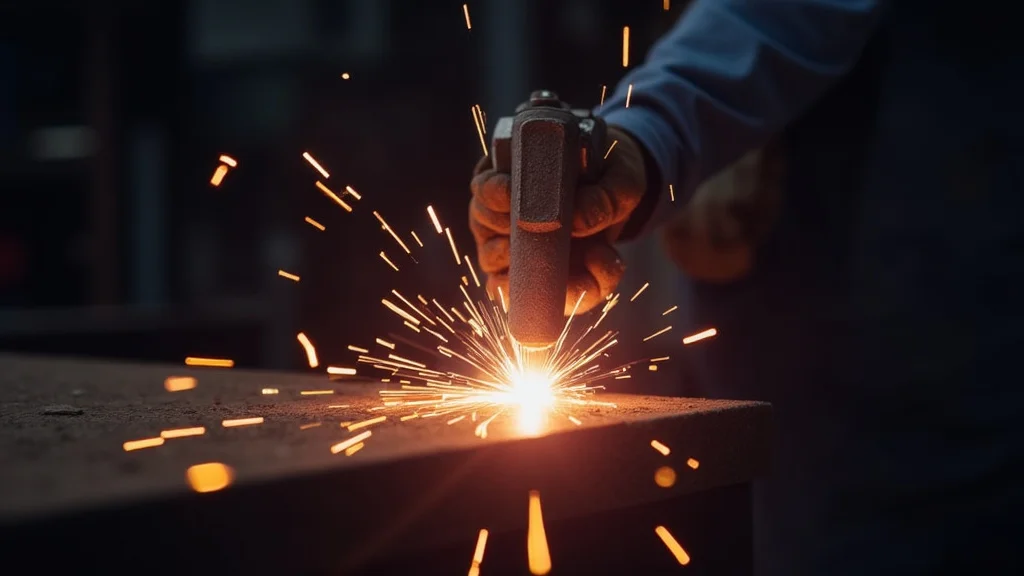
Understanding Your Stick Welder Cables
Your stick welder relies on cables to send power from the machine to the welding torch and back to the ground clamp. These cables are like the veins and arteries of your welding setup. If they aren’t working right, nothing else will.
Think of them as the power lines for your weld. If they have issues, your welding quality suffers, or worse, you can’t weld at all.
Why Cable Problems Happen
Several things can cause problems with your stick welder cables. One common reason is simple wear and tear. Cables get bent, pulled, and sometimes scraped.
This can damage the outer coating or even the wires inside.
Another big issue is bad connections. The clamps that attach the cables to your welder and to the workpiece need to be clean and tight. If they’re dirty or loose, power can’t flow properly.
This leads to a weak or inconsistent arc, which makes welding hard.
Heat is also a factor. Welding creates a lot of heat. If cables are too thin for the job or if they overheat, they can get damaged.
This can melt the insulation or even cause the wires to break.
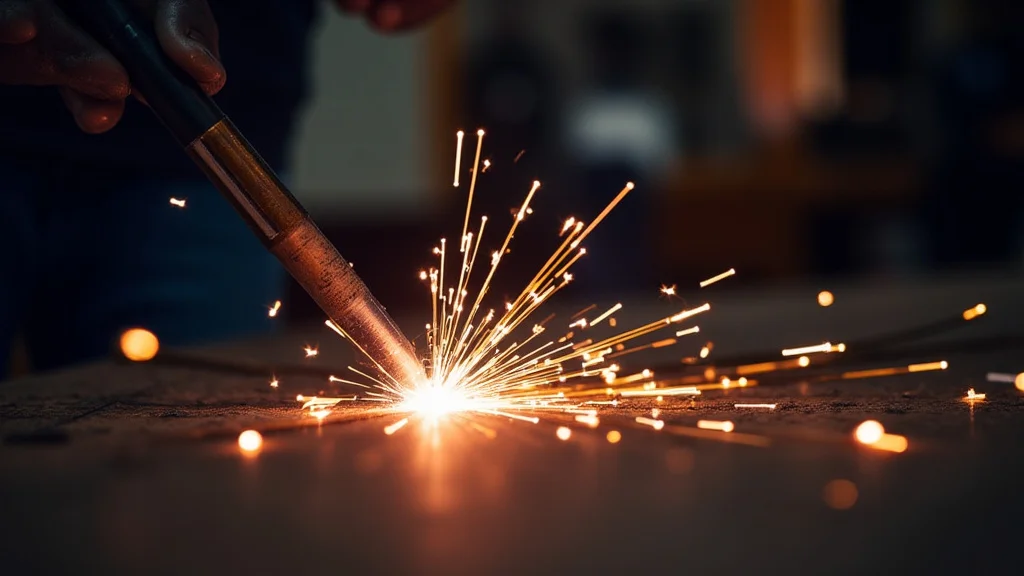
Common Signs of Cable Trouble
You’ll notice a few things when your stick welder cables are having problems. The most common sign is a weak or sputtering welding arc. It might feel like the power is cutting in and out.
Your welds might look bad, with lots of spatter or poor penetration.
You might also feel heat coming from the cables or connectors when they shouldn’t be hot. Sometimes, you can see visible damage like cuts, nicks, or melted spots on the cable’s rubber coating. A loose ground clamp might also cause issues, even if the cable itself looks okay.
Checking Your Stick Welder Cables
Before you start welding, it’s a good idea to do a quick check of your cables. This helps prevent problems before they stop your work. It’s a simple process that can save you a lot of headaches.
Visual Inspection
Start by looking at your cables. Walk the full length of each one. Look for any cuts, nicks, cracks, or areas where the rubber is worn away.
Pay close attention to the areas where the cables connect to the torch or ground clamp, and where they plug into the welder. These spots often see the most stress.
Also, check the connectors themselves. Are they clean? Are they securely attached to the cable?
If you see any frayed wires or damaged insulation, it’s time to think about repair or replacement.
Connection Check
Next, check the connections. Make sure the electrode holder cable is firmly attached to the positive or negative terminal on your welder (depending on your machine and welding process). Ensure the ground clamp is clamped tightly to a clean metal surface on your workpiece or welding table.
A dirty connection can be just as bad as a loose one. Use a wire brush to clean any rust, paint, or dirt off the clamp jaws and the surface you’re clamping to. This ensures a good electrical path.
Testing for Continuity
For a more thorough check, you can test your cables for continuity. This means making sure electricity can flow through them without any breaks. If you have a multimeter, this is a simple test.
Set your multimeter to the resistance setting (ohms, usually shown as the Greek letter Omega – Ω). Touch one probe to one end of the cable and the other probe to the other end. For a good cable, you should get a very low resistance reading, close to zero ohms.
If you get a very high reading or no reading at all, the cable has a break inside.
Common Stick Welder Cable Problems and Solutions
Let’s talk about the most common issues you’ll run into and how to fix them. Most of these are pretty straightforward.
Loose Connections
This is probably the most frequent culprit for welding problems. A loose ground clamp or electrode holder connection means power struggles to get where it needs to go. You’ll see a weak arc, lots of spatter, and possibly a blown fuse or tripped breaker.
Solution:
- Tighten the Clamp: Make sure the ground clamp and electrode holder are screwed on tightly. If they have wing nuts or bolts, tighten them firmly.
- Clean the Surfaces: Use a wire brush to clean the metal surface where the ground clamp attaches. Also, clean the connector itself.
- Inspect Connectors: Check the lugs and pins on your cables. If they look corroded or damaged, they might need to be replaced.
Damaged Cable Insulation
When the rubber or plastic coating on your cables gets cut, scraped, or melted, it exposes the wires inside. This is not only a problem for your welding but also a serious safety hazard. Exposed wires can cause shocks or start fires.
Solution:
- Minor Damage: For very small nicks where no wires are showing, you can sometimes use heavy-duty electrical tape designed for high-voltage applications. Wrap it tightly around the damaged area.
- Significant Damage: If the insulation is badly damaged, or if wires are showing, the cable needs to be replaced. Trying to patch up major damage is risky and won’t last. Safety first!
Corroded or Dirty Connectors
Over time, the metal connectors on your cables can get dirty, rusty, or corroded. This builds up resistance, blocking the flow of electricity. It’s like trying to drink through a straw that’s clogged.
Solution:
- Clean with a Wire Brush: Use a stiff wire brush to scrub the connector surfaces clean.
- Use a Contact Cleaner: For stubborn corrosion, a dedicated electrical contact cleaner can help. Spray it on and then clean with a brush.
- Replace if Necessary: If the connectors are badly pitted or damaged, it’s best to replace them. You can buy new lugs and crimp them onto the cable ends.
Cable Length and Size
Using cables that are too long or too small for the amperage you’re using can cause voltage drop. This means the power reaching your welding arc is lower than it should be. You’ll get a weaker arc and poor weld quality.
Longer cables and thinner cables cause more voltage drop.
Solution:
- Use Appropriate Length: Try to use the shortest cables that are practical for your work area.
- Use Proper Size (Gauge): Ensure your cables are thick enough for the amperage your welder puts out. Welding supply stores can help you find the right size cable for your machine. The thicker the cable, the less voltage drop and the better power flow.
Internal Wire Breaks
Sometimes, the wires inside the cable can break, even if the outer insulation looks fine. This often happens from repeated bending or stress. It creates an intermittent connection, meaning it works sometimes and not others.
Solution:
- Multimeter Test: Use a multimeter to check continuity from one end of the cable to the other. If you get a bad reading, the cable is broken internally.
- Replace the Cable: Unfortunately, internal breaks usually mean the cable needs to be replaced. You can’t reliably fix this type of damage.
Maintaining Your Stick Welder Cables
Keeping your cables in good shape is key to getting good welds and staying safe. A little bit of care goes a long way.
Store Them Properly
When you’re done welding, don’t just leave your cables lying around. Coil them up neatly. Avoid sharp bends or kinks.
Store them somewhere they won’t get stepped on, run over, or exposed to harsh chemicals or weather.
Keep Them Clean
Regularly clean your cables and connectors. Remove any dirt, grease, or metal shavings. This helps prevent corrosion and ensures good electrical contact.
Inspect Before Each Use
Make it a habit to quickly look over your cables before you start welding. It only takes a minute, but it can catch a small problem before it becomes a big one.
Avoid Stress and Strain
Try not to pull or drag your cables unnecessarily. Don’t let them get caught under heavy objects or in moving machinery. Treat them with care, and they’ll last longer.
Frequently Asked Questions
Question: What happens if my stick welder cable is too short?
Answer: If your stick welder cable is too short, it can restrict your movement around the workpiece. You might also notice a slight voltage drop, which can affect your arc quality, though this is usually more of an issue with very long cables.
Question: Can I use extension cords as welding cables?
Answer: No, you should never use standard household extension cords as welding cables. They are not designed to handle the high amperage and voltage of welding. Using them is a serious fire hazard and can damage your welder.
Question: How do I know if my ground clamp is bad?
Answer: A bad ground clamp might not make good contact, even when tightened. You’ll notice a weak or inconsistent arc, excessive spatter, and poor weld quality. Visually inspect the clamp for damage, clean its contact surfaces, and ensure it grips the metal firmly.
Question: What’s the best way to clean welding cable connectors?
Answer: The best way is to use a stiff wire brush to remove dirt, rust, and corrosion. For tougher grime, an electrical contact cleaner spray can be helpful. Make sure the connectors are dry before reattaching them.
Question: How often should I replace my stick welder cables?
Answer: You don’t need to replace them on a schedule unless they are damaged. Inspect them regularly, and if you see cuts, exposed wires, or internal breaks, that’s when it’s time for a replacement.
Final Thoughts
Dealing with Stick Welder Cable Issues? Step Solutions doesn’t have to be hard. You learned how to spot problems like loose connections and damaged insulation.
We showed you simple ways to check your cables using your eyes and a multimeter. Fixing these issues often means tightening clamps or cleaning connectors. For bigger problems, replacing a cable is the safe choice.
Keep your cables clean, coiled, and out of harm’s way. This care keeps your welds strong and you safe. You can handle your welding setup with confidence now.