It can be tough when your TIG welder isn’t acting right. If you see an uneven arc, it’s a common problem, especially when you’re just starting out. It can make your welds look messy and be frustrating.
But don’t worry! We’re going to show you simple steps to fix it. We’ll go through the main reasons why this happens and how to get your TIG welder back to making smooth, clean welds.
Key Takeaways
- You will learn the most common reasons for an uneven TIG arc.
- We will explain simple checks you can do to find the problem.
- You’ll discover how different settings affect your arc stability.
- Tips for cleaning and maintaining your TIG torch and consumables will be shared.
- Easy steps to improve your TIG welding results will be provided.
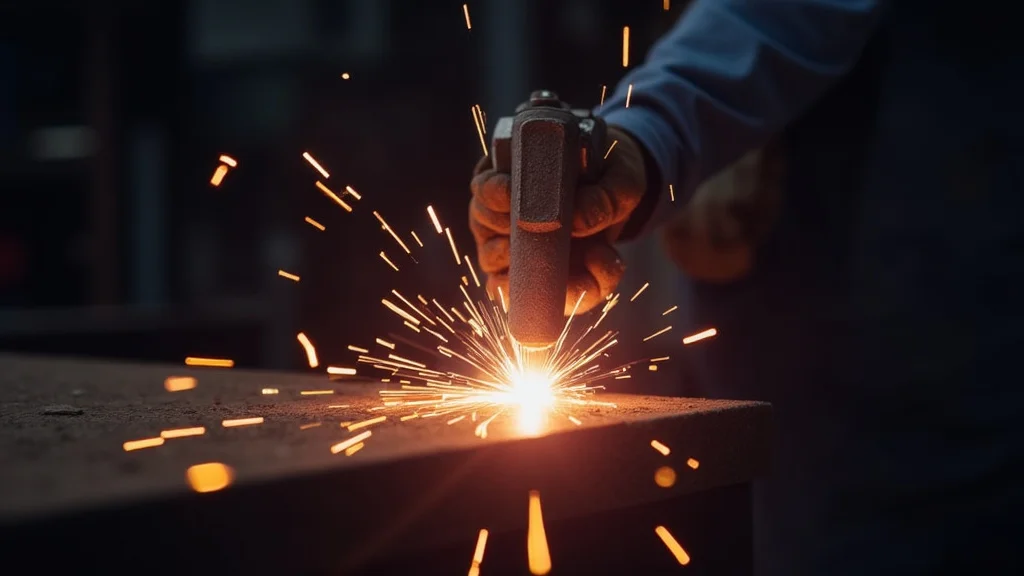
Why Your TIG Welder Arc Might Be Uneven
A steady arc is like a good friend to your TIG welds. It makes them strong and pretty. When your arc is shaky or uneven, it’s hard to get that perfect bead.
This often happens for a few simple reasons. Let’s look at them.
Dirty Tungsten Electrode
Your tungsten is the tip that creates the arc. If it’s dirty or has a balled-up tip, the arc won’t flow smoothly. Think of it like trying to draw with a dull pencil.
It just won’t make a clean line.
When you use your TIG welder, tiny bits of metal or contamination can stick to the tungsten. This changes its shape and how it conducts electricity. A sharp, clean tungsten is key for a focused, stable arc.
Incorrect Tungsten Grinding
How you grind your tungsten matters a lot. For DC TIG welding on steel or stainless steel, you want a sharp, pointed tip. This helps direct the arc.
If you grind it too flat or too rounded, the arc can wander.
For AC TIG welding on aluminum, you usually want a slightly balled or rounded tip. Grinding it too sharp for AC can cause the arc to split. Always follow the right grinding technique for the type of metal and current you’re using.
Contaminated Shielding Gas
Your shielding gas, usually Argon, protects the weld pool from the air. If this gas isn’t clean or isn’t flowing right, it can disturb the arc. It’s like trying to have a quiet conversation in a windy room.
Air can get into the gas stream. This can happen from a bad connection in your gas hose or a leaky gas cylinder valve. Also, if the gas flow rate is too high or too low, it can cause problems.
Improper Gas Flow Rate
Getting the gas flow rate just right is important. Too little gas means the air gets in and contaminates your weld. Too much gas can create turbulence around the arc.
This turbulence can blow the molten metal around and make the arc unstable.
The right flow rate depends on your machine, the size of your gas nozzle, and the environment you’re welding in. For most steel and stainless steel jobs, around 15-25 cubic feet per hour (CFH) is a good starting point. For aluminum, you might need a bit more.
Wrong Gas Nozzle Size
The gas nozzle on your TIG torch also plays a role. It helps direct the shielding gas. If the nozzle is too small for the job, it won’t provide enough coverage.
If it’s too big, it might use too much gas or not focus it well.
Different nozzle sizes are designed for different types of welding and torch consumables. Using the correct size ensures the gas flows evenly around the tungsten and weld puddle.
Machine Settings (Amperage, Frequency, Balance)
Your TIG welder has settings that directly affect the arc. The amperage is the power of your weld. If it’s too high or too low for the material, you might see arc instability.
A very low amperage can make it hard to maintain a steady arc.
For AC welding (like on aluminum), frequency and balance settings are also important.
- Frequency: This controls how focused the arc is. Higher frequencies can make the arc tighter and more stable.
- Balance: This controls the cleaning action of the arc.
If the balance is off, it can affect arc stability and penetration.
Issues with the Torch and Cables
Your TIG torch and its cables are the conduits for electricity and gas. If there’s a loose connection, a damaged cable, or a problem inside the torch, it can cause an uneven arc.
Check that your torch is securely connected to the welder. Look for any cracks or damage on the torch body or the gas hose. Damaged cables can lead to arcing or intermittent power, which will definitely make your arc uneven.
Ground Clamp Connection
A good ground connection is absolutely vital for any welding. If your ground clamp is loose, dirty, or not making good contact with the workpiece, it can cause all sorts of electrical issues. This includes an unstable arc.
Make sure your ground clamp is clean and clamped tightly to a clean part of the metal you are welding. A poor ground is a common culprit for many welding problems.
Electromagnetic Interference (EMI)
Sometimes, other electrical equipment nearby can interfere with your TIG welder’s arc. This is called electromagnetic interference (EMI). Things like other welding machines, large motors, or even certain lighting systems can cause this.
If you suspect EMI, try moving your TIG welder or the interfering equipment to see if the arc steadies. It’s less common but can happen in busy workshops.
Troubleshooting Steps for an Uneven Arc
Now that we know what can cause problems, let’s walk through how to fix them. Follow these steps in order.
Step 1: Check Your Tungsten
This is the most common fix. Take a look at the tip of your tungsten electrode.
- Is it dirty or covered in black residue?
- Does it look like a melted ball instead of a sharp point (for DC)?
- Is it bent or damaged?
If you see any of these, you need to clean or regrind your tungsten. Always use a dedicated tungsten grinding wheel. Never use a grinding wheel that has been used for other metals, as this will contaminate your tungsten.
Step 2: Regrind Your Tungsten Correctly
For DC welding (steel, stainless steel): Grind a nice, sharp point that is about 1/2 to 1 inch long. The point should be perfectly centered.
For AC welding (aluminum): You can use a slightly balled tip or a very short, blunted point. Avoid a long, sharp point as it can sputter on AC.
Step 3: Inspect Shielding Gas Setup
Check your entire gas system:
- Is the gas cylinder valve fully open?
- Are all hose connections tight and not leaking?
- Is the regulator showing adequate pressure in the cylinder?
You can test for leaks by applying soapy water to the connections. If you see bubbles, you have a leak.
Step 4: Set the Correct Gas Flow Rate
Turn on your gas at the regulator. Use a flow meter or a flow gauge to set your flow rate. Start with a mid-range setting, like 20 CFH, and adjust as needed.
You can feel the gas flow coming out of the torch. It should be a steady stream, not a blast or a whisper.
Step 5: Verify Gas Nozzle Size
Look at the gas nozzle on your torch. Check the number stamped on it. Make sure it’s appropriate for the type and thickness of material you’re welding.
A common all-around nozzle size for steel is a #7 or #8. For aluminum, a slightly larger nozzle like a #9 or #10 might be better to ensure good gas coverage.
Step 6: Review Machine Settings
Double-check all your welder settings:
- Amperage: Is it suitable for the material thickness?
- AC Balance (if applicable): Try adjusting it slightly.
- AC Frequency (if applicable): Experiment with different settings.
Refer to your welder’s manual for recommended settings for different materials. If you’ve recently changed settings, try returning to known good settings.
Step 7: Examine Torch and Cables
Carefully inspect your TIG torch:
- Are the power connections tight?
- Is the gas hose connected properly?
- Are there any visible cracks or damage to the torch body, handle, or insulation on the cables?
If you see any damage, it’s time to consider replacing parts or the entire torch.
Step 8: Secure the Ground Clamp
Go back to your ground clamp. Make sure it is:
- Clamped firmly to the workpiece or welding table.
- Making direct contact with clean metal.
If the metal surface is painted or has rust, clean it with a wire brush before attaching the ground clamp.
Step 9: Test in a Different Location (If EMI Suspected)
If you’ve tried everything else and the arc is still uneven, try moving your setup. Weld in a different area of the shop or even outside for a short test. This helps rule out EMI from other equipment.
Comparing Common Issues
Here’s a quick look at how different problems affect your arc.
| Problem | Effect on Arc | Typical Fix |
|---|---|---|
| Dirty Tungsten | Wandering, sputtering, unstable | Clean and regrind tungsten |
| Low Gas Flow | Arc wanders, weld porosity | Increase gas flow rate |
| Loose Ground Clamp | Inconsistent arc, arc wander | Tighten and clean ground connection |
| Incorrect Tungsten Grind (DC) | Wandering, spitting | Reshape tungsten to sharp point |
| High AC Frequency | Very narrow, potentially unstable arc | Lower AC frequency |
Frequently Asked Questions
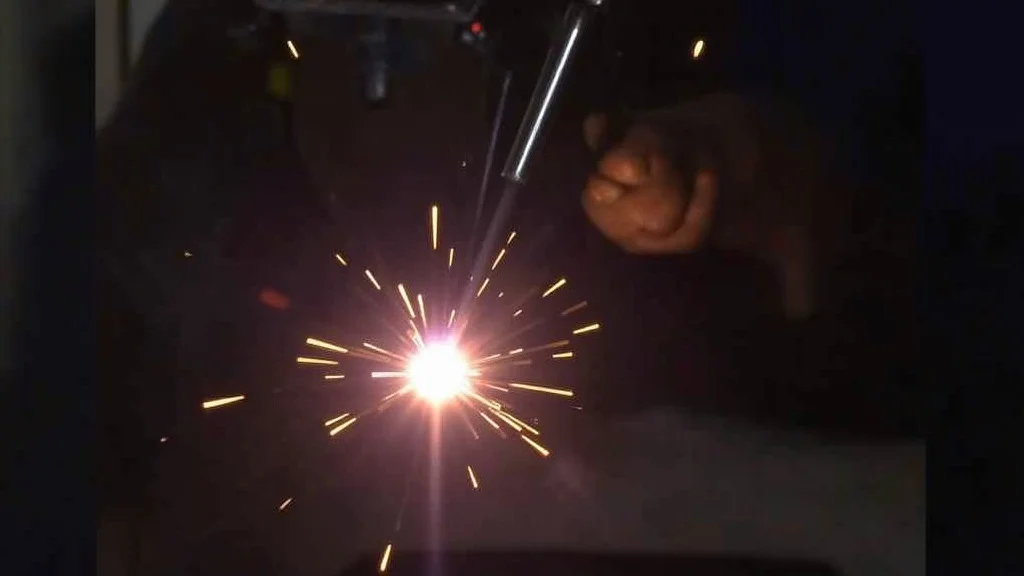
Question: Why is my TIG arc making popping noises?
Answer: Popping noises usually mean your shielding gas is not protecting the weld properly. This could be due to low gas flow, a leak in your gas system, or using the wrong type of shielding gas.
Question: My TIG arc seems weak and doesn’t penetrate well. What’s wrong?
Answer: A weak arc can be caused by incorrect amperage settings (too low), a dirty or poorly ground tungsten electrode, or a loose ground clamp connection. Make sure your tungsten is sharp and your ground is solid.
Question: Can I use a regular grinding wheel to sharpen my tungsten?
Answer: No, you should never use a regular grinding wheel. It will contaminate your tungsten with other metals. This contamination will cause the tungsten to glow poorly and make your arc unstable.
Use a dedicated tungsten grinding wheel.
Question: How do I know if I’m using the right amount of Argon gas?
Answer: You should see a steady, soft flow of gas from the torch when you test it. If it’s blowing too hard, it can disturb the arc. If it’s too weak, the air will get in.
A flow rate of 15-25 CFH is common for steel, but adjust based on your nozzle size and conditions.
Question: My AC TIG arc is splitting or jumping around on aluminum. What should I do?
Answer: For AC TIG on aluminum, a sharp tungsten can sometimes cause the arc to split. Try using a slightly balled or blunted tungsten tip. Also, check your AC balance and frequency settings, as these greatly affect arc stability on aluminum.
Final Thoughts
An uneven TIG arc doesn’t have to be a mystery. Most often, the fix is simple. It’s usually about keeping your tungsten clean and sharp, making sure your gas is flowing correctly, and checking all your connections.
By following these steps, you can get your TIG welder running smoothly again. You’ll be making those clean, strong welds you want in no time. Keep practicing, and don’t get discouraged when things aren’t perfect at first.