Is your welding machine getting too hot? The idea of Welding Machine Overheating? Easy Troubleshoot can seem tricky, especially when you’re just starting out.
Lots of new welders worry about this. But don’t fret! We’ll walk through it simply, step by step.
Get ready to learn how to fix this common problem and keep your welding going smoothly.
Key Takeaways
- You will learn the common reasons why a welding machine overheats.
- Simple checks you can do yourself will be explained.
- Tips for preventing overheating in the future are included.
- How to identify when overheating is a serious issue requiring professional help.
- Basic maintenance steps to keep your welder cool.
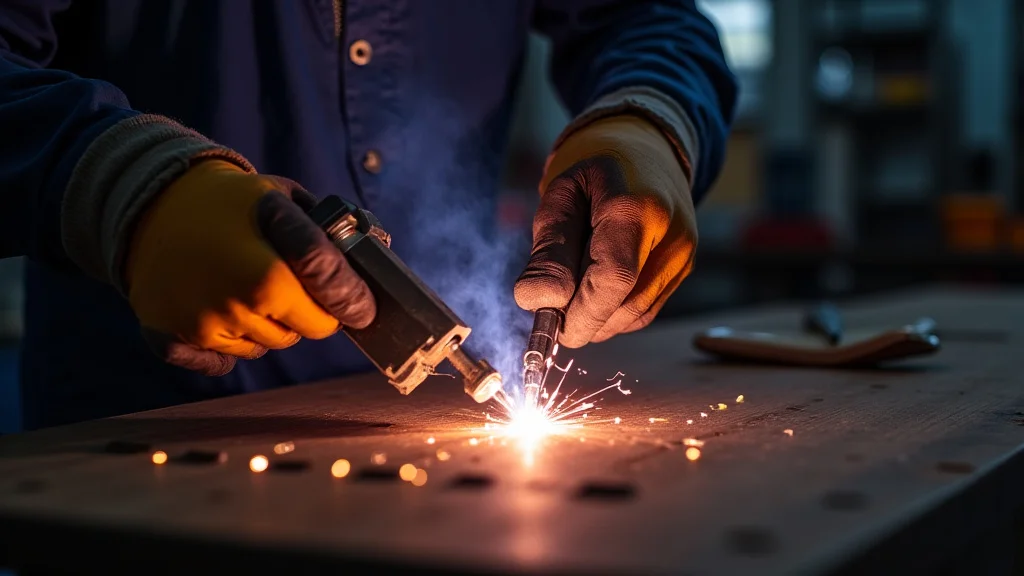
Why Your Welder Gets Hot
Welding machines create a lot of heat. That’s part of how they work. They turn electricity into the power needed to melt metal.
This process naturally makes parts of the machine warm up. It’s normal for them to get warm during use. But when they get too hot, that’s a problem.
Overheating can damage your welder. It can also stop your work right when you need it most.
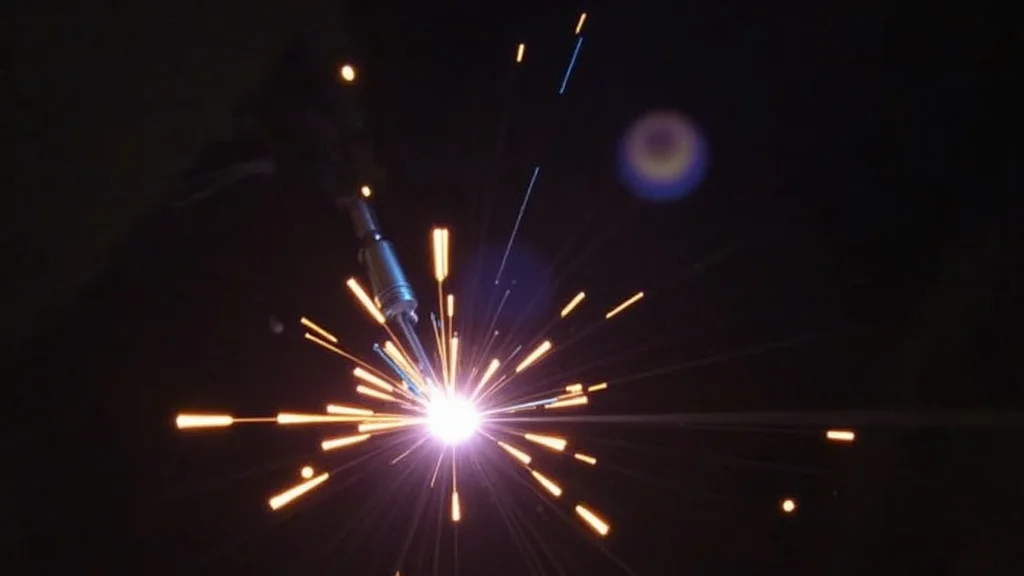
Normal Warmth vs. Dangerous Heat
A little warmth is fine. You should be able to touch the outside of your welder briefly without getting burned. If it’s so hot you can’t touch it at all, or if you see smoke, that’s too hot.
Warning lights on your machine often signal overheating. These lights are there to protect your equipment. Pay attention to them!
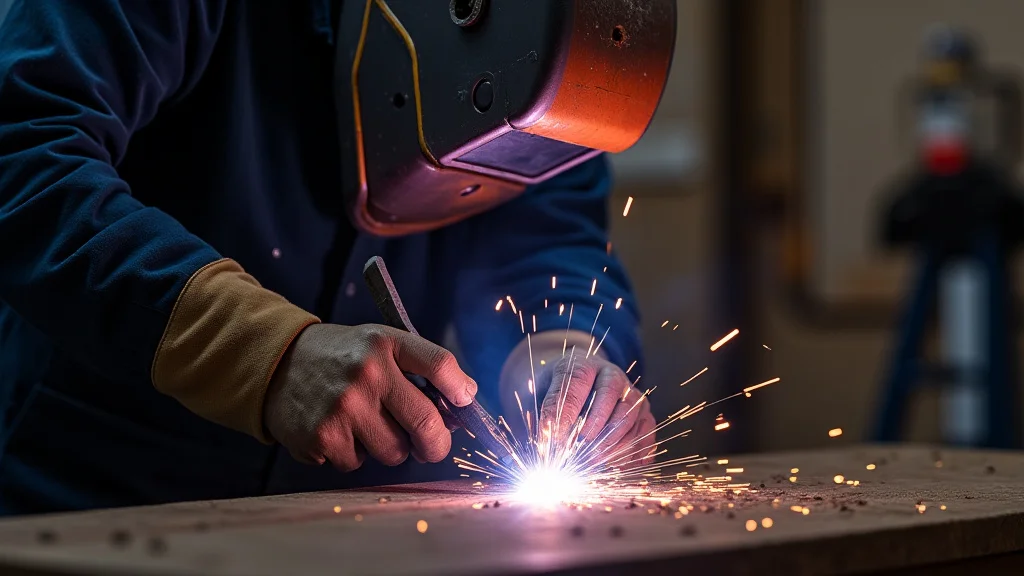
Common Causes of Overheating
Several things can make your welder overheat. Many of these are easy to fix yourself. Let’s look at the most common ones.
1. Not Enough Airflow
This is a big one. Welding machines have fans to blow cool air through them. This air keeps the internal parts from getting too hot.
If the vents or fans are blocked, the air can’t get in or out properly.
Blocked Vents
Check the vents on your welder. Are they covered in dust, dirt, or debris? Welding shops can get messy.
This dust can build up over time and clog the vents. This stops fresh air from getting in. It also stops hot air from getting out.
Think of it like wearing a thick sweater on a hot day with no windows open.
Fan Problems
Sometimes, the fan itself might have a problem. It might be spinning too slowly, or it might have stopped working altogether. A struggling fan means less cooling.
A broken fan means no cooling at all.
2. Working Too Hard for Too Long
Every welding machine has a duty cycle. This tells you how long you can weld within a certain period before the machine needs to cool down. For example, a 60% duty cycle at 100 amps means you can weld for 6 minutes out of every 10 minutes at that amperage.
If you weld longer than the duty cycle allows, the machine will overheat.
Exceeding Duty Cycle
Pushing your welder beyond its limits is a sure way to cause overheating. This is especially true for smaller, less powerful machines. They have lower duty cycles.
Trying to weld thick metal for a long time with a small machine will definitely make it hot.
3. Low Input Voltage
Your welder needs the right amount of electricity to run properly. If the power supply to your welder is too low, the machine has to work harder to produce the welding power you need. This extra effort makes it run hotter.
Extension Cords
Using a long or thin extension cord can cause voltage drop. The electricity loses power as it travels through the cord. It’s like trying to run water through a very long, narrow pipe.
Less water pressure makes it to the end. A thin, long cord acts the same way with electricity. Always use thick, short cords rated for your welder’s power needs.
Poor Connections
Loose or corroded connections at the wall outlet, the extension cord, or the welder itself can also cause voltage drop. These bad connections create resistance, which generates heat and reduces the voltage reaching the welder.
4. Internal Component Issues
Sometimes, the problem isn’t something obvious like airflow. It could be a part inside the welder that’s failing.
Worn Out Parts
Over time, components inside your welder can wear out. This includes things like capacitors, diodes, or even wiring. When these parts aren’t working right, the welder might run hotter than it should.
Dirt and Debris Inside
Even with good airflow, some dust and metal shavings can get inside the machine. If this builds up too much, it can interfere with the operation of internal components and cause them to run hot.
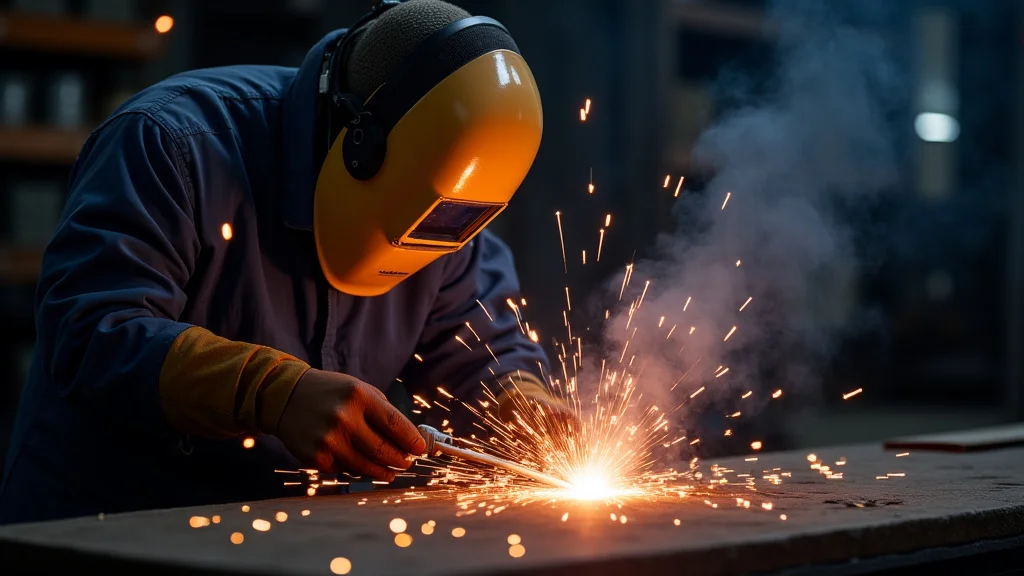
Troubleshooting Steps: A Simple Guide
Don’t panic if your welder starts to overheat. Follow these steps to find and fix the problem.
Step 1: Stop Welding and Let it Cool
The very first thing to do is stop welding. Turn off the machine. Give it plenty of time to cool down.
This might take 30 minutes or more, depending on how hot it got. Never try to work on a hot machine.
Step 2: Check the Airflow
Once the machine is cool, inspect the vents. Are they dusty or blocked? Use compressed air to blow out any dust and debris.
You can also use a soft brush. Make sure the fan is able to spin freely. If the fan sounds strange or doesn’t spin, it might need replacing.
Cleaning the Vents
Use a vacuum cleaner with a brush attachment to gently remove loose dust from the vents. For more stubborn dust, a can of compressed air is very effective. Blow the air out of the vents, not into the machine more than necessary.
Ensuring Clear Space
Make sure the welder is placed in an area where air can circulate freely around it. Don’t put it in a small, enclosed space. Give it at least a foot of clear space on all sides.
Step 3: Review Your Welding Process
Think about how you were welding. Were you pushing the machine too hard? Check your duty cycle.
If you were welding continuously for a long time, you might have just exceeded the duty cycle.
Adjusting Your Work
Try taking longer breaks between welds. If you’re welding for extended periods, consider if your machine is the right size for the job. You might need a more powerful welder for heavy-duty tasks.
Step 4: Inspect Power Connections
Check all your power connections. Make sure they are clean and tight. Look at the plug, the outlet, and the extension cord.
Corroded or loose connections create resistance and heat.
Using the Right Cords
Ensure you are using an extension cord that is thick enough (low gauge number) and not too long. Consult your welder’s manual for recommended cord sizes. Avoid using household extension cords.
Step 5: Listen to Your Welder
When you turn the welder back on after it has cooled, listen to the fan. Does it sound normal? Is it running at a good speed?
Strange noises can indicate a problem with the fan motor.
Step 6: Look for Warning Lights
Many welders have a thermal overload indicator light. If this light comes on, it means the machine is getting too hot. If it stays on after cooling and cleaning, there might be a more serious internal issue.
Preventing Future Overheating
Prevention is key to keeping your welder running smoothly and avoiding costly repairs. Here are some tips:
- Regular Cleaning: Clean the vents and fan regularly. Dust is the enemy of cooling systems.
- Respect the Duty Cycle: Learn your welder’s duty cycle and stick to it. Take breaks when needed.
- Use Proper Power: Always use correctly sized extension cords and ensure clean, tight power connections.
- Provide Good Ventilation: Place your welder in an open area where air can move freely.
- Listen to Your Machine: Pay attention to unusual noises or how hot the machine gets during normal operation.
When to Call a Professional
If you’ve tried these troubleshooting steps and your welder still overheats, it’s time to seek professional help. There might be an internal component that needs to be repaired or replaced. Don’t try to fix complex internal issues yourself unless you have the proper training and tools.
It could be dangerous and cause more damage.
Frequently Asked Questions
Question: How long does it usually take for a welding machine to cool down?
Answer: It depends on how hot it got, but often 30 minutes to an hour is a good starting point. You can usually tell when it’s cool enough by touch, but always err on the side of caution.
Question: Can I weld in dusty conditions?
Answer: It’s best to avoid very dusty conditions if possible. If you must weld in a dusty area, clean your welder’s vents more often and more thoroughly.
Question: What is a duty cycle?
Answer: A duty cycle tells you how long you can weld within a 10-minute period before the machine needs to cool down. For example, 60% at 100 amps means you can weld for 6 minutes in 10.
Question: My welder is old. Does age cause overheating?
Answer: Older welders may have components that are nearing the end of their life. This can sometimes lead to them running hotter, but regular maintenance is still the best way to keep them in good shape.
Question: Is it okay to use any extension cord?
Answer: No. You must use an extension cord that is rated for the amperage your welder needs and is not too long. Check your welder’s manual for the correct specifications.
Final Thoughts
Keeping your welder cool is important. It protects your equipment and ensures you can get your work done. Most overheating issues are simple to fix with a bit of cleaning and common sense.
Always check the airflow and your power cords first. If you keep your welder clean and give it breaks, it will serve you well for a long time. Don’t be afraid to try these easy steps.