If you’re new to stick welding, you might be wondering, Why Is My Stick Welder Arc Weak?. It’s a super common question that can feel a bit puzzling at first. Don’t worry, though!
It’s usually something simple that’s easy to fix. We’ll walk through the likely reasons step-by-step. Keep reading, and we’ll get your welder running strong.
Key Takeaways
- You’ll learn the most common reasons for a weak stick welding arc.
- We’ll explain how to check and fix your welding machine settings.
- You’ll discover the importance of electrode selection and condition.
- This guide will help you understand how your work area affects the arc.
- You’ll learn about proper grounding techniques for a strong arc.
- We’ll cover how to spot and resolve issues with your welding cables.
Understanding the Stick Welder Arc
What is a Stick Welding Arc?
The arc in stick welding is basically a controlled electrical current jumping a gap between your welding electrode and the metal you’re working on. This powerful spark melts both the electrode and the metal, allowing them to fuse together. It’s the heart of the welding process, and a strong, stable arc is key to making good welds.
Why a Weak Arc is a Problem
When your stick welder’s arc is weak, it’s hard to get a good weld. You might see sputtering, poor penetration, or the arc might even go out. This makes welding frustrating and can lead to weak or ugly joints.
A weak arc means the heat isn’t consistent enough to melt the metal properly.
Common Reasons for a Weak Stick Welder Arc
Machine Settings: Amperage and Polarity
The most frequent culprit for a weak arc is incorrect machine settings. Your welding machine has dials to control the amount of electricity, called amperage, and the direction of the current, called polarity. If these are set too low or incorrectly for the type of electrode you’re using, your arc will be weak.
Amperage is like the “heat” of your weld. Too little amperage means not enough heat to melt the metal and sustain a strong arc. Polarity, on the other hand, affects how the electricity flows.
Different electrodes need different polarities to work their best.
Amperage
Each welding electrode has a recommended amperage range. This is usually printed on the electrode’s packaging or the electrode itself. If your machine’s amperage is set below this range, the arc won’t have enough power.
It will be thin, unstable, and might even go out easily. Always consult the electrode packaging for the right settings.
Polarity
Stick welding machines can be set to DC (direct current) or AC (alternating current). DC can be further divided into DCEN (Direct Current Electrode Negative, also called straight polarity) and DCEP (Direct Current Electrode Positive, also called reverse polarity). AC alternates the current direction.
Most electrodes are designed for a specific polarity. Using the wrong one can result in a weak arc, poor bead appearance, and difficult arc control.
- DCEP (Reverse Polarity): More heat goes into the workpiece. Good for thicker materials.
- DCEN (Straight Polarity): More heat goes into the electrode. Good for thinner materials.
- AC: The current switches back and forth. Can be good for certain applications but can be harder to control for beginners.
Always check the electrode’s specifications to know which polarity to use. Using DCEP when DCEN is recommended, or vice versa, can make a big difference in arc strength.
Electrode Issues
The electrodes themselves play a huge role in arc performance. If they’re old, damaged, or the wrong type, your arc will suffer.
Electrode Type
There are many types of stick welding electrodes, each with different coatings and intended uses. For example, an E6013 electrode is known for being easy to start and maintain an arc with, making it good for beginners. An E7018 electrode, while producing strong welds, requires a bit more amperage and can be harder to strike an arc with if not handled correctly.
Using an electrode that’s too small for the job or not suited for your machine’s capabilities can lead to a weak arc. Always choose an electrode that matches your project’s needs and your welder’s power output.
Electrode Condition
Moisture is the enemy of welding electrodes. If electrodes get damp, their coating can break down. This leads to unstable arcs, spatter, and poor weld quality.
Even worse, a damp electrode can cause a weak, “fizzy” arc that has trouble melting the base metal.
Electrodes should be stored in a dry place. If you suspect your electrodes might be damp, they might need to be re-baked in a special electrode oven. For beginners, it’s often best to use fresh, properly stored electrodes to avoid this problem.
Damaged electrodes, like those with chipped or missing coatings, also won’t perform well. The coating helps stabilize the arc and create the shielding gas needed to protect the weld pool. A damaged coating means a compromised arc.
Ground Clamp Connection
The ground clamp is essential for completing the electrical circuit. If it’s not making good contact, the circuit is incomplete or has high resistance. This can severely weaken the arc.
Proper Placement
The ground clamp needs to be attached directly to the clean metal of the workpiece or the welding table. Any paint, rust, oil, or dirt on the surface can prevent a solid electrical connection. Always clean the spot where you attach the ground clamp.
Secure Attachment
Make sure the clamp is squeezed tight onto the metal. A loose clamp means a poor connection. Imagine trying to get electricity to flow through a loose wire; it won’t work well.
The same principle applies to your ground clamp.
A poor ground connection will cause the arc to be erratic, weak, and sometimes sputter. You might also notice the electrode sticking to the metal more easily.
Welding Cables
Your welding cables carry the electricity from the machine to your electrode holder and the ground clamp. If these cables are damaged or too small, they can’t deliver enough power, resulting in a weak arc.
Cable Condition
Inspect your welding cables for any cuts, nicks, or exposed wires. Damaged insulation can cause short circuits or poor conductivity. These issues reduce the amount of current that actually reaches the arc, making it weak.
Cable Size (Gauge)
Welding cables come in different sizes, often referred to by their gauge. A thicker cable (lower gauge number) can carry more current without overheating or losing too much voltage. If your cables are too thin for the amperage you’re using or are excessively long, they can cause voltage drop.
This means the voltage at the arc is lower than it should be, leading to a weak arc.
For higher amperage welding or longer cable runs, you need thicker cables (lower gauge number) to maintain sufficient power at the arc.
Electrical Power Supply
The power source for your welding machine itself can also be a factor, especially with older or less powerful machines.
Voltage Drop
If your welding machine is plugged into a very long extension cord, or if the extension cord is too thin, it can cause a voltage drop. This means the machine isn’t getting the full power it needs from the wall outlet. This reduced input voltage can translate to a weaker output arc.
Generator Issues
If you’re using a generator, ensure it has enough wattage to power your welder. Many generators are not powerful enough for stick welding, especially at higher amperages. An underpowered generator will struggle to supply consistent power, leading to a weak and unstable arc.
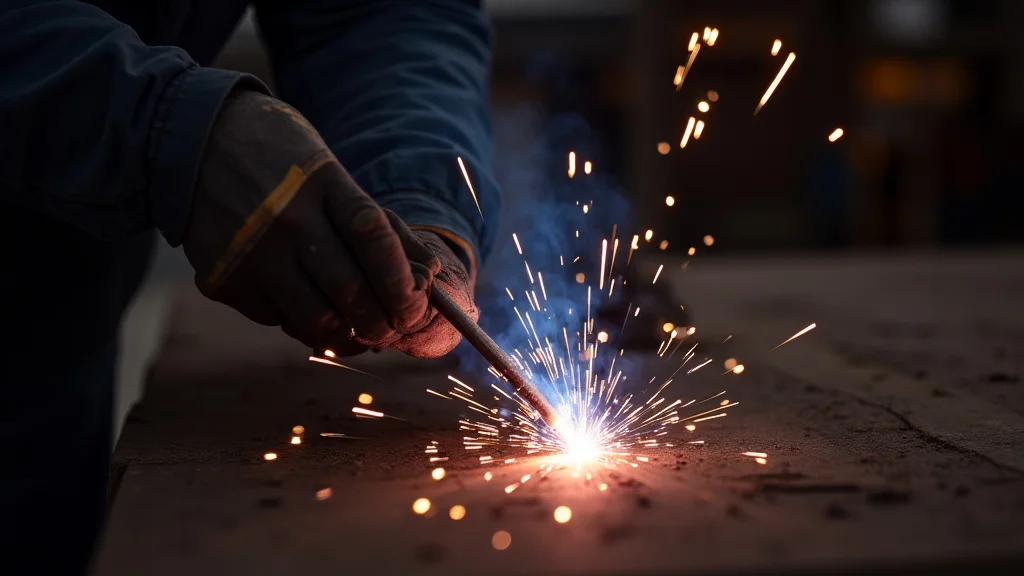
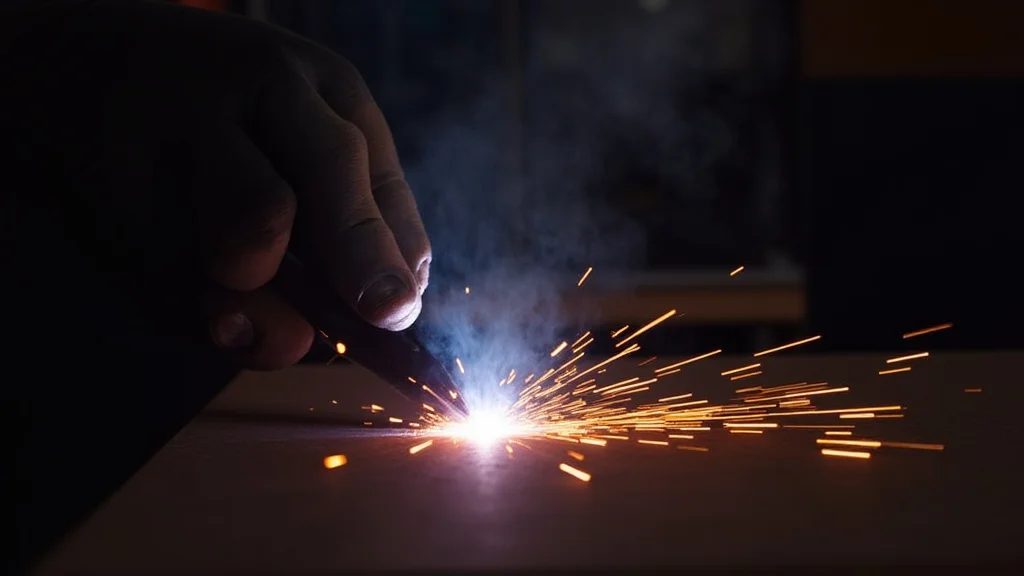
Arc Length
The distance between the electrode tip and the workpiece is called arc length. Maintaining the correct arc length is crucial for a stable arc. If you hold the electrode too far from the metal, the arc will be long and weak.
If it’s too close, it can become “stuck” or short, leading to spatter and poor bead formation.
A good rule of thumb is to keep the arc length roughly equal to the diameter of the electrode you are using. This helps maintain a consistent, strong arc that melts metal effectively.
Troubleshooting Steps for a Weak Arc
Let’s walk through how to fix a weak arc. Follow these steps to identify and solve the problem.
Step 1: Check Your Machine Settings
This is the first and easiest thing to check. Make sure your amperage is set correctly for the electrode you’re using. Consult the electrode packaging.
Also, confirm you’re using the correct polarity (DCEP, DCEN, or AC) as recommended for that electrode.
If you’re unsure about settings, start with the lower end of the recommended amperage range and slowly increase it until the arc feels strong and stable. Listen to the sound of the arc; it should have a consistent sizzle, not a weak crackle or pop.
Step 2: Inspect Your Electrodes
Grab a fresh pack of electrodes. Make sure they are the right type for your welding job and machine. If your current electrodes have been stored for a long time or in a damp environment, try a new, dry pack.
Look for any damage to the coating.
Step 3: Verify Your Ground Connection
Disconnect your welder. Then, go to your ground clamp. Make sure it’s attached firmly to a clean, bare metal surface on your workpiece or welding table.
If there’s any rust, paint, or dirt, clean it off with a wire brush. Give the clamp a good tug to ensure it’s secure.
Step 4: Examine Your Cables
Look closely at both your electrode holder cable and your ground cable. Check for any signs of damage, such as cuts, fraying, or melted spots. Ensure the connections at the welding machine and at the electrode holder/ground clamp are tight and clean.
If your cables seem very old or are a smaller gauge than recommended for your machine, consider upgrading them. Using proper gauge welding cables is important for consistent power delivery.
Step 5: Test Your Power Source
If you’re using an extension cord, make sure it’s heavy-duty and short enough to avoid significant voltage drop. Try plugging the welder directly into the wall outlet if possible, without an extension cord, to see if that improves the arc.
If using a generator, check its power rating. Make sure it can comfortably supply the amperage your welder requires. Consult your generator’s manual for recommended welding load.
Step 6: Practice Arc Control
Once you’ve checked all the equipment, focus on your technique. Try to maintain a consistent arc length. Listen to the arc’s sound.
A steady sizzle is good. Experiment with slightly adjusting your amperage up or down to find what feels right for the electrode and material.
Frequently Asked Questions
Question: What is the most common reason for a weak stick welding arc?
Answer: The most common reason is incorrect machine settings, specifically too low amperage or the wrong polarity for the electrode being used.
Question: Can old electrodes cause a weak arc?
Answer: Yes, old or moisture-damaged electrodes can lead to a weak, unstable arc and poor weld quality.
Question: Does the ground clamp connection really matter that much?
Answer: Absolutely. A poor ground connection prevents a complete electrical circuit, leading to a weak and unreliable arc.
Question: What if my welding cables are very long?
Answer: Long welding cables can cause voltage drop, reducing power to the arc. For longer runs, you need thicker gauge cables.
Question: How can I tell if my welding machine is not powerful enough?
Answer: If your arc is weak even with correct settings and good electrodes, and the machine seems to struggle, it might not have enough power output (amperage) for the task.
Final Thoughts
Fixing a weak stick welder arc is usually about checking the basics. Start with your amperage and polarity settings. Then, look at your electrodes for freshness and proper storage.
Ensure your ground clamp has a clean, solid connection. Inspect your welding cables for damage and ensure they are the right size.
A strong, consistent arc makes welding easier and your welds stronger. Don’t get discouraged if you don’t get it perfect right away. Keep checking these key areas.
With a little practice and attention to detail, you’ll be laying down good beads in no time.