Is your stick welder tripping the breaker or blowing fuses? It’s a common problem for beginners, and it can be frustrating! Don’t worry, we’ve got you covered.
This guide will walk you through exactly why this happens and give you simple, step-by-step fixes. We’ll explore the most likely culprits and help you get back to welding safely and smoothly. Keep reading for the clear answers you need.
Key Takeaways
- You will learn the most common reasons why a stick welder blows fuses.
- We will explain simple checks you can do to find the problem.
- You will discover how to fix issues with your welder’s power source.
- We’ll cover electrode selection and its impact on blowing fuses.
- Proper grounding techniques will be explained for safer operation.
- You’ll understand how to prevent this problem from happening again.
Why Your Stick Welder Keeps Blowing Fuses
Having your stick welder blow a fuse or trip a breaker is a sure sign something isn’t right. This often happens when the welder tries to draw more power than the circuit can safely provide. It’s a protective measure, but it stops your work.
For new welders, figuring out the exact cause can feel like a puzzle. The good news is that most of the time, the fix is straightforward and doesn’t require a professional. We will explore the common issues that lead to this problem.
Understanding Your Welder’s Power Needs
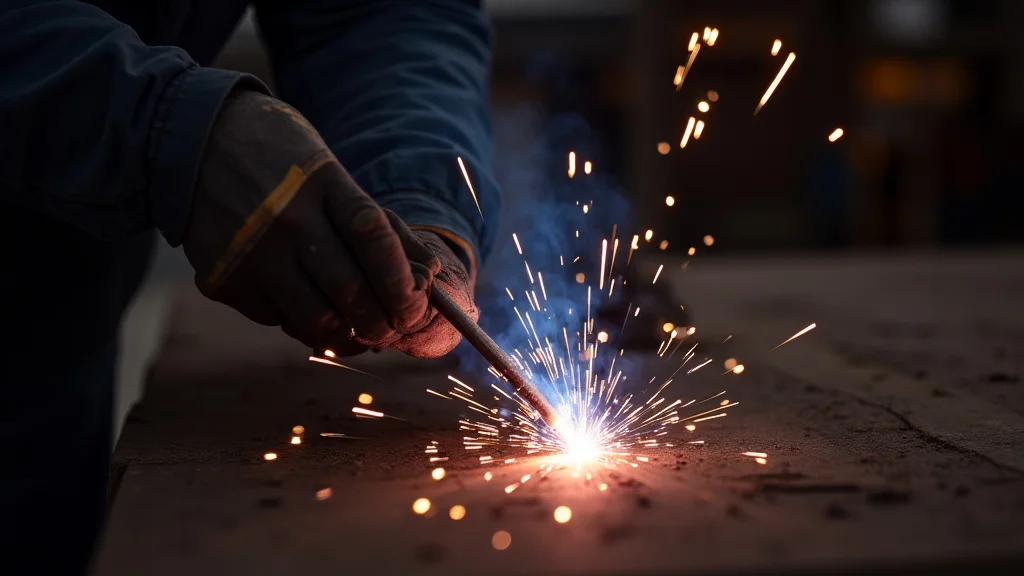
Stick welders, also known as SMAW (Shielded Metal Arc Welding) machines, need a good amount of electrical power to create the arc. When you strike an arc, the welder pulls a significant amount of amperage. If your circuit or the welder itself can’t handle this demand, it will overload.
This overload is what causes fuses to blow or breakers to trip. Think of it like trying to run too many appliances on a single extension cord – eventually, something has to give.
Amperage Draw and Circuit Capacity
Every welding machine has a rated amperage draw. This is usually found on a label on the machine itself. Your home’s electrical circuits have a limit too.
A standard household circuit might be 15 or 20 amps. If your welder is set to a high amperage for welding thick metal, and the circuit it’s plugged into is also rated low, you’re asking for trouble. You might be plugging into a circuit that’s already supporting other devices, like lights or tools, further reducing the available power.
Voltage Drop
A voltage drop is another reason your welder might struggle. This happens when the voltage from your power source decreases as it travels through the extension cord or wiring. Long or thin extension cords are major culprits for voltage drop.
When the voltage drops, the welder has to draw more amperage to compensate and deliver the necessary power for welding. This increased amperage can easily exceed the circuit’s limit.
Common Causes of Blown Fuses
Several factors can lead to your stick welder blowing fuses. Identifying the specific cause is the first step to fixing it. We’ll look at the most frequent culprits.
1. Incorrect Fuse or Breaker Rating
Sometimes, the issue isn’t with the welder itself but with the protection device. If the fuse or circuit breaker in your electrical panel is rated too low for your welder’s requirements, it will blow prematurely. Always check the amperage rating recommended by your welder’s manufacturer and ensure your circuit breaker or fuses match or are slightly higher than this recommendation (within safe limits for your wiring).
2. Undersized Extension Cords
Using an extension cord that’s too long or too thin is a very common mistake. Electrical wire has resistance. The longer and thinner the wire, the higher the resistance.
High resistance causes voltage drop. For a stick welder, you need heavy-gauge, short extension cords. A 10-gauge or even 8-gauge cord is often necessary for longer runs or higher amperage welding.
Check the welding machine’s manual for recommended cord sizes.
3. Faulty Power Cord or Connections
A damaged power cord, loose connections at the plug, or worn insulation can create short circuits or high resistance points. These can cause excessive heat and draw too much current. Inspect your welder’s power cord for any nicks, cuts, or signs of damage.
Ensure the plug is firmly seated in the outlet.
4. Incorrect Electrode Selection
The type and size of welding electrode you use significantly affect the amperage draw. Larger diameter electrodes require more amperage. If you’re trying to weld with a 1/8-inch 7018 rod on a circuit that’s barely sufficient for a 3/32-inch rod, you’ll likely blow a fuse.
Always choose an electrode size that matches your welder’s capacity and the thickness of the metal you’re welding. Also, some electrodes, like certain types of flux-cored wires (if your machine can run them), can draw more power.
5. Incorrect Welder Settings
Setting your welder to an amperage that’s too high for the job or the available power can cause issues. If you’re welding thin material, you don’t need maximum amperage. Start with the lower end of the recommended range for your electrode and material thickness.
Gradually increase the amperage if needed. Over-amperaging can not only blow fuses but also burn through your workpiece.
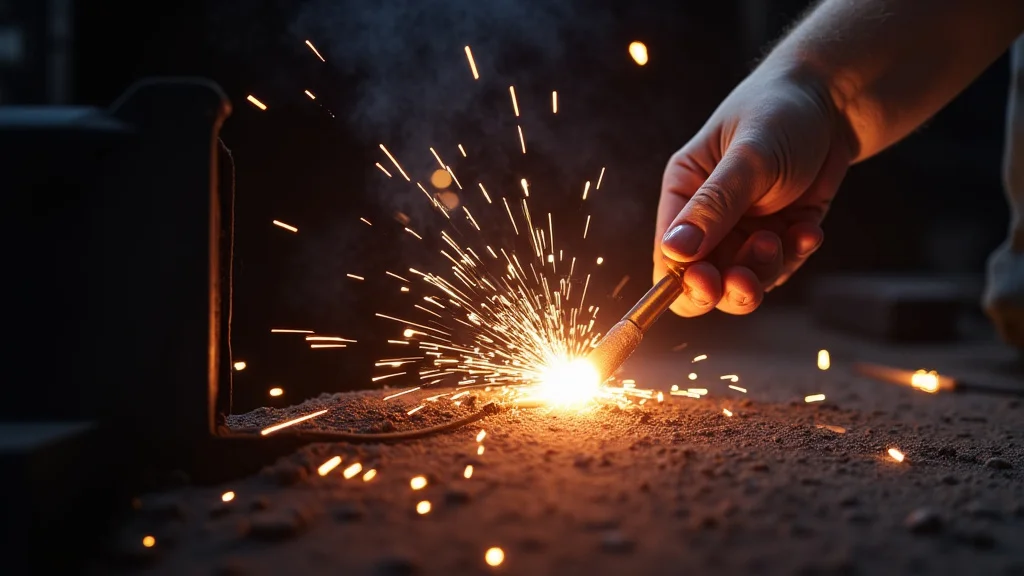
6. Poor Ground Connection
A weak or loose ground connection can cause the arc to be unstable and draw more current than necessary. The ground clamp needs to be firmly attached to clean, bare metal on your workpiece or welding table. Rust, paint, or dirt on the workpiece or the clamp can impede a good electrical connection.
Always clean the surface where you attach the ground clamp.
7. Internal Welder Issues
While less common, internal problems within the welder itself can cause it to draw excessive current. This could be a faulty capacitor, a damaged rectifier, or other internal components failing. If you’ve checked all the external factors and still have the problem, it might be time to have the welder professionally serviced.
Troubleshooting Steps: What to Check First
When your stick welder blows a fuse, don’t panic. Follow these steps systematically:
Step 1: Assess the Circuit
First, check the circuit breaker or fuse that blew. Is it a 15-amp or 20-amp breaker? What else is on that circuit?
If you have lights, a refrigerator, or other appliances running on the same circuit, unplug them or turn them off. Try plugging your welder into a dedicated circuit if possible, especially one designed for higher-demand appliances.
Step 2: Inspect the Power Cord and Welder Plug
Look closely at the welder’s power cord. Are there any cuts, frays, or melted spots? Check the plug and the outlet.
Are the connections clean and tight? If you see any damage, do not use the welder until the cord is repaired or replaced by a qualified person.
Step 3: Examine Extension Cords
If you are using an extension cord, check its gauge and length. For 100-amp welding, a 12-gauge cord might work for short distances (under 25 feet). For higher amperages or longer runs, you need a 10-gauge or even an 8-gauge cord.
The longer the cord, the thicker it needs to be to prevent voltage drop. If in doubt, use a shorter, thicker cord.
Step 4: Check Electrode and Settings
What electrode are you using? What amperage setting is on your welder? If you’re using a large diameter electrode, ensure your welder is rated for it and the circuit can handle it.
For example, a 1/8-inch 6013 electrode might require 50-80 amps. A 5/32-inch 7018 electrode can require 100-160 amps. Lower the amperage setting on your welder.
Try a smaller diameter electrode.
Step 5: Inspect the Ground Clamp
Remove the ground clamp. Clean the clamp’s jaws. Find a clean, bare metal spot on your workpiece.
Scrape away any paint, rust, or dirt. Reattach the ground clamp firmly. Make sure it makes solid contact.
Step 6: Test the Welder
After checking these points, try running the welder again. Start with a low amperage setting and a small electrode. If it works without blowing the fuse, you’ve likely found your problem.
You can gradually increase the amperage and electrode size, paying attention to how the welder behaves.
Specific Issues and Solutions
Let’s look at some common scenarios and their fixes in more detail.
Scenario A: Welding Thin Metal
You’re trying to weld sheet metal, and the fuse blows. For thin metal, you need low amperage and often smaller electrodes. If you’re using a 1/8-inch electrode, switch to a 3/32-inch or even smaller.
Lower your amperage setting significantly. You might need to use a machine designed for lower amperage or AC output, which can be gentler on thin materials.
Scenario B: Long Extension Cord Usage
You have a great welder, but you need to work far from the power outlet. The fuse blows as soon as you strike an arc. This is almost certainly a voltage drop issue caused by your extension cord.
If your welder requires 50 feet of extension cord, using a 14-gauge cord is a recipe for disaster. You need a heavy-duty 10-gauge or 8-gauge cord. Ideally, run a thicker gauge cord directly from the outlet to your welding area or use a welding machine that can operate at a lower amperage.
Scenario C: Intermittent Blowing of Fuses
The fuse blows sometimes, but not always. This can be trickier. It might point to a loose connection somewhere that’s intermittently failing under load, or perhaps a component within the welder that’s starting to fail.
Pay close attention to when it happens – is it only when you strike an arc, or when you adjust the amperage, or after welding for a certain amount of time? Intermittent issues often require careful observation and testing of various components.
Advanced Checks (If Needed)
If the simple checks don’t solve your problem, you might need to look a bit deeper. These are less common but still possible.
Checking the Welder’s Input Current
If you have a clamp-on ammeter, you can measure the actual current the welder is drawing from the wall. Plug in the welder (without welding) and measure the current. Then, strike an arc and measure again.
This will show you how much current the welder is actually using and if it’s exceeding its rating or the circuit’s capacity.
Internal Component Testing
This is where it gets more technical. It involves opening the welder’s case to inspect internal wiring, capacitors, diodes, and transformers. If you are not comfortable working with high voltage electricity, do not attempt this.
A failing capacitor can cause the welder to draw excessive current. A damaged transformer can also lead to overheating and high current draw. If you suspect an internal fault, it’s best to take it to a qualified repair technician.
Preventing Future Fuse Blowouts
Once you’ve fixed the problem, you want to avoid it happening again. Here are some tips:
- Match Welder to Circuit: Always know the amperage requirements of your welder and ensure the circuit you’re plugging into can handle it. Use dedicated circuits for high-amperage welders.
- Use Correct Extension Cords: Invest in proper, heavy-gauge, short extension cords specifically for welding.
- Maintain Your Welder: Keep your welder clean and free of dirt and debris. Periodically inspect the power cord and ground clamp for wear and tear.
- Select Appropriate Electrodes: Use the correct size and type of electrode for the job and your welder’s capabilities.
- Proper Settings: Start with lower amperage settings and increase only as needed.
- Good Grounding: Always ensure a clean, solid ground connection.
Frequently Asked Questions
Question: My welder keeps tripping the breaker, but it’s only a 20-amp breaker on a dedicated circuit. What else could it be?
Answer: Even on a dedicated 20-amp circuit, if your welder is set to a very high amperage, it could still be drawing too much current. Also, check the quality of the extension cord (if used) and the ground connection, as these can cause increased amperage draw.
Question: Can a bad outlet cause my welder to blow fuses?
Answer: Yes, a worn-out or loose outlet can have high resistance, causing voltage drop and leading to increased amperage draw by the welder, which can blow the fuse.
Question: I just bought a new stick welder, and it blows fuses right away. Is it defective?
Answer: It’s possible, but less likely than an external issue. First, double-check that you are plugging it into the correct voltage outlet and that the circuit breaker rating is appropriate. Ensure you aren’t using any extension cords that are too long or too thin.
Question: How do I know what size electrode to use?
Answer: Electrode size is typically matched to the thickness of the metal you are welding and the amperage capacity of your welder. Welding machine manuals and electrode packaging usually provide guidelines.
Question: Is it safe to use a fuse rated higher than what the welder manual recommends?
Answer: No, it is not safe. Using a fuse or breaker with a higher rating than recommended can allow the welder to draw excessive current, potentially overheating and damaging the machine or causing a fire. Always follow the manufacturer’s specifications.
Final Thoughts
It’s easy to get discouraged when your stick welder blows fuses, but as we’ve seen, the reasons are usually quite simple. Most often, it comes down to power. Either the circuit isn’t strong enough, the extension cord is too restrictive, or the welder is set too high for the available power.
By systematically checking these common culprits – the circuit, the cords, the settings, and the ground – you can pinpoint the issue. Remember, a healthy electrical connection and the right settings are key to a smooth welding experience. You’ve got this!