It’s common for folks just starting out with welding to wonder, “What Causes Uneven Weld Beads?” Seeing those wobbly lines can be frustrating, but it’s a normal part of learning! Don’t worry, we’ll break it down in a way that’s easy to grasp. We’ll show you the simple reasons why this happens and give you clear steps to fix it.
Get ready to see how small changes make a big difference in your welds.
Key Takeaways
- Understand the main reasons why weld beads aren’t smooth.
- Learn how your welding speed affects bead appearance.
- Discover how torch angle plays a big role in even welds.
- See how voltage and amperage settings influence your bead.
- Find out how metal preparation impacts weld uniformity.
- Get practical tips to create consistently good weld beads.
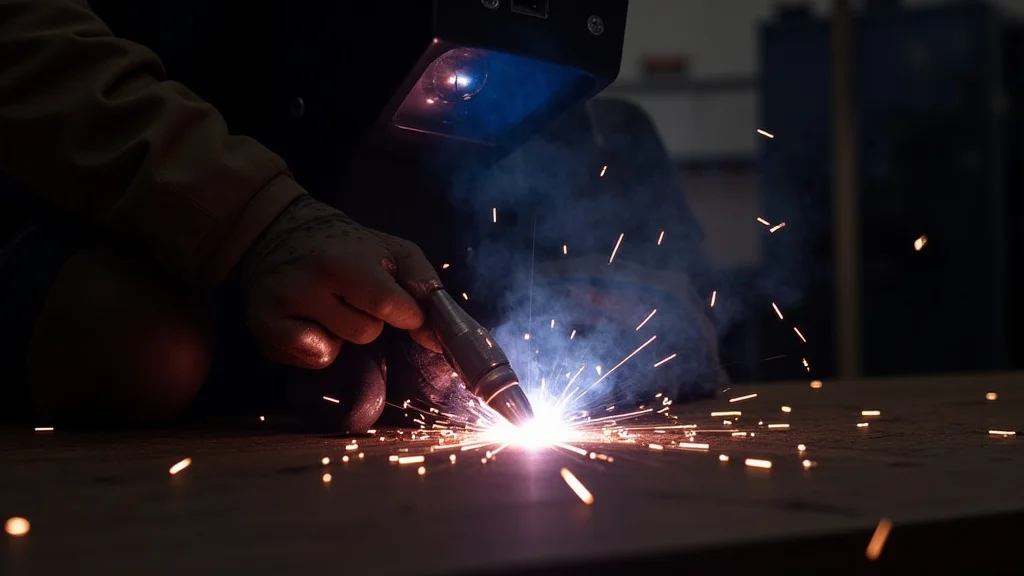
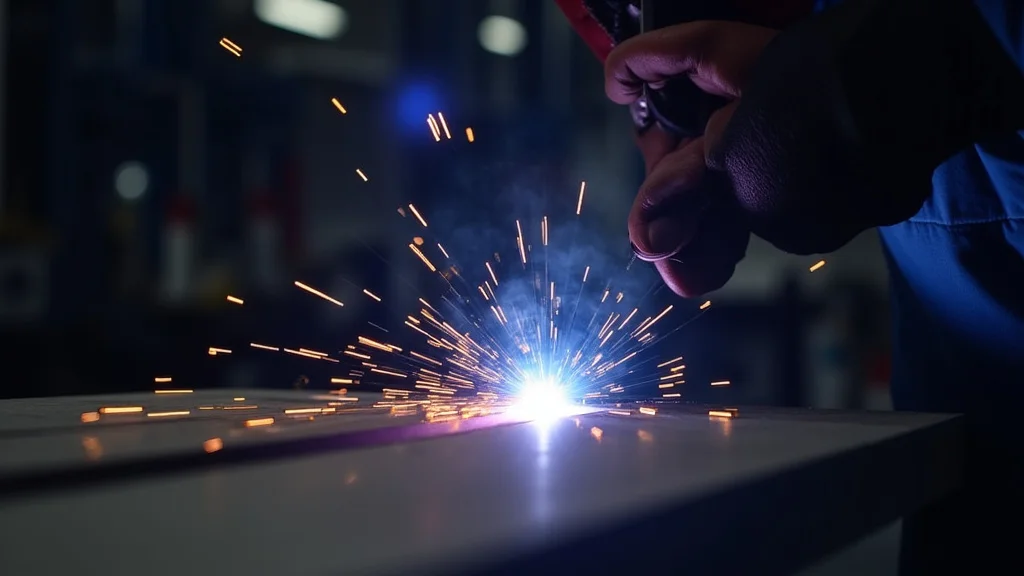
Why Weld Beads Look Uneven
The Challenge of Smooth Welds
When you first start welding, making a perfectly smooth, even bead can feel like a puzzle. It’s not just about holding the torch; lots of little things work together to make your weld look just right. Sometimes, even small mistakes can make the bead bumpy or too wide, or too thin in places.
It’s a challenge because there are many moving parts to keep track of all at once. Let’s look at the main things that cause these uneven lines.
Speed Matters: Too Fast, Too Slow
One of the biggest reasons for uneven weld beads is your welding speed. If you move the welding torch too quickly, the metal doesn’t have enough time to melt and flow together properly. This can lead to a narrow, ropey bead that looks like it’s just been laid on top, rather than being a solid part of the metal.
It won’t be strong. On the other hand, if you move too slowly, too much heat builds up in one spot. This makes the puddle get very large and can cause the bead to spread out too much, looking wide and flat, almost like a pancake.
It can also lead to overheating the metal, which weakens the weld.
Think of it like pouring syrup. If you pour too fast, it goes everywhere and doesn’t make a nice, even line. If you hold the pour too long in one spot, it creates a big blob.
You want a steady, consistent flow. Finding that sweet spot for your welding speed is key to getting a smooth, consistent bead that has good penetration into the base metal.
Torch Angle: The Invisible Hand
The angle at which you hold your welding torch has a huge impact on how the molten metal flows. When you’re welding, the torch should generally be held at a slight angle, pushing or pulling the molten puddle. This angle is called your “travel angle.” For most welding, you’ll want to push the torch slightly forward, so the arc is leading the puddle.
This helps to control the shape of the puddle and ensures the metal melts and flows evenly.
If you tilt the torch too far forward (pushing too hard), you might blow through the puddle or create a bead that’s too thin and uneven. If you tilt it too far back (pulling too much), the heat won’t reach the front of the puddle properly, and you’ll get a bead that’s too tall and possibly not fused well to the edges. The ideal angle helps spread the heat and metal correctly, making the bead nice and rounded.
Another angle to consider is your “work angle,” which is how you hold the torch side-to-side. For basic beads on flat metal, you usually want to keep the torch straight up and down, not tilted left or right. If you tilt it too much to one side, the metal will pile up on that side, making the bead uneven.
Keeping a consistent work angle means the puddle spreads out symmetrically.
Heat Input: Too Much, Too Little
The amount of heat you put into the weld is super important. This heat comes from the electrical settings you use, like voltage and amperage, and how long you keep the arc on the metal. If you don’t use enough heat, the metal won’t melt properly, and the filler metal (if you’re using it) won’t fuse well.
This results in a weak, “cold” weld that often looks bumpy and has poor penetration. You might see a bead sitting on top of the metal.
On the flip side, too much heat is also a problem. It makes the puddle way too big and hard to control. The metal can get so hot that it starts to bubble or even burn away.
This can lead to a bead that’s too flat, too wide, and has the potential for holes or weak spots. The goal is to find the “Goldilocks” amount of heat – not too much, not too little – that melts the base metal just enough to create a strong, consistent bond.
Welding Machine Settings: Voltage and Amperage
Your welding machine’s settings, specifically voltage and amperage, directly control the heat. Amperage is the amount of electrical current. Higher amperage means more heat.
Voltage, in simpler terms, affects the arc length. A higher voltage often means a longer arc, which can spread the heat more and make the bead wider. A lower voltage means a shorter arc and less heat.
For example, if you’re welding thin metal, you need lower amperage to avoid burning through. If the amperage is too high, the puddle will be huge and hard to manage, leading to a wide, uneven bead. If you’re welding thicker metal, you’ll need higher amperage to get enough heat for good penetration.
If it’s too low, you’ll get a cold, bumpy bead.
Understanding how to adjust these settings based on the type and thickness of metal you’re welding is vital. Many welding machines have charts or recommendations that can guide you, but practice is the best teacher for dialing in the perfect settings for your specific situation. Getting the settings right is the first step to controlling the heat input and therefore the weld bead’s appearance.
Material Preparation: Cleanliness is Key
What you do to the metal before you start welding plays a big role too. If the metal is dirty, rusty, oily, or covered in paint, it can cause all sorts of problems with your weld bead. These impurities can get mixed into the molten puddle, creating weak spots, porosity (tiny holes), and an uneven, rough surface.
Rust, for instance, can cause the weld to sputter and pop, making it difficult to control and leading to a messy bead.
Cleaning the metal thoroughly with a wire brush or grinder before welding is essential. You want to expose the bare, clean metal. This allows the filler material and base metal to fuse together properly without interference.
A clean surface helps the molten puddle flow smoothly and evenly, contributing to a uniform and strong weld bead. It’s like trying to paint a clean canvas versus a dirty one – the results are always better when you start with a clean surface.
Filler Metal Issues (If Applicable)
If you’re using filler metal (like a welding rod or wire), how you use it also affects the bead. For stick welding (SMAW) or gas metal arc welding (GMAW, or MIG), the rate at which you feed the filler wire or dip the rod into the puddle is important. If you feed too much wire too quickly, you can overwhelm the puddle and create a lumpy, uneven bead.
With TIG welding (GTAW), the way you add filler rod to the puddle is critical. You need to add small, consistent amounts of filler rod to the edge of the puddle. If you add too much at once, or not smoothly, it will disrupt the puddle’s flow and create an uneven bead.
The filler rod should blend seamlessly into the puddle, not sit on top or cause it to splash.
The type of filler metal also matters. Make sure you’re using the correct type for the base metal you’re joining and the welding process. Using the wrong filler can lead to poor fusion and a weak, unsightly weld.
Always check your filler material’s specifications and recommended practices.
Weaving Techniques (Or Lack Thereof)
For wider welds or joining thicker materials, welders often use a “weaving” technique. This means moving the torch in a pattern, like a zig-zag, ‘C’, or ‘U’ shape, across the joint. This helps spread the heat and filler metal to create a wider, flatter bead.
However, if you don’t weave correctly, it can cause issues.
If your weave is too fast, the bead will be narrow and might not have good tie-in to the edges of the joint. If your weave is too slow or erratic, you can create overlaps that build up in some spots and are thin in others, making the bead uneven. The goal of weaving is to create a consistent, flat bead with good penetration on both sides of the joint.
For beginners, it’s often best to focus on making stringer beads first – that’s a simple, straight bead without weaving. Once you can make a good, consistent stringer bead, you can then practice weaving techniques. Learning to control the arc and puddle with a simple movement is the foundation for more advanced techniques.
Work Surface and Grounding
Sometimes, the problem might even be with your setup. Ensure your workpiece is properly clamped down and that you have a good, solid ground connection. A poor ground connection can lead to an unstable arc, inconsistent heat, and difficulty controlling the molten puddle.
This inconsistency will definitely show up in your weld bead, making it look uneven.
A loose or dirty ground clamp can cause the electricity to arc erratically, leading to sputter and uneven heating. Always clean the metal where you attach the ground clamp to ensure a clean, solid connection. Make sure the clamp is tight.
This simple step can prevent a lot of frustration and improve the quality of your welds significantly.
Frequently Asked Questions
Question: What is the most common mistake beginners make that causes uneven weld beads?
Answer: The most common mistake beginners make is inconsistent travel speed. Moving the torch too fast or too slow, or changing speed during the weld, causes the bead to be lumpy and uneven.
Question: Does the type of welding machine matter for bead appearance?
Answer: Yes, different welding processes (like MIG, TIG, Stick) have different characteristics that affect bead appearance. Also, the quality and adjustability of your machine can play a role in how easily you can achieve a smooth bead.
Question: How can I practice making my weld beads more consistent?
Answer: Practice on scrap metal pieces. Focus on keeping your travel speed, torch angle, and distance to the workpiece as steady as possible. Try drawing lines on the metal to follow.
Question: Can welding on different metal types cause uneven beads?
Answer: Yes. Different metals conduct heat differently and may require different settings. For example, welding aluminum is different from welding steel and requires different techniques and heat input to get a smooth bead.
Question: What should I do if my weld bead is too wide?
Answer: If your weld bead is too wide, you are likely moving too slowly, using too much heat (high amperage/voltage), or not holding the correct torch angle. Try increasing your travel speed or slightly reducing amperage.
Final Thoughts
You’ve learned that What Causes Uneven Weld Beads? often comes down to simple, controllable factors. Things like your speed, how you hold the torch, and the machine settings are key. By focusing on keeping these things steady and consistent, you can fix those bumpy lines.
Practice making small adjustments. Soon, your welds will start looking smooth and strong. You’ve got this!