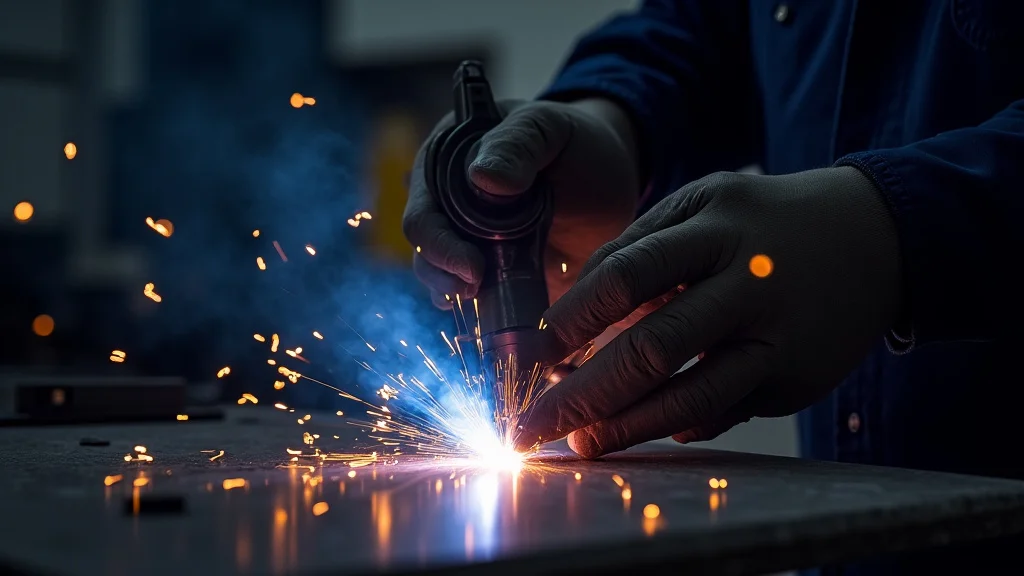
Getting a steady, clean arc in TIG welding can be tricky when you’re just starting out. It’s a common hurdle because the technique requires a delicate touch and precise control. But don’t worry!
We’ll walk you through exactly how to improve arc stability in TIG welding with simple steps. Stick around to see how easy it can be.
Key Takeaways
- Understanding basic TIG arc physics helps beginners grasp stability.
- Proper tungsten preparation is vital for a consistent arc.
- Choosing the right gas flow rate prevents arc wander.
- Amperage and voltage settings directly impact arc behavior.
- Electrode angle and stick-out play a big role in arc control.
- Practicing consistent torch movement builds muscle memory for stability.
What is TIG Arc Stability?
TIG welding, also called GTAW, uses an electric arc to join metals. This arc forms between a non-consumable tungsten electrode and your workpiece. When everything is just right, this arc is stable.
It’s like a smooth, consistent flame that melts the metal perfectly. A stable arc means you get clean, strong welds. It’s the foundation of good TIG welding.
Why Arc Stability Matters for Beginners
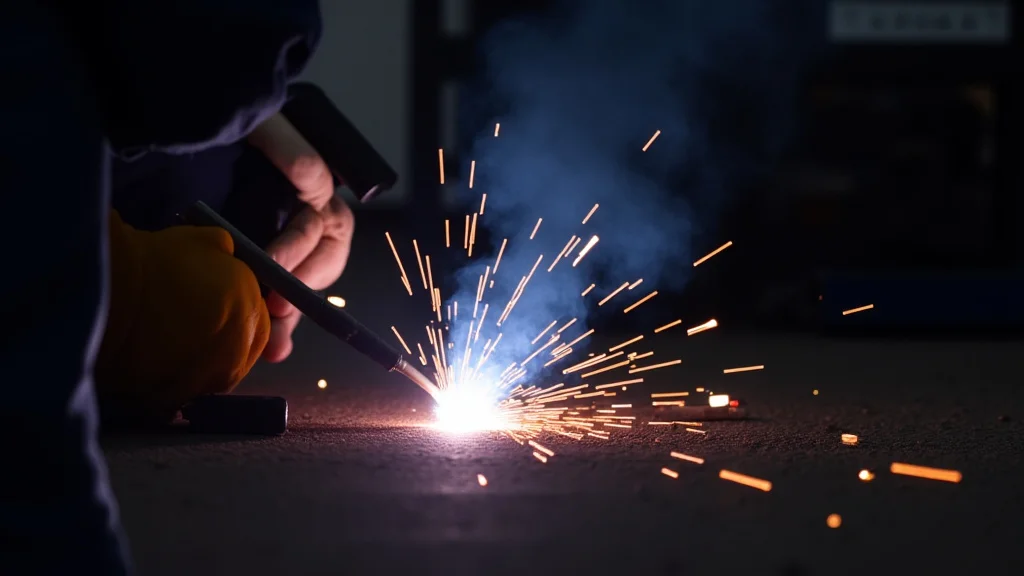
For new TIG welders, getting a stable arc is often the first big challenge. You might see the arc sputtering, dancing around, or not sticking to one spot. This makes it hard to control the weld puddle and the filler metal.
It can lead to messy welds, burn-through, or weak joints. Because TIG requires so much fine control, a wobbly arc feels like trying to write with a shaky hand. It’s frustrating, but it’s also a normal part of learning.
The good news is that learning How to Improve Arc Stability in TIG Welding is very achievable. It comes down to a few key factors and consistent practice. We’ll break down each part so you can start building confidence and creating those smooth, beautiful TIG welds you see from the pros.
Understanding the TIG Arc
Think of the TIG arc as a controlled electrical current jumping a gap. This current ionizes the gas between the tungsten and the metal, creating a conductive path. This path is what heats and melts the base metal.
The arc’s shape and behavior depend on many things working together. When these things are out of balance, the arc becomes unstable.
Factors Affecting Arc Stability
Several elements can make the arc jumpy or inconsistent. These include:
- The shape and condition of the tungsten electrode.
- The type and flow rate of the shielding gas.
- The electrical settings on your TIG machine (amperage, frequency, AC balance).
- How far the tungsten is from the workpiece (stick-out).
- The angle of your torch.
- The cleanliness of your base metal.
Addressing these factors is key to mastering TIG welding.
Essential Steps to Improve Arc Stability
Let’s get into the practical steps you can take. These are the core things to focus on to get that nice, steady arc.
1. Tungsten Electrode Preparation is Key
Your tungsten electrode is like the tip of a pen for TIG welding. Its shape and condition dramatically affect the arc. For DC welding (used for steel, stainless steel, titanium), you want to grind the tungsten to a sharp point.
This concentrates the electrical current, leading to a focused and stable arc.
Grinding the Tungsten
Use a dedicated grinding wheel for tungsten only. Never use a grinder that has touched other metals, as contamination will ruin the electrode. Grind lengthwise, creating a conical shape that tapers to a fine point.
Avoid creating a blunted tip or a ball shape, as this will spread the arc and make it unstable.
Tungsten Type
Different tungsten alloys are used for different metals and welding processes. Pure tungsten is generally not recommended for AC welding anymore. For DC, lanthanated (blue stripe) or ceriated (grey stripe) electrodes are excellent choices.
They hold a good point and are more resistant to contamination.
2. Shielding Gas: The Protective Blanket
The shielding gas, usually pure argon, protects the molten weld pool and the hot tungsten from the surrounding air. Air contains oxygen and nitrogen, which will contaminate the weld and make the arc erratic.
Gas Flow Rate
Getting the right gas flow rate is critical. Too little gas, and the air will get to your weld, causing porosity and a weak arc. Too much gas, and the gas stream can actually disturb the arc, making it waver.
A good starting point for most TIG welding is 10-15 cubic feet per hour (CFH). You can adjust this based on drafts in your welding area.
Gas Lens
For even better gas coverage and arc stability, consider using a gas lens. A gas lens is a special collet body and nozzle that creates a smoother, wider flow of shielding gas. This allows you to run a longer tungsten stick-out without sacrificing gas coverage, which is helpful for reaching into tight spots.
3. Machine Settings: Amperage and Polarity
Your TIG welder’s settings are fundamental. For beginners, focusing on amperage and polarity is most important.
Amperage Control
Amperage is the amount of electrical current flowing. It directly determines how much heat you put into the weld. Too low, and you won’t melt the metal.
Too high, and you’ll blow holes through it. For arc stability, a consistent amperage is crucial. If you’re using a machine with a foot pedal or a torch-mounted amperage control, practice feathering it to maintain a steady heat input.
Polarity
For DC welding, you’ll choose between DCEN (Direct Current Electrode Negative) and DCEP (Direct Current Electrode Positive). For most TIG welding on steel and stainless steel, you’ll use DCEN. This directs most of the heat into the workpiece, creating a deep, focused weld.
DCEP is rarely used for TIG.
4. Electrode Angle and Stick-Out
The angle you hold your torch and how far the tungsten extends from the nozzle significantly impact the arc.
Torch Angle
Keep your torch angle very shallow, generally between 5 to 15 degrees, pointing in the direction you are welding. A steep angle can disrupt the gas flow and cause the arc to wander. Imagine pushing the arc forward rather than pulling it.
Tungsten Stick-Out
This is the length of the tungsten electrode that protrudes beyond the end of the gas nozzle. For DC welding, a shorter stick-out (around 1/8 to 1/4 inch) provides the most stable arc and best shielding gas coverage. A longer stick-out can lead to arc wander and contamination because the gas flow isn’t as effective.
5. Material Preparation
Even with perfect machine settings and tungsten, a dirty workpiece will cause problems. Contaminants on the metal can vaporize and get pulled into the arc or the weld puddle, causing inclusions, porosity, and an unstable arc.
Cleaning is Crucial
Always clean the base metal thoroughly before welding. For steel and stainless steel, use a dedicated stainless steel wire brush. You can also use acetone or a specific metal cleaner to remove oils and grease.
A clean surface is essential for a clean, stable arc.
6. Practice Consistent Movement
Once you have the right setup, consistent movement is what ties it all together. This is where practice makes perfect.
Hand-Eye Coordination
Practice holding the torch steady and moving it at a consistent speed. Your goal is to maintain the same arc length and torch angle throughout the weld. This builds muscle memory.
Try practicing on scrap pieces of metal until you can create a smooth bead without the arc dancing around.
Filler Metal Control
If you’re adding filler metal, practice dipping it into the leading edge of the weld puddle consistently. The filler metal should not touch the tungsten. Interruptions in the weld puddle caused by filler metal placement can also affect arc stability.
Advanced Techniques for Arc Control
As you get more comfortable, you can explore some advanced settings and techniques to fine-tune your arc.
AC Welding Specifics
When welding aluminum or magnesium, you’ll use AC (Alternating Current). AC welding has different characteristics:
- AC Balance: This setting controls how much cleaning action (DCEP) versus penetration (DCEN) you get. A higher cleaning setting (more DCEP) can sometimes make the arc less stable if set too high. Finding the right balance is key.
- AC Frequency: Some machines let you adjust AC frequency. Higher frequencies can help focus the arc, making it more stable and directing it more precisely.
High-Frequency (HF) Start
Most TIG welders have a high-frequency start. This feature creates a high-voltage spark to initiate the arc without you having to touch the tungsten to the metal. This prevents tungsten contamination and makes starting the arc much smoother and more consistent.
Pulsed TIG Welding
Pulsed TIG welding involves rapidly switching between a high peak current and a lower background current. This technique can help control heat input, reduce distortion, and maintain a more consistent weld puddle, which indirectly contributes to a more stable-feeling arc, especially for thin materials.
Troubleshooting Common Arc Stability Issues
Even with the best practices, you might run into problems. Here’s how to fix them.
Sputtering Arc
- Cause: Contaminated tungsten, insufficient gas flow, or dirt on the workpiece.
- Solution: Clean or regrind your tungsten. Increase gas flow slightly. Clean the workpiece again.
Arc Wandering
- Cause: Excessive stick-out, poor torch angle, drafts, or incorrect amperage.
- Solution: Shorten tungsten stick-out. Correct torch angle. Shield the welding area from drafts. Adjust amperage.
Arc Not Starting
- Cause: HF start issues, dirty workpiece, or incorrect machine setup.
- Solution: Ensure HF start is on. Clean the workpiece. Check polarity and power settings.
Porous Welds
- Cause: Inadequate shielding gas, contaminated materials, or arc too close to the filler rod.
- Solution: Increase gas flow. Thoroughly clean materials. Keep filler rod out of the arc.
Summary of Key Steps
To recap, improving your TIG arc stability involves:
- Keeping your tungsten sharp and clean.
- Ensuring proper shielding gas flow.
- Setting the right amperage and polarity.
- Maintaining a short stick-out and a shallow torch angle.
- Cleaning your metal thoroughly.
- Practicing consistent movements.
These steps will make a big difference in your welding quality.
Frequently Asked Questions
Question: What is the best tungsten to use for steel?
Answer: For steel and most DC applications, a 2% lanthanated (blue stripe) or 2% ceriated (grey stripe) tungsten electrode is highly recommended. They offer excellent arc stability and longevity.
Question: How far should my tungsten stick out from the nozzle?
Answer: For the most stable arc and best gas coverage on DC, aim for about 1/8 to 1/4 inch (3-6 mm) of tungsten stick-out. For AC aluminum welding, you might get away with slightly more.
Question: Why does my TIG arc sputter?
Answer: A sputtering arc is often caused by contamination. This could be from a dirty tungsten electrode, dirty base metal, or insufficient shielding gas. Make sure everything is clean and your gas is flowing correctly.
Question: Can I use a regular grinder to sharpen my tungsten?
Answer: It’s best not to. Regular grinders can contaminate the tungsten with other metals. Use a dedicated grinder or a separate wheel specifically for tungsten to keep it pure and ensure a stable arc.
Question: How do I know if my gas flow is too high or too low?
Answer: Too low flow results in porosity and a dull, unstable arc. Too high flow can cause the gas stream to disturb the arc, making it flutter or wander. You can often hear or see the gas stream.
Watch your weld for signs of contamination or arc disturbance to fine-tune.
Final Thoughts
Mastering arc stability in TIG welding is within your reach. By focusing on sharp tungsten, correct gas flow, precise machine settings, and consistent torch control, you build a strong foundation. Each step, from preparing your electrode to cleaning your metal, contributes to a smoother, more controlled arc.
Keep practicing these techniques, and you’ll see your welds improve noticeably. You’ve got this!