Learning How to Weld Aluminum Using a MIG Welder can feel a bit tricky at first. Aluminum acts differently than steel when you heat it up, which can make beginners scratch their heads. But don’t worry!
We’ll walk through this together with simple steps. We’ll show you exactly what you need to do to get clean, strong welds. Get ready to see how easy it can be to weld aluminum.
Key Takeaways
- You will learn about the special wires and gases needed for welding aluminum.
- We will explain the best settings for your MIG welder to work with aluminum.
- Discover tips for preparing your aluminum pieces so they weld well.
- Understand how to control the weld puddle for a smooth finish.
- Learn common mistakes to avoid when welding aluminum with a MIG welder.
- Gain confidence in your ability to weld aluminum projects.
Why Aluminum Welding is Different
The Right Gear for Aluminum MIG Welding
Choosing the Correct Wire
When you weld aluminum, you need a special kind of wire. Steel wire won’t work. For most common aluminum alloys, you’ll want to use a 4043 or 5356 welding wire.
The 4043 is a good all-around choice. It’s less prone to cracking. The 5356 wire is stronger and more flexible, which is good for parts that might bend a lot.
The wire diameter matters too. Thinner wires are better for thin aluminum sheets. Thicker wires are for thicker pieces.
A common size for beginners is .030 or .035 inches.
Shielding Gas Selection
Aluminum needs a specific gas to protect it while you weld. This gas stops oxygen and other bad stuff from getting into your weld. For aluminum, the best gas is pure argon.
Some people try to use a mix, but pure argon gives you the cleanest results and the smoothest welds. This is really important for getting good aluminum welds.
Using the Right Liner and Drive Rollers
Soft aluminum wire can get chewed up by standard steel welding equipment. You need special parts for your MIG welder to handle it. Get a Teflon or nylon liner for your gun.
This makes the wire feed smoothly. Also, use U-grooved drive rollers. These rollers grip the wire without deforming it, preventing jams and feeding problems.
Preparing Your Aluminum
Cleaning is Key
Aluminum forms a tough oxide layer when it’s in the air. This layer has a higher melting point than the aluminum itself. If you don’t remove it, it can cause problems in your weld.
You need to clean the aluminum very well before you start welding. Use a stainless steel wire brush that is only used for aluminum. Brushes used on steel can transfer steel particles, which will ruin your weld.
Clean the area you will be welding right before you start. Also, clean the filler wire itself if it looks dirty. A clean surface is the first step to a good weld.
Degreasing the aluminum with a special cleaner is also a good idea.
Understanding Aluminum Alloys
Aluminum comes in many different types, called alloys. Some are easy to weld, and others are not. The most common ones for welding are the 1
Setting Up Your MIG Welder
Voltage and Wire Speed
Getting the right settings on your MIG welder is vital for aluminum. Aluminum melts at lower temperatures than steel, and it conducts heat very fast. This means you often need to run your welder a bit hotter than you would for steel of the same thickness.
Start with a moderate voltage and wire speed. For example, on a 3/16-inch thick piece of 6061 aluminum, you might try around 19-21 volts with a wire speed of 300-400 inches per minute (ipm). These are just starting points.
You will need to adjust them based on the thickness of your aluminum and the specific alloy.
Testing Your Settings
Always test your settings on scrap pieces of aluminum. This lets you fine-tune before you weld your actual project. Watch how the puddle forms.
Is it too flat and runny? Turn down the voltage. Is it too tight and spattery?
Turn up the voltage or wire speed. A good weld will have a smooth, consistent puddle.
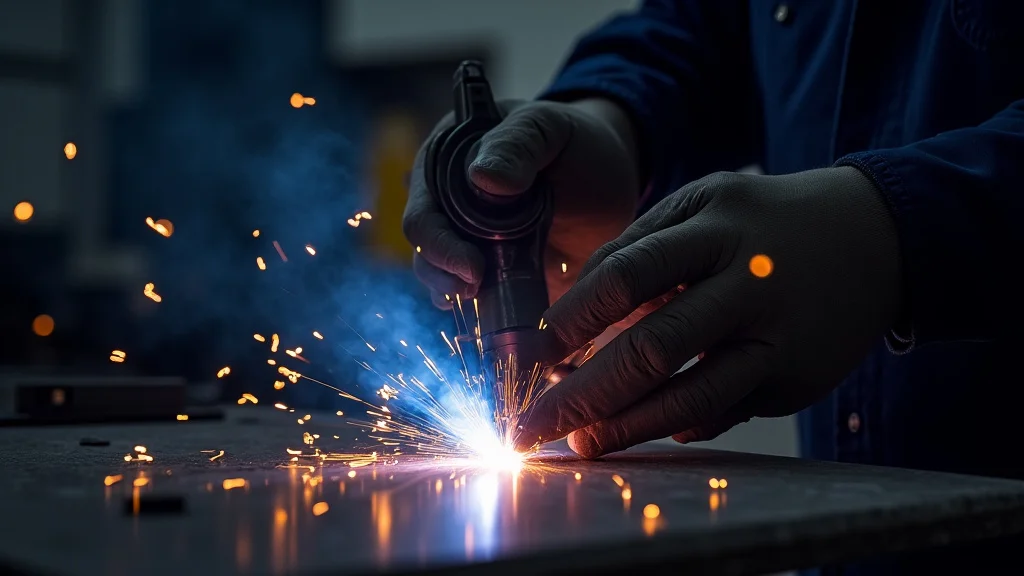
The Welding Process for Aluminum
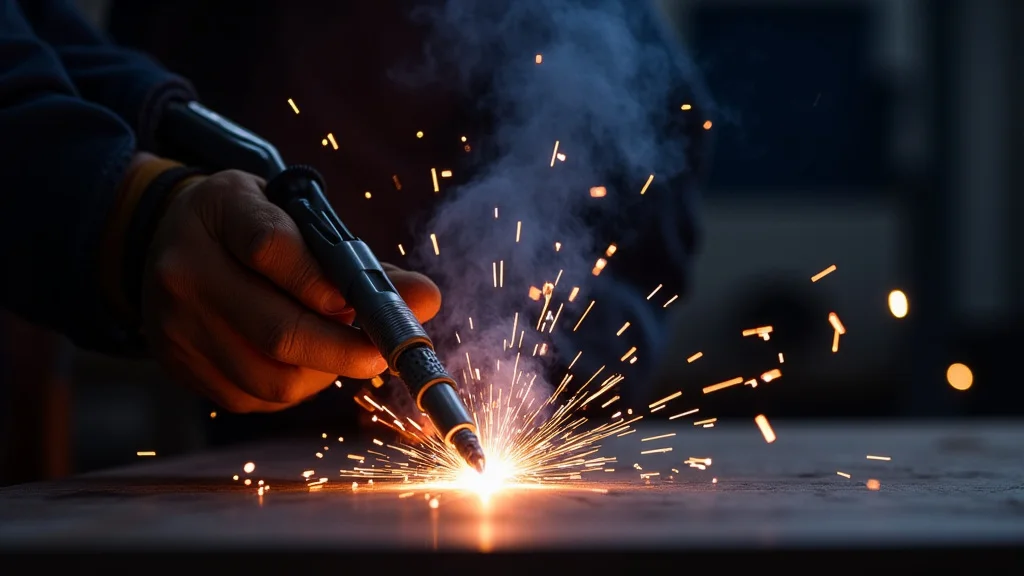
Torch Angle and Stick-Out
When welding aluminum, hold your torch at a slight push angle. This means pushing the gun forward, not pulling it. A push angle helps keep the shielding gas flowing correctly and prevents what’s called “porosity,” which are tiny holes in your weld.
Keep your stick-out consistent. The stick-out is the distance from the tip of your contact tip to the end of the shielding gas nozzle.
For aluminum, a slightly longer stick-out, around 1/2 to 3/4 of an inch, is often recommended. This helps with gas coverage. You want a smooth, steady arc.
Listen to the sound of the welder. It should be a consistent sizzle, not a crackle or pop.
Controlling the Puddle
The molten aluminum puddle on aluminum is very fluid. It can spread out quickly. You need to move with a steady rhythm.
Try a slight weaving motion, or just a straight, consistent push. The goal is to keep the puddle from getting too big and losing control. If it starts to droop or run away, back off the heat or move faster.
Watch the edges of the puddle. They should be melting into the base metal cleanly. You don’t want to be dragging the wire too far behind the puddle.
Keep the arc focused on the leading edge of the molten metal.
Dealing with Heat Buildup
Aluminum is a great conductor of heat. This means heat spreads away from your weld area very fast. On thicker pieces, this can make it hard to get enough heat into the joint.
You might need to preheat thicker aluminum parts with a torch before welding. This helps the weld puddle form more easily and prevents a common issue called “lack of fusion.”
On thinner aluminum, the opposite can happen. The metal can melt through very quickly. You’ll need to use lower settings and move faster to avoid blowing holes.
Common Mistakes and How to Fix Them
Porosity
Porosity is when tiny gas pockets get trapped in your weld. This weakens the weld. It often happens because of poor shielding gas coverage or contamination on the aluminum surface.
Make sure your gas flow is correct and that you cleaned the metal thoroughly.
Lack of Fusion
This is when the filler metal doesn’t fully join with the base metal. It’s like a weak bond. It can happen if your settings are too low, you’re moving too fast, or you haven’t cleaned the aluminum well enough.
Preheating thicker aluminum can also help prevent this.
Cracking
Aluminum can be prone to cracking, especially as it cools. This is more common with certain alloys. Using the correct filler wire (like 4043 or 5356) and letting the weld cool properly can help.
Avoid rapidly cooling the weld. Sometimes, a slight preheat can help manage cooling stress.
Burn-Through
This is when you melt a hole through the aluminum. It’s common on thin materials. It means your settings are too high or you’re holding the arc too long in one spot.
Practicing on scrap and adjusting your voltage and wire speed is the best way to avoid this.
Frequently Asked Questions
Question: What is the easiest aluminum alloy to MIG weld for beginners?
Answer: The 3000 series aluminum alloys, like 3003, are generally considered the easiest to MIG weld. They are forgiving and less prone to cracking. The 5052 alloy is also a popular and relatively easy choice for beginners.
Question: Do I need a different torch for welding aluminum?
Answer: While not always strictly necessary, using a spool gun or a push-pull gun can make welding aluminum much easier. These setups are designed to handle the soft aluminum wire better, preventing feeding issues. A standard MIG gun can work, but it’s more challenging.
Question: How thick can I MIG weld aluminum?
Answer: With a typical MIG welder, you can weld aluminum from very thin sheet metal up to about 1/4 inch or slightly more. For thicker aluminum, you might need to use multiple passes or consider other welding methods like TIG welding for stronger, cleaner joints.
Question: What happens if I use steel MIG wire on aluminum?
Answer: Using steel MIG wire on aluminum will not work and will create a very weak, contaminated, and brittle weld. The metals are not compatible, and the weld will fail. Always use aluminum-specific filler wire.
Question: How can I get a smooth, shiny finish on my aluminum welds?
Answer: A smooth finish comes from clean metal, correct settings, and a steady hand. Ensure your aluminum is perfectly clean. Use pure argon gas.
Maintain a consistent arc length and travel speed. After welding, you can clean the weld with a stainless steel brush. For a shiny look, mechanical finishing like sanding or grinding may be needed.
Final Thoughts
Welding aluminum with a MIG welder is totally doable once you know the basics. It’s all about using the right equipment, keeping things super clean, and having your welder set up correctly. You need special wire, gas, and gun parts.
Cleaning the aluminum is a big deal. Practicing on scrap pieces helps you find the best heat and speed. Move your torch smoothly.
Avoid common problems like porosity by being careful. You’ve got this!