Getting the right heat is super important when you’re stick welding. Many beginners wonder, How Do You Adjust Stick Welder Current Correctly? It seems tricky at first because too much heat burns through your metal, and too little makes it hard to get a good weld. Don’t worry, it’s easier than it looks!
We’ll show you exactly how to get it right, step by simple step. After this, you’ll know what to do and be ready to lay down some great beads.
Key Takeaways
- You’ll learn the basic rules for setting your stick welder’s amperage.
- Discover how different metal thicknesses affect your current setting.
- Understand the role of welding rod type in current selection.
- Learn to read the signs of too much or too little heat in your weld.
- Gain confidence in adjusting your welder for common welding tasks.
Setting the Right Heat: The Core Idea
What is Amperage and Why It Matters
When you weld with a stick welder, you’re using electricity to melt metal. The amount of electricity you use is called amperage, or current. Think of it like a faucet for water – the more you open it, the more water comes out.
With welding, the more amperage you use, the hotter your arc gets. This heat is what melts the metal rod and the pieces you’re joining together.
Getting the amperage just right is key to a good weld. If the amperage is too low, your arc won’t be strong enough. This means the metal won’t melt properly, and your weld will be weak.
You might see sparks flying, but not much melting happening. This is often called a “cold lap” where the weld doesn’t really stick.
On the flip side, if your amperage is too high, you’ll have too much heat. This can burn right through your metal, especially if it’s thin. It can also make the molten metal fly out too much, creating a mess and a weak weld.
You’ll see a big, sputtering puddle and possibly holes forming in your work.
The Golden Rule: Metal Thickness is King
The single biggest factor in deciding your amperage is the thickness of the metal you are welding. This makes a lot of sense, right? Thicker metal needs more heat to melt than thin metal.
So, we have some general guidelines to help you start.
Here’s a simple way to think about it:
- For very thin metal (like thin sheet metal, around 1/16 inch or 1.6 mm), you’ll need lower amperage.
- For medium thickness metal (like 1/8 inch or 3.2 mm plate), you’ll use moderate amperage.
- For thick metal (1/4 inch or 6.4 mm and up), you’ll need higher amperage.
These are just starting points. We’ll talk about how other things can change these numbers.
Matching Rod Size to Metal Thickness
The welding rod you use also plays a big part in how much amperage you need. Welding rods come in different diameters, usually measured in fractions of an inch or millimeters. A thicker rod needs more heat to melt it down properly.
There’s a good connection between the rod size and the metal thickness. Generally, you want to use a rod that is about the same thickness as the metal you’re welding, or slightly smaller for thinner materials.
Here’s a common guide:
| Rod Diameter (Inches) | Rod Diameter (mm) | Metal Thickness (Inches) | Metal Thickness (mm) | Typical Amperage Range (Amps) |
|---|---|---|---|---|
| 1/16″ | 1.6 mm | ~1/16″ | ~1.6 mm | 20 – 40 A |
| 3/32″ | 2.4 mm | ~1/8″ | ~3.2 mm | 40 – 80 A |
| 1/8″ | 3.2 mm | ~3/16″ to 1/4″ | ~4.8 mm to 6.4 mm | 70 – 120 A |
| 5/32″ | 4.0 mm | ~1/4″ to 3/8″ | ~6.4 mm to 9.5 mm | 100 – 150+ A |
Remember, these are starting points. Always check the packaging for your specific welding rods. It often has recommended amperage ranges printed right on it.
Understanding Your Welder Controls
Most stick welders have a dial or a slider that lets you adjust the amperage. Some are very simple, just showing numbers. Others might be more complex, but the main thing you’re changing is the amperage.
If you have a transformer-based welder, you usually adjust a knob. For inverter-based welders, you might see a digital display or a knob with finer control. Don’t get overwhelmed by the different types; the principle is the same: you’re setting the heat.
It’s a good idea to find the manual for your specific welder. It will show you exactly how to set the amperage and what each setting means.
Reading the Weld: Signs of Correct Heat
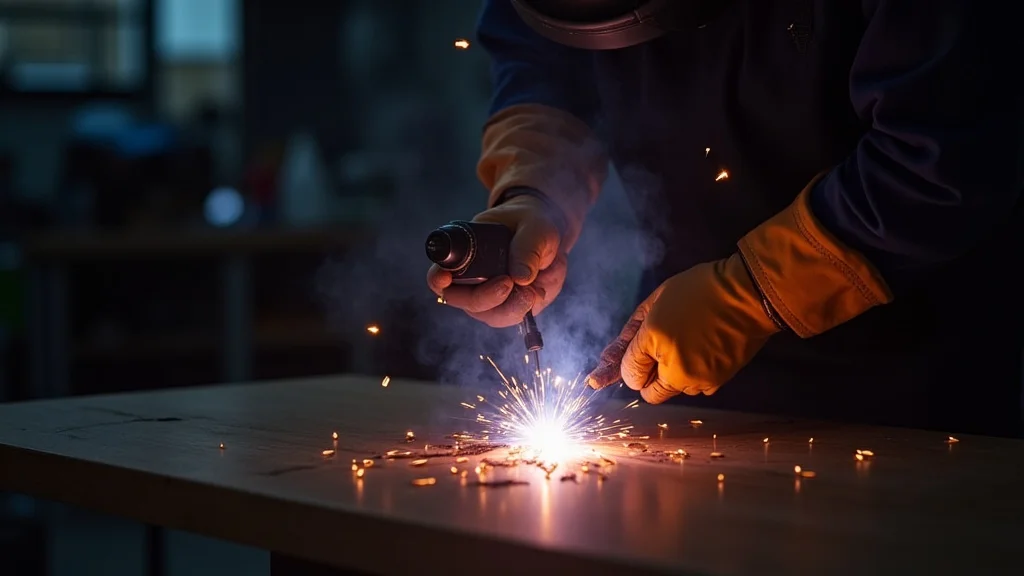
Once you start welding, your eyes are your best tool for figuring out if your amperage is right. You need to look at the weld puddle and the metal around it.
The Ideal Weld Puddle
When the amperage is correct, the weld puddle will look like a small, controlled pool of melted metal. It should be shiny and move smoothly as you pull the electrode along. The puddle size will be about two to three times the diameter of the welding rod you are using.
You should be able to see the edges of the puddle clearly, and it should blend nicely into the base metal. It’s like a calm, flowing river, not a raging waterfall.
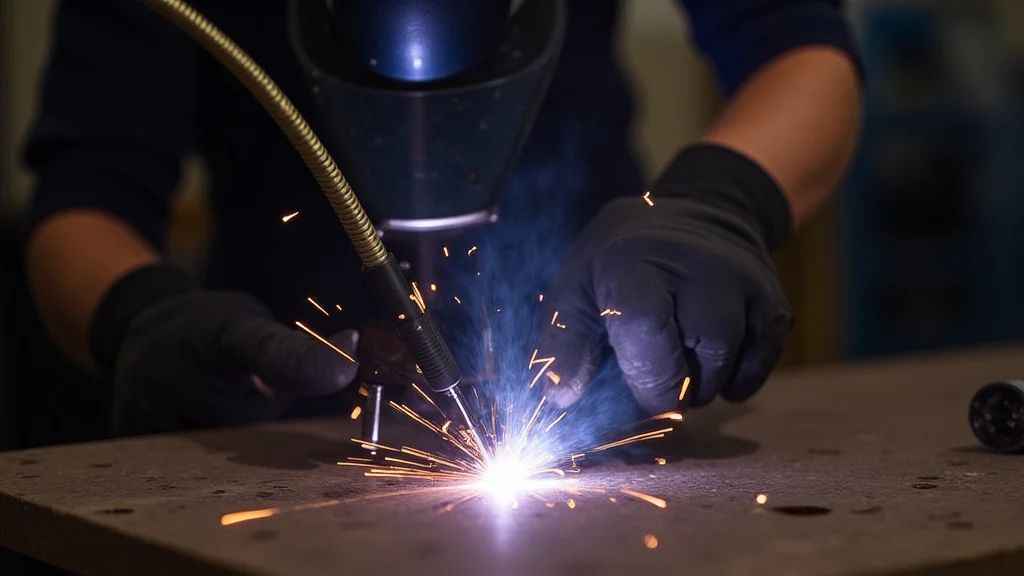
Signs of Too Much Heat (Too High Amperage)
If your amperage is too high, you’ll notice a few things:
- Excessive Spatter: You’ll see a lot of small sparks flying away from the weld puddle. This means too much metal is being thrown out.
- Deep, Wide Puddle: The puddle will be very large, and it might look like it’s boiling or churning.
- Burning Through: If you’re welding thin metal, you’ll see holes appear as the arc burns through.
- Undercutting: The arc might dig into the edges of the metal, creating small grooves or ditches next to the weld. This weakens the joint.
- Dark, Smoky Arc: The arc itself might seem overly bright and smoky.
If you see these signs, the first thing to do is turn down your amperage. Try reducing it by 5-10 amps and see if it improves.
Signs of Too Little Heat (Too Low Amperage)
When your amperage is too low, the weld won’t penetrate properly:
- Poor Fusion: The weld metal will sit on top of the base metal rather than melting into it. You’ll get a weak bond.
- Narrow, Stiff Puddle: The puddle will be small and won’t flow easily. It might look like it’s hardening too quickly.
- Rod Sticking: The electrode will often stick to the base metal. You’ll have to break it free, which usually leaves a mess.
- Rough, Uneven Bead: The deposited weld metal will be lumpy and inconsistent.
- Lots of Porosity (Small Holes): You might see small pinholes in the weld bead after it cools, caused by trapped gases.
If you’re having these issues, you need to increase your amperage. Try adding 5-10 amps. If the rod keeps sticking, you might need to increase it more.
Adjusting for Different Rod Types
Not all stick welding rods are the same. Different types are designed for different jobs and require different amperage settings. The number on the rod (like 6010, 6011, 6013, 7018) tells you a lot about it.
Common Rod Types and Their Needs
- 6010/6011 Rods: These are “fast-freeze” rods. They create a very fluid puddle but it hardens quickly, making them good for all-position welding and for dirty or rusty metal. They generally run hotter and might need slightly less amperage than a 6013 for the same thickness.
- 6013 Rods: These are “all-position” rods that are easier for beginners. They have a more stable arc and a less fluid puddle, making them forgiving. They typically run at moderate amperage.
- 7018 Rods: These are “low-hydrogen” rods, often called “super” or “all-purpose” rods. They provide very strong, high-quality welds, especially for structural work. They need clean metal and a steady, hotter arc. You’ll often need to run them at the higher end of their recommended amperage range, or even a bit higher than a 6013 for the same rod size.
Always refer to the manufacturer’s recommendations for your specific welding rod. This is usually printed on the box or on the rod itself.
Practical Tips for Adjusting Current
Start with the Recommendations
When in doubt, start with the amperage range recommended on your welding rod packaging or in your welder’s manual for the metal thickness you’re working with.
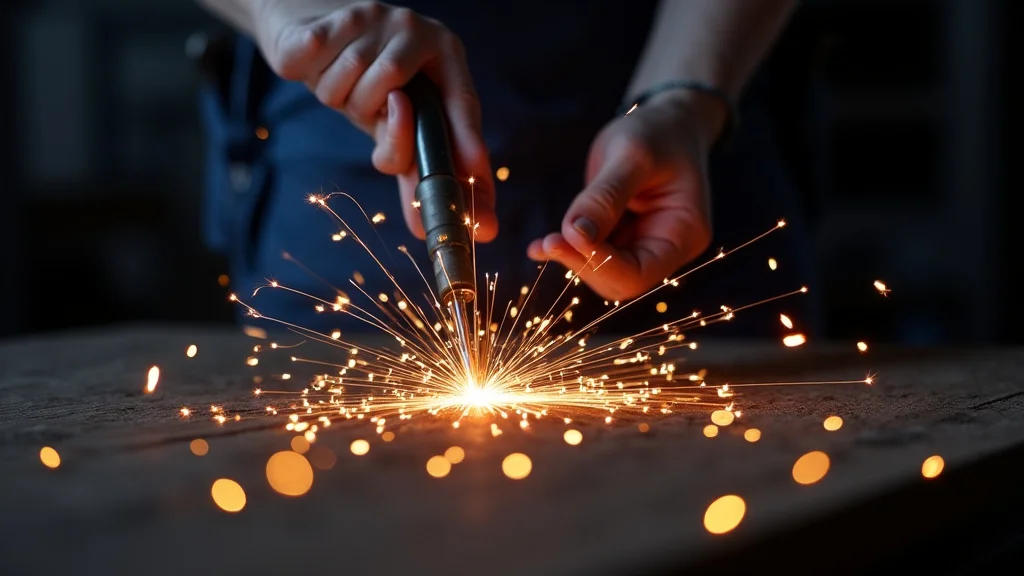
The “Strike and See” Method
This is a common technique. Strike an arc like you normally would. Look at the puddle for about 5-10 seconds.
Does it look too hot? Too cold? Adjust your amperage up or down in small increments (5 amps at a time) and try again.
Sometimes, you might need to try a few times on a scrap piece before you find the sweet spot.
Listen to Your Welder
Pay attention to the sound of the arc. A good arc often has a steady, crisp crackle. If it sounds like a sputtering, angry fry pan, your heat is likely too high.
If it sounds weak and hissy, it’s probably too low.
Consider Your Welding Position
Welding in different positions can affect how the molten metal behaves. For overhead or vertical welding, you might need slightly lower amperage to prevent the molten metal from dripping down due to gravity. For flat welding, you can often use a bit more heat.
Controlling the Arc Length
Your arc length also plays a role. Holding a shorter arc generally means the heat is more concentrated and will penetrate better. A longer arc spreads the heat out and can cause the puddle to cool too quickly or make the weld too wide and flat.
If your amperage is correct, maintaining a consistent arc length becomes much easier.
Frequently Asked Questions
Question: What is the typical amperage range for welding 1/8 inch steel with a 1/8 inch 6013 rod?
Answer: For welding 1/8 inch steel with a 1/8 inch 6013 rod, a good starting amperage range is typically between 70 and 100 amps. Always check the rod manufacturer’s recommendation for precise settings.
Question: Do I need to use the same size welding rod as my metal thickness?
Answer: Not always. For thinner metals, you’ll use a smaller rod than the metal thickness. For thicker metals, you might use a rod that’s roughly the same thickness or slightly smaller.
The goal is to match the heat input from the rod and amperage to the metal.
Question: How can I tell if my weld is penetrating properly?
Answer: Proper penetration means the weld metal fuses well with the base metal. You should see the weld bead blending smoothly into the base metal, not just sitting on top. If you can see a distinct line between the bead and the metal, or if the weld feels loose, penetration is likely too low.
Question: What if my stick welder has AC and DC settings? Which one should I use?
Answer: AC (alternating current) and DC (direct current) affect the arc. Some rods work better on AC, others on DC. For example, 6011 and 6013 rods often run well on AC.
7018 rods typically run best on DC. Your rod packaging will usually specify if AC or DC is recommended, and sometimes the polarity (DCEN or DCEP) for DC.
Question: Is it okay to weld over rust or paint?
Answer: It’s best to clean your metal thoroughly. Rust, paint, oil, or dirt can get trapped in the weld, causing porosity (holes) and weak spots. While some rods like 6010/6011 are more forgiving on dirty metal, clean metal always results in a stronger, better-quality weld.
Final Thoughts
Figuring out How Do You Adjust Stick Welder Current Correctly? comes down to matching your heat to your materials. Start by looking at how thick your metal is and what kind of welding rod you’re using. These two things are your main guides for setting the amperage.
Watch the puddle; it tells you if you’re too hot or too cold. Small adjustments make a big difference. Practice makes perfect, so grab some scrap metal and try it out.
You’ll get the hang of it quickly.