Dealing with burn marks when you’re MIG welding can be frustrating. It’s a common hurdle for those just starting out. You want your welds to look neat, but those ugly brown and black spots keep appearing.
Don’t worry, the MIG Welder Burn Marks Problem Solved is achievable with simple steps. We’ll guide you through exactly what to do to get clean welds every time, and then we’ll explore what’s next.
Key Takeaways
- You will learn why burn marks happen with MIG welders.
- Discover the right settings for your MIG welder to prevent burn marks.
- Understand how wire speed and voltage play a role.
- Learn techniques for proper gun angle and travel speed.
- Find out how to prepare your metal for better results.
- Get tips on post-weld cleaning to keep your work looking great.
Why Burn Marks Happen
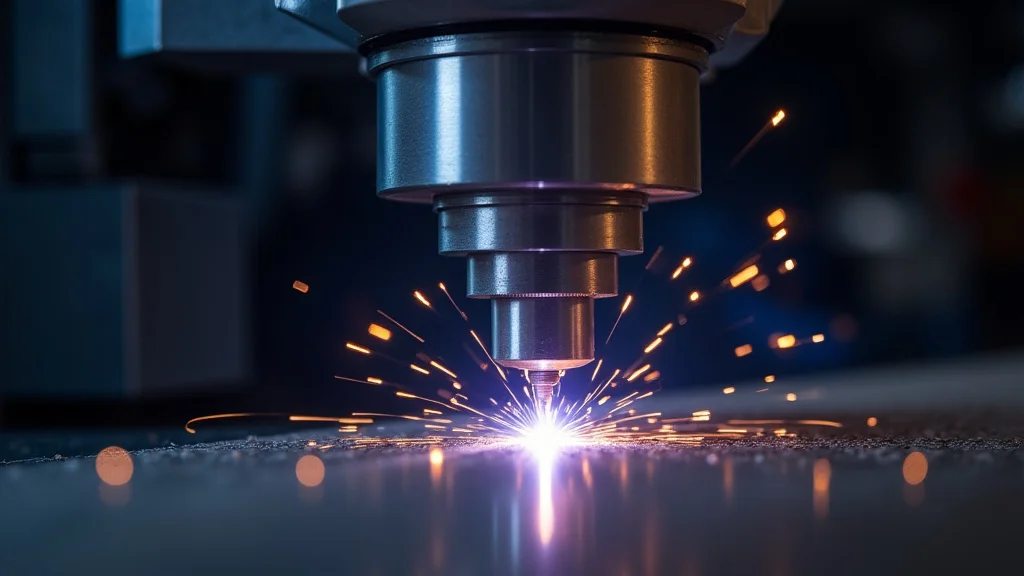
Burn marks on your welds, often seen as discolored or even slightly melted spots on the metal surface, are a common problem for new MIG welders. They can make your finished project look messy and unprofessional. This usually happens because something in the welding process is a bit too hot or a bit too fast.
It’s like trying to toast bread; if you leave it in too long or the toaster is set too high, you get burnt toast. Welding is similar, but with molten metal!
Heat and Metal Type
The type of metal you are welding greatly affects how easily burn marks appear. Thinner metals, like sheet metal commonly found in car bodies or decorative projects, are much more prone to burning than thicker steel. This is because thinner metal has less material to absorb and dissipate the heat from the welding arc.
The heat builds up quickly, and if you’re not careful, it can easily go past the point of a good weld and into the territory of burning the surrounding metal.
Steel is a popular choice for beginners. It’s forgiving. But even with steel, you’ll find that different thicknesses behave differently.
A thick steel plate might let you get away with slightly hotter settings, while a thin steel sheet will demand much more precise control. Aluminum is another material many welders encounter. It conducts heat even faster than steel, making it even more susceptible to burn marks and needing very specific heat management.
Welding Settings Gone Wrong
The most frequent cause of burn marks is incorrect welding machine settings. MIG welding involves setting the voltage and wire feed speed. These two settings work together to control the heat and the amount of filler metal going into your weld.
If they are not matched correctly for the thickness of the metal and the type of weld you are trying to achieve, you can get problems.
Too much voltage, for example, often leads to a wider, hotter arc. This excess heat can easily scorch the base metal. On the flip side, if your wire feed speed is too low, you might not be adding enough filler material to compensate for the heat, leading to a thin, weak weld that’s also prone to burning.
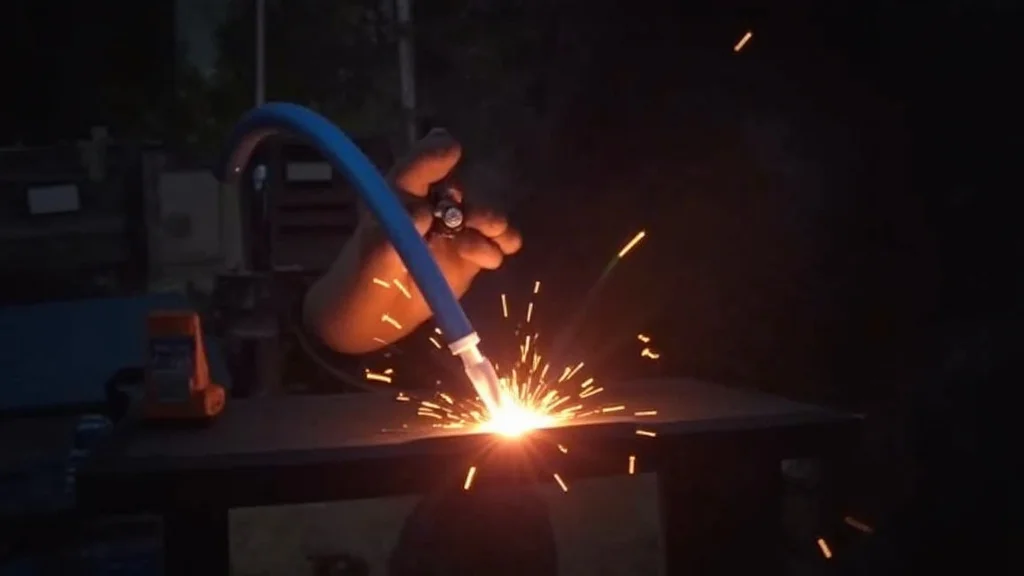
Gun Angle and Travel Speed
How you hold and move your MIG gun also plays a big part. If you hold the gun at the wrong angle, you can direct too much heat onto one spot. Pushing the gun too fast or too slow can also lead to burn marks.
If you move too quickly, the heat doesn’t have enough time to melt the metal properly, and you might get insufficient fusion. If you move too slowly, the heat concentrates too much, and you start burning the metal.
The angle matters a lot. For most MIG welding, a slight push angle (pushing the gun forward) is generally recommended. This helps to keep the heat from building up too much and pushing the molten metal away from the weld puddle, which can cause burn-through on thin materials.
Maintaining a consistent travel speed is key to creating uniform welds.
Setting Up Your MIG Welder
Getting your MIG welder dialed in is the first step to solving the burn mark issue. Think of it like tuning a guitar before you play a song. You need everything just right.
Understanding Voltage and Wire Speed
Voltage and wire feed speed are your two main controls on a MIG welder. They work hand-in-hand. Voltage determines the arc length and heat.
Higher voltage means a hotter, wider arc. Wire feed speed determines how fast the welding wire comes out of the gun. Faster wire means more filler metal and, generally, more heat.
For thinner metals, you want lower voltage and a moderate wire feed speed. For thicker metals, you can increase both. Many welding machines have charts on the inside of the wire feeder door or in the manual.
These charts give you a starting point for settings based on the metal thickness and type. Always check these charts first!
Example Settings for Common Materials:
| Metal Thickness | Voltage (Approximate) | Wire Speed (Approximate) |
|---|---|---|
| 20 gauge (1mm) steel | 15-17V | 100-150 IPM (inches per minute) |
| 1/8 inch (3mm) steel | 18-20V | 150-200 IPM |
| 1/4 inch (6mm) steel | 21-23V | 200-250 IPM |
Note: These are starting points. Always test on scrap material first!
Gas Flow Rate
The shielding gas you use is also important. For steel, a common mix is 75% Argon and 25% CO2. The gas protects the molten weld puddle from air, which can cause defects.
Too little gas means poor shielding and a dirty weld. Too much gas can actually disrupt the arc and cause issues, including burn marks.
A good starting point for gas flow is usually between 15-25 cubic feet per hour (CFH). You can often hear if the gas flow is too low or too high. If you hear a sputtering sound, you might need more.
If the flame looks unstable or seems to be blowing around too much, you might have too much.
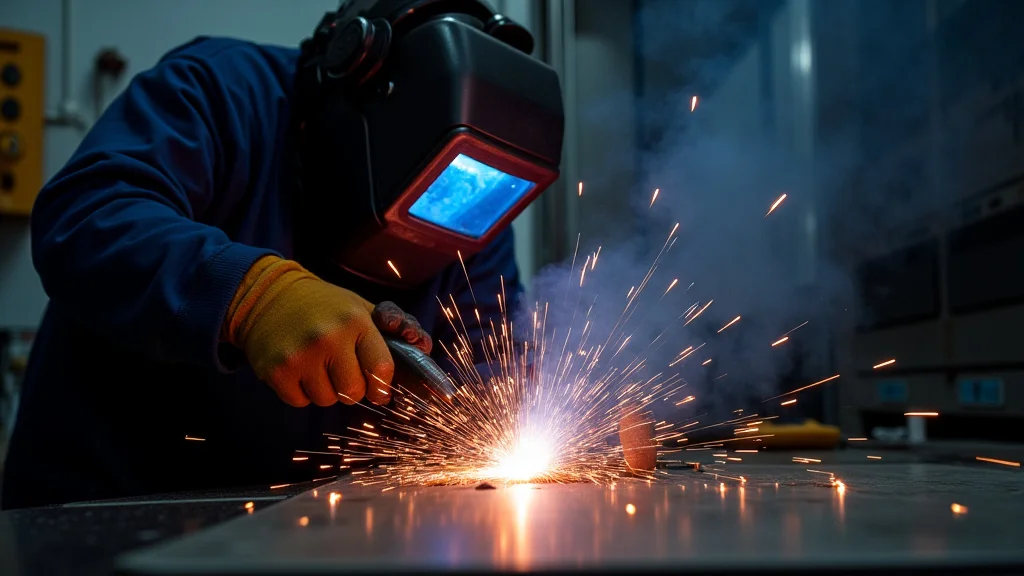
Technique Matters
Even with perfect settings, your technique can still lead to burn marks if it’s not right. Let’s look at what makes a difference.
Gun Angle and Distance
Your gun angle should generally be a slight push, about 10-15 degrees. This means you’re pushing the gun away from the direction you are welding. This helps the shielding gas flow better and keeps the heat from piling up too much.
Keep the tip of the MIG gun about 1/2 inch away from the base metal. This distance, called stick-out, also affects heat.
Too much stick-out (the wire is sticking out too far from the tip) can cause the wire to get too hot before it even reaches the metal. This can lead to a wider arc and more heat. Too little stick-out can restrict the wire feed and not allow for proper gas coverage.
Travel Speed and Consistency
Travel speed is how fast you move the MIG gun along the joint. You are looking for a speed that allows the wire to melt into the base metal and form a nice, even bead. If you move too slowly, you will get a wide bead with a lot of heat, which will likely cause burn marks or burn-through, especially on thinner materials.
If you move too fast, the weld bead will be narrow, and you might not get enough penetration or fusion. The weld might look like it’s sitting on top of the metal rather than being fused into it. Aim for a consistent speed.
Try to make each pass look similar to the last.
Weaving Patterns
For wider beads, some welders use weaving patterns. This involves moving the MIG gun back and forth in a pattern as you move forward. Common patterns include a zig-zag, a C-shape, or an E-shape.
The goal is to lay down the weld metal evenly and control the heat.
When weaving, it’s important to pause briefly at each side of the joint. This helps to fuse the edges of the bead properly. However, be careful not to pause for too long, as this is where burn marks can easily appear.
Always try to keep the arc pointed at the leading edge of the weld puddle, not the molten metal you just laid down.
Metal Preparation
The condition of your metal before you even start welding can have a big impact on the quality of your weld and the appearance of burn marks.
Cleaning is Key
Metal needs to be clean to weld properly. Rust, paint, oil, grease, and dirt can all contaminate the weld and cause problems. They can also affect how heat is transferred to the metal, leading to inconsistent results and burn marks.
Use a wire brush, sandpaper, or a grinding wheel to remove any surface contaminants. For painted or coated metals, it’s best to remove the coating completely in the area where you will be welding. If you’re welding oily metal, a degreaser can help.
Clean metal allows for a clean arc and a smooth transfer of metal.
Grinding Edges
For thicker pieces of metal, you might need to grind an edge bevel. This creates a V-shape where the two pieces of metal meet. This bevel allows the weld metal to penetrate deeper into the joint, creating a stronger bond.
Without a bevel, you might end up with a surface weld that doesn’t fuse the two pieces together properly.
When preparing bevels, ensure they are smooth and clean. Any grinding dust left on the metal can become a weld defect. Proper joint preparation ensures that the heat you apply goes into melting and fusing the metal, rather than just scorching the surface.
Post-Weld Cleaning
Once you’ve finished welding, there are a few things you can do to clean up your work and deal with any minor burn marks that might have appeared.
Wire Brushing
After the weld has cooled, a good wire brushing will remove any surface discoloration, such as the brown or black marks that often appear. A stainless steel wire brush is usually best for this. It’s effective without being too abrasive and damaging the base metal.
Brush along the weld bead. You should see the dark discoloration lift away, revealing the cleaner metal underneath. For more stubborn marks, you might need a slightly more aggressive approach, but always start gently.
Grinding and Sanding
If wire brushing isn’t enough, you might need to use a grinding wheel or sandpaper. Use a flap disc or a sanding disc on an angle grinder to smooth the weld bead and remove any remaining burn marks. Be careful not to grind away too much of the base metal, especially on thinner pieces.
The goal is to create a smooth, uniform surface. After grinding, you can follow up with finer grit sandpaper to achieve a polished look if desired. This step is especially important if you plan to paint or coat the metal after welding.
Frequently Asked Questions
Question: What is the most common reason for MIG welder burn marks?
Answer: The most common reason for MIG welder burn marks is incorrect machine settings, particularly voltage and wire speed being too high for the thickness of the metal being welded.
Question: Does the type of metal affect burn marks?
Answer: Yes, thinner metals are much more prone to burn marks because they heat up and can be burned through more easily than thicker metals.
Question: How can I prevent burn marks on thin sheet metal?
Answer: To prevent burn marks on thin sheet metal, use lower voltage and wire speed settings, maintain a faster travel speed, and ensure a good push angle with the MIG gun.
Question: Is gas flow important for preventing burn marks?
Answer: Yes, proper gas flow is important. Too little gas leads to a poor weld, while too much gas can disrupt the arc and lead to inconsistencies that might contribute to burn marks.
Question: What should I do after welding if I see burn marks?
Answer: After welding and allowing the metal to cool, you can use a wire brush to remove minor discoloration. For more significant marks, light grinding or sanding can be used to clean the surface.
Final Thoughts
Solving the issue of MIG Welder Burn Marks Problem Solved comes down to a few key things. You need to start with the right machine settings, matching your voltage and wire speed to the metal you’re working with. Your technique is just as important – keep your gun angle steady, move at a consistent speed, and prepare your metal thoroughly by cleaning it well.
With practice, you’ll get a feel for what works. You’ve got this!