When you’re starting out with a MIG welder, the trigger can sometimes feel a bit tricky. Things like it not feeding wire, sparks flying the wrong way, or just not starting up right can be confusing. Don’t worry, dealing with MIG Welder Trigger Issues and Solutions is super common for new welders.
We’re going to break it down simply and show you how to fix it, step by step. First, let’s look at what makes these problems pop up.
Key Takeaways
- You will learn why MIG welder trigger problems are common for beginners.
- We will cover common issues like wire feed problems and inconsistent sparks.
- You will discover simple troubleshooting steps for each trigger problem.
- We will explain how to check and fix wire feed issues.
- You will learn how to address electrical connection problems.
- Simple maintenance tips will help prevent future trigger troubles.
Why MIG Welder Trigger Problems Happen
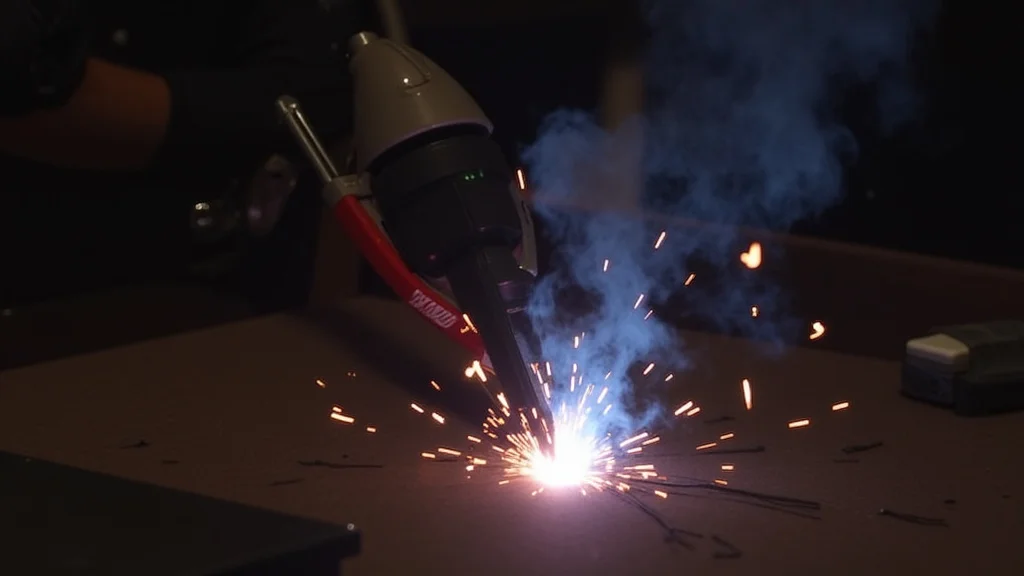
MIG welding is a great way to join metal, but the trigger is your main control. It tells the machine when to start feeding wire and when to send power for the arc. Because it’s used so much, it’s also one of the first places beginners notice problems.
Think of it like the gas pedal in a car; if it’s not working right, nothing else matters.
When you pull the trigger, a few things happen at once. The wire feeder motor starts pushing wire out of the gun. At the same time, the gas valve opens to let shielding gas flow.
Then, the main power circuit closes, sending electricity to the tip and the workpiece to create the arc. If any one of these steps doesn’t happen perfectly, you get a problem.
For someone new, figuring out which part of this sequence is failing can be confusing. You might hear the motor but no wire comes out, or you might see wire but no spark. This is why MIG Welder Trigger Issues and Solutions are a big topic for anyone just starting out.
Common MIG Welder Trigger Problems
Let’s look at the most common things that go wrong with a MIG welder trigger.
Wire Not Feeding
This is one of the most frustrating issues. You pull the trigger, you might hear a little whirring sound, but no wire comes out of the gun.
Possible Causes:
- Wire Spool Issues: The wire spool might be tangled, or the brake on the spool might be too tight, preventing the wire from unrolling smoothly.
- Drive Rollers: The drive rollers that grip and push the wire might be worn, dirty, or not set to the correct tension for your wire size.
- Liners: The liner inside your MIG gun could be kinked or blocked with debris, creating a roadblock for the wire.
- Contact Tip: The contact tip, where the wire exits the gun, might be clogged with metal shavings or spatter, or it might be the wrong size for your wire.
- Feed Roll Tension: If the tension arm on the drive rolls is too loose, the rollers can’t grip the wire properly.
Inconsistent Wire Feed or Birdnesting
Sometimes the wire feeds, but it’s not smooth. It might feed in bursts, or it might bunch up and tangle inside the gun, creating a “birdnest.”
Possible Causes:
- Drive Roll Tension: This is the most common culprit. Too much tension will crush the wire, and too little will cause it to slip.
- Incorrect Drive Roll Size: Using drive rolls designed for a different wire diameter will lead to poor feeding.
- Dirty or Worn Drive Rolls: Grimy or grooved drive rolls can’t grip the wire effectively.
- Kinked Wire: The wire itself might have a permanent bend or kink from being stored poorly or handled roughly.
- Gun Liner Problems: A partially blocked or kinked liner can cause resistance.
No Arc or Weak Arc When Trigger is Pulled
You pull the trigger, the wire feeds, but you get no sparks or a very weak, sputtering arc. This means the electrical part of the welding process isn’t working.
Possible Causes:
- Power Switch: The welder’s main power switch might not be fully on.
- Circuit Breaker: The welder’s internal circuit breaker might have tripped.
- Ground Clamp: The ground clamp is not making good contact with the workpiece or the welding table.
- Work Clamp Connection: The connection between the ground clamp and the cable might be loose.
- Contact Tip: The contact tip might be worn out or not screwed in tightly.
- Gun Cable Connections: The cable connecting the gun to the welder might be loose.
- Internal Welder Issues: Less commonly, there could be a problem with the welder’s internal wiring or components.
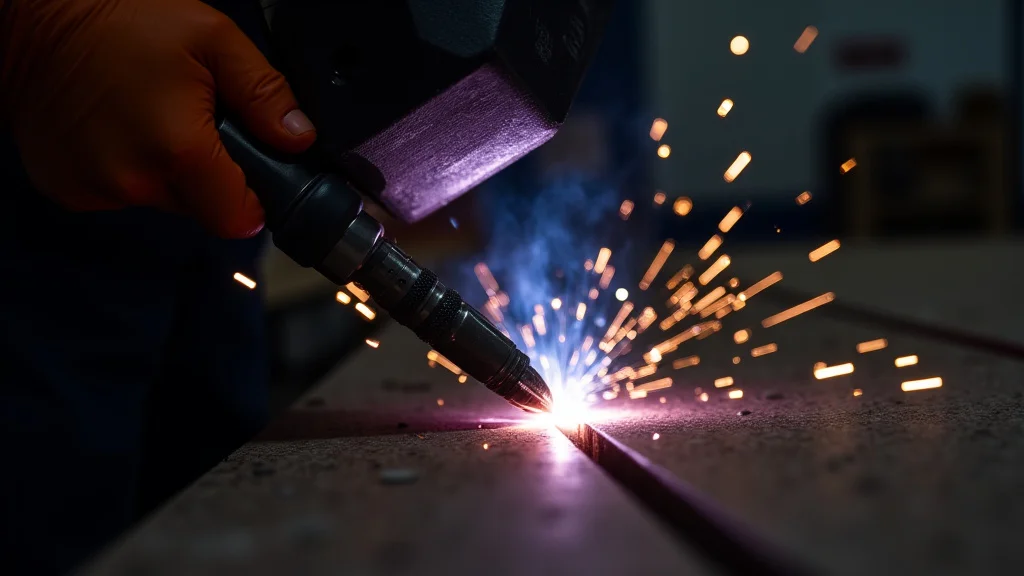
Sparks Flying the Wrong Way or Uneven Arc
When you do get an arc, it might be unstable, spitting a lot, or the sparks seem to go everywhere but where you want them. This often points to issues with shielding gas or power delivery.
Possible Causes:
- No Gas Flow: The shielding gas cylinder might be empty, the valve might be closed, or the regulator might be set incorrectly.
- Gas Leaks: There could be a leak in the gas hose, connections, or the MIG gun itself.
- Dirty Contact Tip: Spatter built up on the tip can disrupt the arc and gas flow.
- Incorrect Wire Stick-Out: The length of wire extending from the tip (stick-out) affects arc stability. Too much or too little can cause problems.
- Wrong Gas for Material: Using the wrong type of shielding gas for the metal you are welding.
Troubleshooting Step-by-Step Solutions
Now that we know what can go wrong, let’s go through how to fix it. We’ll start with the easiest things to check.
Step 1: Check the Basics
Before you take anything apart, do a quick check of the obvious things. This saves a lot of time and frustration.
- Power: Make sure the welder is plugged in securely and the main power switch is on. Check your house circuit breaker too, if applicable.
- Ground Clamp: Ensure the ground clamp is firmly attached to a clean, bare metal surface of your workpiece or welding table. Scrape away any paint, rust, or grease where the clamp connects. A loose ground is a very common cause of no-arc issues.
- Gas Cylinder: If your welder uses gas, check the pressure gauge on the regulator. Is there gas in the tank? Is the valve on the cylinder open?
Step 2: Inspect the MIG Gun and Trigger
The MIG gun is your primary tool, so it needs to be in good shape.
- Trigger Function: Squeeze the trigger. Does it feel normal? Does it stick or feel loose? Sometimes the trigger switch itself can get dirty or worn.
- Wire Feed Path: Gently pull the trigger a little. Can you feel the wire start to move? If not, the problem is likely before the wire enters the gun or within the gun itself.
Step 3: Address Wire Feed Problems
This is where most beginners struggle. Let’s break down the wire feeding system.
Solving Wire Not Feeding or Birdnesting
- Check Wire Spool: Make sure the wire is feeding off the spool smoothly. Is the spool properly seated? Is the wire tangled on the spool? Sometimes a new spool can have a tight spot. Ensure the spool brake, if your machine has one, is not too tight.
- Inspect Drive Rolls:
- Clean them: Turn off the welder and unplug it. Remove the wire guide from the drive rolls. Use a wire brush or a clean rag to wipe away any metal dust or debris.
- Check for Wear: Look for grooves or significant wear on the drive rolls. If they look damaged, they need to be replaced.
- Correct Size: Ensure you have the right size drive rolls installed for the wire diameter you are using. Most welders have two sets of grooves, one for smaller wires and one for larger ones. Make sure the correct groove is engaged with the wire.
- Adjust Tension: This is critical. With the welder unplugged, feed a short piece of wire out of the gun. Adjust the tension arm so the drive rolls grip the wire firmly but don’t crush it. A good test is to put your gloved thumb lightly on the wire as it feeds. If the rolls slip, increase tension. If the wire gets flattened or mangled, decrease tension.
- Examine the Gun Liner:
- Kinks: Uncoil the gun cable and look for any obvious kinks or sharp bends. Straighten them out as much as possible.
- Blockages: If you suspect a blockage, you might need to feed a cleaning brush or a piece of stiff wire through the liner from the gun end or the welder end. Sometimes, you’ll need to replace the liner entirely if it’s severely kinked or damaged.
- Check the Contact Tip:
- Clogs: Turn off the welder. Unscrew the contact tip. Look inside for any built-up spatter or metal filings. Clean it out with a tip cleaner tool or a small drill bit (used carefully).
- Wear: If the hole in the tip is enlarged or misshapen, it’s time to replace it. Always use the correct size tip for your wire diameter.
- Tightness: Make sure the new or cleaned tip is screwed in tightly. A loose tip can cause poor electrical contact and affect arc quality.
- Wire Stick-Out: The distance the wire sticks out past the end of the contact tip is important. For most common welding, it should be about 1/4 to 1/2 inch (6-12 mm). Too much stick-out causes poor arc control and spatter. Too little can lead to the tip touching the workpiece.
Step 4: Troubleshoot No Arc or Weak Arc
If the wire feeds but you get no spark or a weak one, the issue is likely electrical or with gas.
Let’s revisit the basics:
- Ground Clamp: Double-check that the ground clamp is secure and on clean metal. Try moving it to a different spot.
- Welder Settings: Ensure your voltage and wire speed settings are appropriate for the material thickness. Very low voltage can sometimes make it hard to start an arc.
Now, let’s look at electrical connections:
- Contact Tip: As mentioned, a clean and tightly screwed-in contact tip is essential for good electrical contact.
- Gun Cable: Make sure the MIG gun cable is securely connected to the welder. Sometimes there’s a large connector that can loosen over time. Check for any damage to the cable itself.
- Internal Connections: If you’ve checked everything else, there might be a loose wire or faulty component inside the welder. This is where you might need to consult your welder’s manual or consider professional help.
Step 5: Resolve Gas Flow Issues
Shielding gas is vital for a clean weld. If it’s not flowing correctly, you’ll get a poor arc and lots of spatter.
- Check Gas Cylinder: Is the tank valve fully open? Is there enough gas left?
- Regulator Settings: Ensure the gas flow regulator is set to an appropriate level, typically between 15-25 cubic feet per hour (CFH) for most applications.
- Gas Valve: When you pull the trigger, you should hear the gas come out of the gun. If you don’t hear it, the gas valve inside the welder might be stuck, or the solenoid controlling it is faulty.
- Check for Leaks: You can use soapy water on connections to check for bubbles, indicating a leak. Listen for hissing sounds. A faulty gas hose or connection at the regulator or the welder can cause gas loss.
- Diffuser and Gas Nozzle: Make sure the gas diffuser (the part the contact tip screws into) and the gas nozzle (the outer cover) are clean and free of spatter. A clogged nozzle can restrict gas flow.
Preventative Maintenance for Your MIG Welder
Taking care of your welder regularly can prevent many of these trigger issues before they even start.
- Clean the Gun: After each welding session, wipe down the outside of your MIG gun. Remove any spatter build-up.
- Check Drive Rolls: Periodically clean the drive rolls to ensure they have good grip.
- Replace Tips and Nozzles: Worn-out contact tips and spatter-clogged nozzles should be replaced. They are inexpensive and make a big difference.
- Inspect Liners: If you notice feeding problems, inspect the gun liner for kinks or damage.
- Secure Connections: Regularly check that all cable connections, both for the gun and the ground clamp, are tight.
- Store Properly: Keep your welder in a dry, clean environment. Protect the gun and cables from damage.
Frequently Asked Questions
Question: My MIG welder is making a buzzing sound when I pull the trigger but no wire is feeding. What could be wrong?
Answer: A buzzing sound often means the motor is trying to work but is encountering resistance. Check your drive roll tension to make sure it’s not too tight or too loose. Also, inspect the gun liner for any kinks or blockages that might be preventing the wire from moving.
Question: I just replaced my contact tip, but my arc still seems weak. What else should I check?
Answer: Make sure the new contact tip is screwed in tightly. Also, check your ground clamp connection to ensure it’s making solid contact with clean metal. If you’re using shielding gas, ensure it’s flowing correctly.
Question: How do I know if my drive rolls are the right size for my wire?
Answer: Drive rolls have grooves of different sizes. You should see markings on the rolls, like .030, .035, or .045, indicating the wire diameter they are designed for. Make sure the groove size matches the wire you’re feeding.
Question: My MIG welder sparks a lot and the weld looks messy. Is this a trigger issue?
Answer: Excessive spatter and messy welds are often related to shielding gas flow or incorrect welding parameters. Check your gas cylinder pressure, ensure the valve is open, and that there are no gas leaks. Also, review your voltage and wire speed settings for the material you’re welding.
Question: Can I use steel wool to clean my drive rolls?
Answer: It’s generally better to use a wire brush specifically designed for MIG drive rolls or a clean rag. Steel wool can sometimes leave small fibers behind that can cause issues later on. If you do use steel wool, be sure to clean thoroughly afterwards.
Final Thoughts
Fixing common MIG Welder Trigger Issues and Solutions is simpler than it sounds. Most problems stem from a few key areas: wire feeding mechanics, electrical connections, or shielding gas. By systematically checking your drive rolls, liner, contact tip, ground clamp, and gas flow, you can get back to welding quickly.
Regular maintenance keeps these parts working smoothly. Don’t get discouraged; with a little practice, you’ll be a pro at keeping your MIG welder running perfectly.