Many new welders run into trouble with their MIG machines when the gas doesn’t flow right. It can be frustrating when welds look messy or don’t stick well because of gas issues. But don’t worry!
We’ll walk through common MIG Welder Gas Flow Problems and Solutions step-by-step. This guide will help you fix these common headaches and get back to making great welds.
Key Takeaways
- You will learn what causes common MIG gas flow problems.
- We will show you how to check your gas regulator for issues.
- You will discover how to fix problems with your MIG gun’s consumables.
- We will explain how to identify and solve leaks in your gas system.
- You will find out how different gas flow rates affect your welds.
- We will offer practical tips to prevent gas flow problems in the future.
Understanding MIG Welder Gas Flow
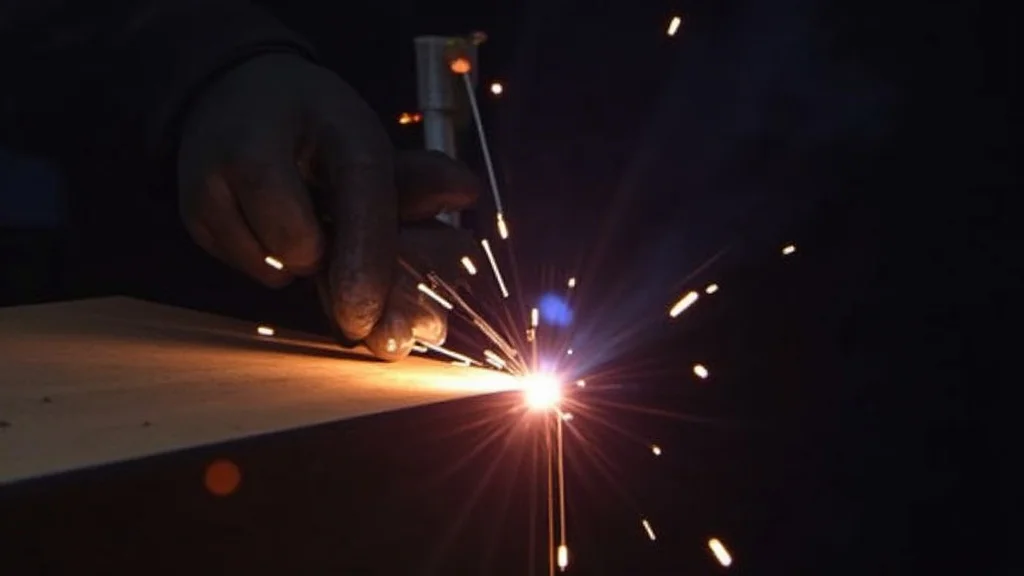
MIG welding, also called Gas Metal Arc Welding (GMAW), uses a shielding gas to protect the molten weld puddle from the air. This gas is super important. Without it, your welds will get weak and crumbly because oxygen and nitrogen from the air get into the hot metal.
The gas comes from a big cylinder, goes through a regulator, a hose, and then out the tip of your MIG gun. If any part of this system has a problem, your welds won’t be good.
Why Gas Flow Matters
The right amount of gas flow is like a protective blanket. Too little gas, and the air can sneak in and ruin your weld. Too much gas, and it can actually blow the shielding gas away from where it needs to be, causing the same problem!
Plus, too much gas can make your welding arc unstable and noisy. So, getting the flow rate just right is key for strong, clean welds.
Common MIG Welder Gas Flow Problems
When you’re new to MIG welding, you might notice some strange things happening with your welds. Often, these are signs that your gas flow isn’t quite right. Let’s look at the usual suspects.
Problem 1: Porosity
This is a super common issue. You’ll see little holes or bubbles in your weld bead. It looks like a tiny honeycomb up close.
This usually means the shielding gas didn’t do its job. Air got into the molten metal.
What causes it?
- Not enough gas flow.
- Leaky gas connections.
- Wind or drafts blowing the gas away.
- Dirty metal being welded.
- Worn-out MIG gun parts.
Problem 2: Weak or Brittle Welds
If your welds break easily or feel rough and uneven, it might be because of poor shielding gas. The metal isn’t protected enough as it cools.
What causes it?
- Low gas pressure.
- Incorrect gas type for the metal you’re welding.
- Gas delivery system issues.
Problem 3: Spatter
While some spatter is normal, a lot of it can be a sign of gas problems. Tiny bits of molten metal flying away from the weld pool can make a big mess and make your welds look bad.
What causes it?
- Too much gas flow.
- Incorrect gas mixture.
- Arc length that is too long or too short.
- Low voltage settings.
Problem 4: Inconsistent Arc
Your welding arc should be pretty steady. If it’s crackling loudly, popping a lot, or just feels unstable, the gas flow could be the culprit. It might be too much, too little, or not reaching the weld pool correctly.
What causes it?
- Fluctuating gas pressure.
- Gas hose kinks.
- Contaminated gas.
Troubleshooting Your Gas System
Let’s go through the parts of your MIG welding setup that handle the gas. Checking each one can help you find the problem.
1. The Gas Cylinder
This is where your shielding gas lives. It’s a big, heavy tank. Make sure it’s not empty!
Checking the Cylinder:
- Is it empty? Most cylinders have a gauge on the regulator. If it reads very low or zero, the tank is empty.
- Is the valve open? Make sure the main valve on top of the cylinder is fully open. Sometimes people forget to open it all the way.
- Is it the right gas? Different metals need different gases. For steel, usually CO2 or an Argon/CO2 mix is used. For aluminum, pure Argon is common.
2. The Gas Regulator
This is attached to the cylinder and controls the pressure. It’s a vital piece of equipment.
Checking the Regulator:
- High-Pressure Gauge: Shows how much gas is left in the tank.
- Low-Pressure Gauge: Shows the pressure of the gas being sent to your welder. This is the one you’ll set for your welding.
- Is it leaking? You can use soapy water. Apply it to the connections of the regulator to the tank and the hose. If you see bubbles, there’s a leak.
- Is the flow adjustable? Make sure the adjustment knob or screw works.
3. The Gas Hose
This is the tube that carries the gas from the regulator to your welder. It’s usually a rubber or braided hose.
Checking the Hose:
- Kinks and Cracks: Look for any damage, especially kinks that could block gas flow. Check for cracks or cuts in the hose.
- Connections: Ensure the hose is securely connected to both the regulator and the welder.
4. The Welder’s Internal Gas Components
Inside your MIG welder, there’s a solenoid valve that opens when you pull the trigger. This controls the gas flow.
Checking Internal Components:
- Listen for the click: When you pull the trigger, you should hear a distinct click from the solenoid valve. This means it’s trying to open.
- Check for leaks at the welder’s gas inlet: If you can disconnect the hose from the welder, briefly turn on the gas. You shouldn’t feel or hear gas escaping from the inlet fitting.
5. The MIG Gun and Consumables
The MIG gun is where the wire feeds out and the gas comes out. The parts at the tip are called consumables.
Checking the MIG Gun and Consumables:
- The Gas Nozzle: This is the cup at the end of the gun. It directs the gas. Make sure it’s not clogged with spatter. Clean it out or replace it if it’s bad.
- The Diffuser: This part sits behind the nozzle and distributes the gas evenly. If it’s cracked or dirty, gas flow will be uneven.
- The Contact Tip: This is where the welding wire passes through. If it’s worn out or not the right size, it can affect gas flow and arc stability. Make sure it’s snug.
- Check for blockages: Sometimes spatter can build up inside the nozzle or diffuser, restricting gas flow.
Setting the Correct Gas Flow Rate
This is where many beginners get confused. There’s no single perfect number because it depends on a few things.
Factors Affecting Gas Flow Rate:
- Type of Gas: Argon, CO2, and their mixes have different flow needs.
- Amperage: Higher amperage welding usually needs more gas.
- Position: Welding overhead or out of position might need slightly more gas.
- Environment: Welding outdoors or in a breezy shop needs more gas.
- Nozzle Size: Larger nozzles require more gas to fill them properly.
General Guidelines:
For common steels and Argon/CO2 mixes (like 75% Argon / 25% CO2), a good starting point is usually between 15-25 cubic feet per hour (CFH) for a standard 5/8″ or 3/4″ nozzle. For 100% CO2, you might need a bit more, maybe 20-30 CFH.
How to Measure Gas Flow:
Your regulator’s low-pressure gauge should have a scale for CFH. Set the flow using the adjustment knob while the gas is flowing (you can do this by briefly pressing the gun’s trigger, or by opening the cylinder valve and then the regulator valve). A good test is to hold the gun about 1/2 inch above a piece of metal and pull the trigger.
You should be able to feel a steady stream of gas, and it shouldn’t blow away easily. Another test is the “finger test”: hold your finger just inside the nozzle. You should feel a steady, consistent flow of gas, not a weak puff or a blast that pushes your finger away.
Adjusting for Spatter and Arc Quality:
- Too much spatter or noisy arc? Try reducing the gas flow slightly.
- Porosity or weak welds? Try increasing the gas flow slightly.
Remember to make small adjustments and test your welds after each change.
Preventing Future Gas Flow Problems
Once you’ve got your gas flow sorted, you’ll want to keep it that way. A little regular maintenance goes a long way.
Tips for Prevention:
- Regularly clean MIG gun consumables: Spatter buildup is a common enemy.
- Check for leaks often: Use soapy water every few welding sessions.
- Store gas cylinders upright and secure: This prevents damage.
- Use the correct gas for the job: Don’t guess!
- Protect your welding area from drafts: Use screens or close doors if possible.
- Inspect hoses and connections: Look for wear and tear.
- Keep your welder clean: Dust and debris can cause issues.
Frequently Asked Questions
Question: What happens if I use the wrong gas for my MIG welding?
Answer: Using the wrong gas can lead to poor weld quality. For example, using pure Argon on steel can cause a less stable arc and more spatter, while using CO2 on aluminum can lead to porosity and weak welds. Always use the gas recommended for the specific metal you are welding.
Question: How can I tell if my MIG gun nozzle is bad?
Answer: A bad nozzle might have large holes from spatter damage, be severely deformed, or have a build-up of spatter that you can’t clean out. If cleaning doesn’t help and you’re still having gas issues, it’s time for a new nozzle.
Question: My gas gauge is stuck at zero. What should I do?
Answer: If the high-pressure gauge on your regulator is stuck at zero, it likely means the gas cylinder is empty. If the cylinder is full and the gauge is still at zero, the regulator itself might be damaged and needs replacement.
Question: Can a kinked gas hose cause no gas flow at all?
Answer: Yes, a severe kink in the gas hose can completely block the flow of gas. Always check your hose for kinks before and during welding.
Question: How much gas should I use for welding thin sheet metal?
Answer: For thin sheet metal, you often need less gas flow than for thicker materials. Start with a lower setting, around 10-15 CFH, and adjust based on weld quality and spatter. Too much gas can actually blow away from the small weld pool.
Final Thoughts
Fixing MIG welder gas flow problems is easier than it seems. You’ve learned about common issues like porosity and spatter. We’ve shown you how to check your gas cylinder, regulator, hose, and MIG gun.
Setting the right gas flow rate is important for strong welds. Simple checks and cleaning will keep your gas flowing right. Keep practicing, and your welds will get better!