Many folks starting out with stick welding find the wire feed can be a bit tricky. It’s common to run into issues that stop your welding cold. Don’t worry, though!
This guide will show you exactly how to fix those problems. We’ll break it down step-by-step. Ready to make your stick welder work like a champ?
Let’s get started and explore the solutions for Stick Welder Wire Feed Problems Solved.
Key Takeaways
- Understand the common reasons why stick welder wire feed fails.
- Learn how to check and clean your wire feed system.
- Discover how different wire types affect feeding.
- Troubleshoot wire spool and tensioner issues.
- Know when to seek professional help for complex problems.
Understanding Your Stick Welder’s Wire Feed
What is Wire Feed in Stick Welding?
Stick welding, also known as Shielded Metal Arc Welding (SMAW), traditionally uses a consumable electrode rod. However, some “stick welders” are actually Wire Feed Welders, often called MIG welders or Flux-Cored Welders. These machines feed a continuous wire electrode through a gun.
This wire melts and forms the weld. The wire feed system is what pushes this wire from the spool to the welding gun.
Why Wire Feed Matters
A good wire feed is super important for a smooth weld. When the wire feeds correctly, you get a steady stream of filler metal. This helps create a consistent weld bead.
If the wire feed struggles, your weld will suffer. You might get gaps, uneven beads, or even a complete stop in welding.
Common Stick Welder Wire Feed Problems
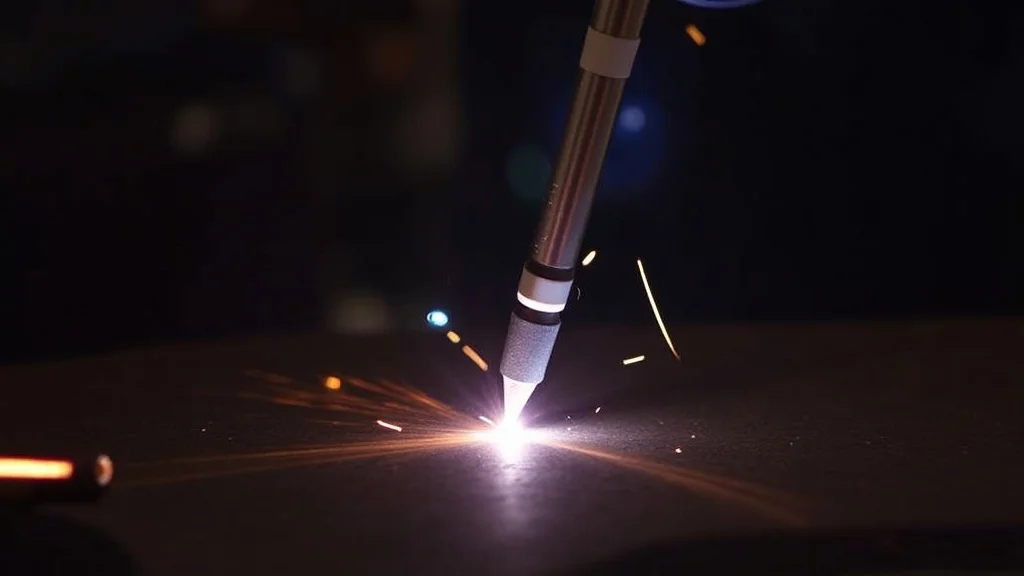
Wire Not Feeding At All
This is one of the most frustrating issues. You pull the trigger, but nothing happens. The motor might hum, but the wire doesn’t move.
Several things can cause this.
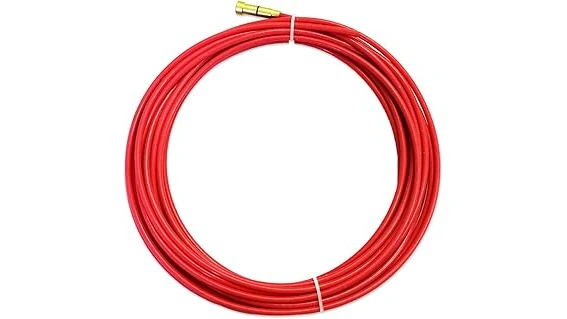
1. Wire Spool Issues
Check if the wire spool is seated properly. Sometimes, it can be loose or off-center. Make sure the spool is rotating freely.
If the spool is tangled or has a “bird’s nest” of wire, it can stop the feed.
2. Drive Roll Problems
The drive rolls grip the wire and push it through. If they are dirty, worn, or the wrong size for your wire, they can slip. Dust and metal shavings build up here easily.
Also, ensure the tension screw on the drive roll isn’t too loose or too tight.
3. Liner Blockage
The liner is a flexible tube inside the welding gun cable. It guides the wire from the drive rolls to the contact tip. If this liner gets clogged with debris or kinks, the wire can’t pass through.
This is a very common cause of complete feed failure.
4. Motor Issues
Less commonly, the wire feed motor itself might be failing. If you hear no sound from the motor when you pull the trigger, it could be the problem. Check the power supply to the motor.
Intermittent Wire Feeding
Sometimes the wire feeds, but it stops and starts. This can be just as annoying as no feed at all. It makes welding difficult because the heat and filler metal are inconsistent.
1. Dirty or Worn Contact Tip
The contact tip is where the electrical current transfers to the wire. If it’s dirty, clogged with spatter, or worn out, it can create resistance. This resistance makes it harder for the wire to push through.
2. Incorrect Drive Roll Tension
Too little tension and the drive rolls slip, causing intermittent feeding. Too much tension and the wire can get flattened or deformed, also causing feeding issues. You need just enough pressure to grip the wire firmly without damaging it.
3. Kinked Wire
A kink in the wire, especially near the spool or where it enters the gun, will cause it to snag. This snagging leads to the wire stopping and starting.
4. Dirty Welder Cabinet
The inside of your welder cabinet can collect a lot of dust and metal shavings. This debris can get into the wire feed mechanism, causing friction and intermittent feeding.
Wire Feeding Too Fast or Too Slow
While less common, sometimes the wire feed speed isn’t set correctly, or the machine’s settings are off. This can lead to a wire feed that’s either too fast or too slow for the welding process.
1. Incorrect Machine Settings
Ensure your welder’s wire feed speed control is set appropriately for the type of wire and metal you are welding. Refer to your welder’s manual for recommended settings.
2. Drive Roll Slippage (Too Slow)
If the drive rolls are not gripping the wire well (due to low tension or worn rolls), the wire will feed too slowly. This is the opposite problem of when the drive roll is too tight.
3. Motor Speed Control Malfunction (Too Fast)
A faulty speed control mechanism on the motor could cause the wire to feed excessively fast.
Troubleshooting Steps for Stick Welder Wire Feed Problems Solved
Here’s a step-by-step approach to tackle those wire feed problems and get your stick welder running smoothly again.
Step 1: Safety First
Always disconnect your welder from the power source before performing any maintenance. Wear safety glasses and gloves.
Step 2: Inspect the Wire Spool
- Remove the wire spool.
- Check for any tangles or “bird’s nests”. If found, carefully unwrap the wire or cut away the tangled section.
- Ensure the spool is mounted correctly on the spindle.
- Verify the spool rotates freely.
Step 3: Examine the Drive Rolls
- Locate the drive rolls. They are usually near the wire spool.
- Clean the drive rolls with a wire brush to remove any debris or hardened residue.
- Check for wear. If the grooves are significantly worn down, the rolls may need replacing.
- Ensure the drive rolls are the correct size for the wire you are using. Most welders have interchangeable rolls for different wire diameters.
- Adjust the tension screw. Start with light tension and gradually increase it while testing the wire feed. You want the wire to feed without slipping but also without deforming.
Step 4: Check the Gun Liner
- Disconnect the welding gun from the welder.
- Remove the contact tip and nozzle from the gun.
- Try to push a piece of new wire through the gun cable by hand. If it’s difficult or impossible, the liner is likely blocked or kinked.
- If the liner is blocked, you may need to use compressed air to blow it out or replace the liner entirely. Replacing a liner can be a bit tricky but is often necessary for persistent feeding issues.
Step 5: Clean the Contact Tip
- Unscrew and remove the contact tip from the welding gun.
- Use a wire brush or a small drill bit (the same size as your wire) to clean out any spatter or debris from the hole.
- A dirty tip causes resistance and poor electrical contact.
- If the tip is heavily worn or pitted,
Step 6: Inspect the Wire
- Check the entire length of the wire for kinks or damage.
- If you find a significant kink, it’s best to cut that section off and re-feed the wire.
Step 7: Test the Wire Feed
After performing the checks and cleaning, reassemble your welder. Reconnect it to power and test the wire feed. Try feeding a few feet of wire without welding.
Adjust drive roll tension as needed.
Specific Wire Types and Their Impact
The type of wire you use can also play a role in feeding issues. Different wires have different properties.
Solid Wire
Solid wire, often used with shielding gas, is generally smooth and feeds well. However, it can be more prone to contamination, which can affect the weld quality and potentially cause feeding problems if debris gets into the system.
Flux-Cored Wire
Flux-cored wire has a flux coating inside it. This flux can leave behind residue that can build up in the liner and contact tip. Some flux-cored wires are designed to run with gas, while others are self-shielded and do not require gas.
Self-shielded wires can sometimes be a bit rougher, making them more prone to feeding snags if the system isn’t clean.
Wire Diameter
Using the correct drive rolls for your wire diameter is critical. If you use drive rolls that are too large or too small for the wire, you will have feeding problems. Always match the drive rolls to the wire size.
When to Seek Professional Help
If you’ve gone through all these steps and are still experiencing wire feed problems, it might be time to consult a professional. Some issues could indicate a more serious problem with the welder’s internal components, such as the motor or control board. A qualified technician can diagnose and repair these more complex issues.
Frequently Asked Questions
Question: Why does my wire feed keep jamming?
Answer: Jamming usually means there’s a blockage. Check the gun liner for kinks or debris, ensure your drive rolls are clean and the tension is correct, and inspect the wire itself for any bends or damage.
Question: My welder is making a grinding noise when feeding wire. What’s wrong?
Answer: A grinding noise often points to the drive rolls. They might be slipping on the wire due to loose tension, or they could be worn out and need replacing. Debris caught in the rolls can also cause noise.
Question: Can old wire cause feeding problems?
Answer: Yes, old wire can become brittle, develop kinks, or have a coating that’s degrading, all of which can lead to feeding issues. It’s best to use fresh wire.
Question: How often should I clean my wire feed system?
Answer: It’s a good idea to clean your drive rolls and contact tip after every few hours of welding, or more often if you notice any feeding problems. A quick wipe-down of the spool area is also beneficial.
Question: My wire feed works fine for a bit, then stops. What could cause this?
Answer: This intermittent stopping often suggests a partial blockage in the liner, a contact tip that’s getting clogged with spatter, or drive roll tension that’s slightly too loose, causing slippage under load.
Final Thoughts
Getting your stick welder’s wire feed to work right is key to good welding. You learned how to find and fix common problems. Checking the spool, drive rolls, and liner are important steps.
Cleaning the contact tip also makes a big difference. Stick with these simple steps, and your welder will feed smoothly. You’ll be welding with confidence very soon.