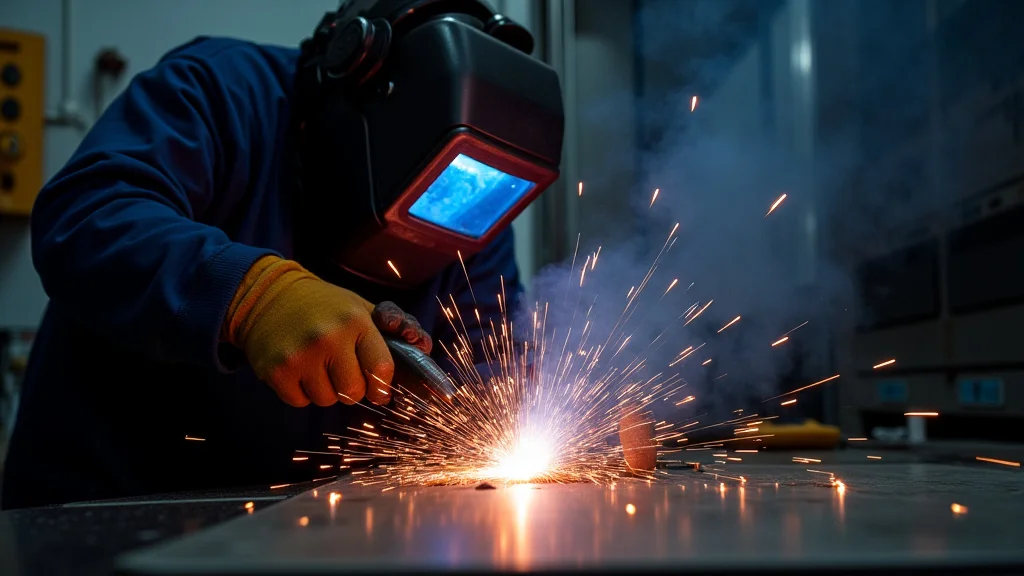
Learning to TIG weld can feel tricky at first. You might run into some bumps along the way, and that’s totally okay. Common TIG Welder Malfunctions and Quick Solutions pop up for almost everyone when they start out.
It’s easy to get a little frustrated when your welder doesn’t act like you expect. But don’t worry! We’re going to walk through these problems step-by-step, making it simple to fix them.
Get ready to learn how to get your TIG welder working smoothly again.
Key Takeaways
- You will learn about common problems new TIG welders face.
- You will get easy fixes for these welding issues.
- You will discover how to troubleshoot arc instability.
- You will find out why your TIG welder might not be starting.
- You will understand how to fix gas flow issues.
- You will learn simple ways to solve tungsten contamination.
Common TIG Welder Malfunctions and Quick Solutions
Why Beginners Struggle with TIG Welding Problems
TIG welding is known for its precision and clean welds. However, this also means it has many settings and variables. When you’re new, it’s hard to know what’s causing a problem.
Is it the gas flow? The amperage? The tungsten?
Or something else entirely? Many beginners get overwhelmed trying to figure out the root cause of welding issues. This can lead to a lot of wasted time and materials.
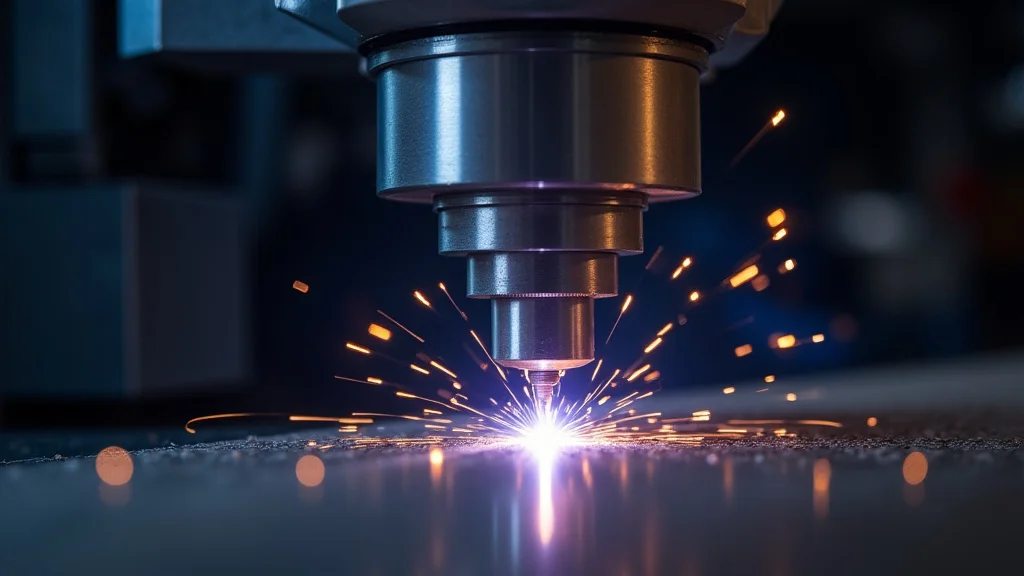
Troubleshooting Arc Instability
An unstable arc is one of the most common TIG welding issues. It can look like the arc is sputtering, wandering, or not staying steady. This makes it very hard to create a clean, consistent weld bead.
Causes of Arc Instability
Several things can make your TIG arc unstable.
- Dirty Tungsten: If your tungsten electrode tip is contaminated with metal, it will not produce a steady arc.
- Incorrect Gas Flow: Not enough shielding gas means the weld pool is exposed to air, causing arc issues. Too much gas can also disturb the arc.
- Amperage Too Low or Too High: The wrong amperage can make the arc difficult to control.
- Poor Ground Connection: A loose or dirty ground clamp can cause intermittent electrical contact, leading to arc instability.
- Wrong Tungsten Type or Size: Different metals require specific tungsten types and sizes for optimal arc performance.
Quick Solutions for Arc Instability
Fixing arc instability usually involves checking these common culprits.
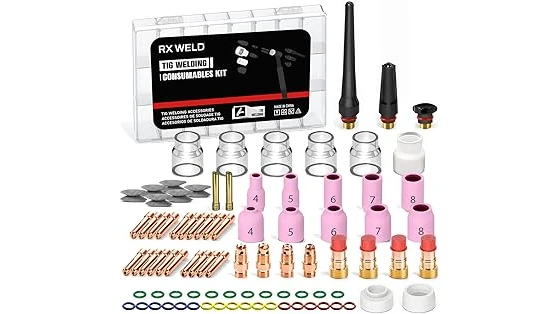
- Clean or Re-grind Tungsten: If your tungsten is dirty, grind it to a sharp point (for DC welding) or a ball (for AC welding). Use a dedicated tungsten grinder to avoid contamination.
- Check and Adjust Gas Flow: Make sure your regulator is set correctly. For steel, start around 15-20 CFH (Cubic Feet per Hour). For aluminum, you might need more. Watch the flowmeter and ensure the gas shield looks good.
- Set the Right Amperage: Consult a welding chart for your material thickness and type. Adjust your welder’s amperage dial until it feels right. You want a smooth, consistent arc, not a spattery one.
- Secure the Ground Clamp: Ensure the ground clamp is making solid contact with the workpiece. Clean any rust or paint from the connection point.
- Use the Correct Tungsten: For steel and stainless steel, use pure or ceriated tungsten. For aluminum, use pure or lanthanated. Match the tungsten diameter to your amperage range.
TIG Welder Not Starting Issues
It’s frustrating when you’re ready to weld, and your TIG welder just won’t start the arc. This can happen for several reasons, and most are simple to fix.
Common Reasons for No Arc
- Power Switch is Off: This sounds basic, but it happens! Make sure your machine is plugged in and the main power switch is on.
- Incorrect Settings: Some welders have different modes. Make sure you’re in the correct TIG mode and not Stick or MIG.
- No Gas Flow: Many TIG welders require gas to be flowing to initiate the arc. Check your gas cylinder valve and regulator.
- Faulty Torch or Cable: A damaged torch, cable, or connection can prevent the electrical current from reaching the tungsten.
- Low Duty Cycle: If you’ve been welding for a while, your machine might have overheated and shut down. Wait for it to cool.
Simple Fixes When the Arc Won’t Start
Let’s get you welding again.
- Check Power: Confirm the welder is plugged into a working outlet and the power switch is on. Try plugging another tool into the same outlet to test it.
- Verify Mode: Double-check your welder’s control panel. Ensure it’s set to “TIG” and not another welding process.
- Inspect Gas System: Open the gas cylinder valve. Check the regulator to ensure it’s set to an appropriate flow rate.
- Examine Torch and Cables: Look for any visible damage on your TIG torch, cables, and the connection to the welder. Ensure they are securely connected.
- Allow Cooling: If your welder has an overheat indicator light, let it cool down.
Gas Flow Problems
Shielding gas is vital for TIG welding. It protects the molten weld pool from atmospheric contaminants. If your gas isn’t flowing correctly, you’ll get weak, porous welds, and the arc will be unstable.
Signs of Gas Flow Issues
- The weld looks like it has tiny holes or bubbles (porosity).
- The weld color is off, often a dull gray or dark.
- The arc is sputtering or unstable.
- You can’t see or hear gas flowing from the torch.
How to Resolve Gas Flow Problems
Getting your gas flow right is key.
- Check Cylinder Valve: Make sure the valve on your Argon (or gas mix) cylinder is fully open.
- Inspect Regulator: Ensure the regulator is attached correctly and is set to the recommended flow rate for your material.
- Test for Leaks: Listen for hissing sounds at the cylinder connection, regulator, and torch connections. You can also use soapy water to find small leaks.
- Clear the Gas Lens/Nozzle: Sometimes, the gas nozzle on your torch can get clogged. Clean it out. Ensure the gas lens, if you’re using one, is installed correctly.
- Confirm Flow: Hold the torch a few inches from your hand (while not welding) and briefly press the gas button. You should feel a gentle flow of air.
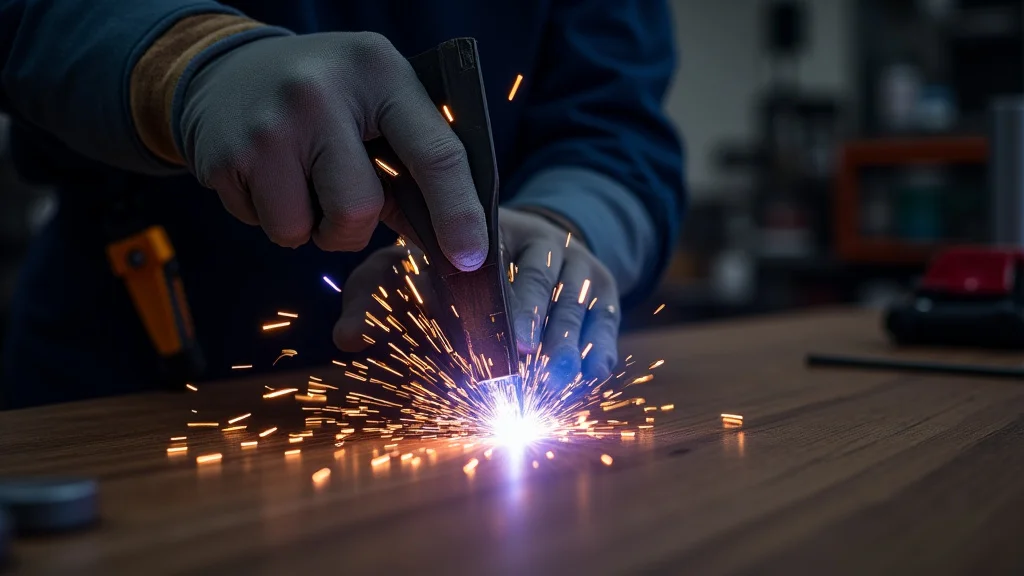
Tungsten Contamination and Melting
Tungsten electrodes are designed to last a long time and not melt into the weld. If your tungsten is melting, or if it gets contaminated with metal, your welds will suffer.
What Causes Tungsten Problems?
- Touching the Weld Pool: Accidentally touching the tungsten to the molten metal will contaminate it.
- Wrong Tungsten Type: Using the wrong kind of tungsten for your application.
- Amperage Too High: Running too much amperage for the tungsten size can cause it to overheat and melt.
- Arc Wander: An unstable arc can cause the tungsten to touch the workpiece unexpectedly.
- Not Enough Gas: If the shielding gas isn’t protecting the tungsten properly, it can oxidize and become brittle or melt.
Solutions for Tungsten Issues
Keep your tungsten in tip-top shape.
- Maintain Electrode Sharpness: For DC welding, keep your tungsten ground to a sharp point. For AC welding, a slightly balled tip is often best.
- Use the Right Tungsten: Select the correct tungsten type (e.g., Red for pure, Blue for lanthanated, Green for thoriated) and size based on your amperage and material.
- Control Your Torch: Practice keeping a consistent distance between the tungsten and the workpiece. Avoid touching the puddle.
- Check Amperage Settings: Ensure your amperage is within the recommended range for your tungsten size.
- Ensure Proper Gas Shielding: Verify your shielding gas is flowing correctly and providing adequate protection.
Machine Overheating and Duty Cycle
Like many tools, TIG welders can get too hot if used for too long without breaks. This is related to the machine’s duty cycle.
Understanding Duty Cycle
Duty cycle is the percentage of time a welding machine can operate at a given amperage over a 10-minute period before needing to cool down. For example, a 60% duty cycle at 200 amps means the welder can weld for 6 minutes out of every 10 minutes at that amperage. If you exceed this, the machine’s thermal protection will kick in.
What to Do About Overheating
- Follow the Duty Cycle: Pay attention to how long you’re welding. If you’re welding for extended periods at high amperages, take breaks.
- Ensure Proper Ventilation: Make sure the welder’s cooling fans are not blocked. Keep the area around the machine clean and free of dust and debris that could clog the vents.
- Reduce Amperage: If possible, try reducing your amperage. This will increase the duty cycle.
- Check Fan Operation: Ensure the cooling fans are running when the machine is on.
Difficulties with Starting a New Roll of Wire (for wire-fed TIG, though less common)
While TIG welding primarily uses filler rods, some advanced setups or specialized TIG processes might involve wire feeding. If you’re using such a setup and having trouble, it’s usually related to the feed system.
Wire Feed Issues
- Kinked Wire: The wire might be kinked in the spool or the liner, preventing it from moving smoothly.
- Incorrect Drive Roll Tension: The tension on the drive rolls feeding the wire might be too tight or too loose.
- Dirty or Damaged Liner: The wire liner inside the torch cable can get dirty or bent, causing friction.
Fixing Wire Feed Problems
- Unspool and Straighten Wire: Carefully unspool a section of wire and remove any kinks.
- Adjust Drive Roll Tension: Loosen the tension until the wire can feed freely, then gradually tighten until it feeds reliably without slipping.
- Clean or Replace Liner: Use a wire liner brush to clean it. If it’s damaged, it may need to be replaced.
Frequently Asked Questions
Question: Why is my TIG weld so bubbly and weak?
Answer: This is usually caused by a lack of proper shielding gas. Check your Argon cylinder to make sure it’s open and has gas. Make sure your regulator is set to a good flow rate, typically 15-25 CFH for steel.
Also, ensure there are no leaks in your gas hose or connections.
Question: My tungsten electrode keeps breaking off into the weld. What’s wrong?
Answer: This often happens when the tungsten touches the molten weld pool. Try to keep a more consistent distance between your tungsten and the workpiece. Also, check that your amperage isn’t too high for the tungsten size you’re using, and ensure your gas flow is adequate to protect the tungsten.
Question: I can’t get the arc to start when I try to TIG weld. What should I do?
Answer: First, make sure your machine is plugged in and turned on. Check that you are in TIG mode. Ensure your gas cylinder valve is open and gas is flowing.
Also, inspect your TIG torch and cables for any visible damage and ensure all connections are secure.
Question: My TIG welds are really dirty-looking, not shiny and clean. Why?
Answer: Dirty welds indicate contamination. The most common cause is insufficient shielding gas. Make sure your gas flow is correct and you don’t have any leaks.
Also, ensure your tungsten is clean and properly shaped, and that the base metal is clean before welding.
Question: The arc keeps sputtering and jumping around. How do I fix it?
Answer: This is likely an unstable arc. Check your ground connection to ensure it’s firm and clean. If your tungsten is contaminated or dirty, grind it clean.
Also, verify your gas flow is consistent and at the right rate. The wrong amperage can also cause sputtering.
Final Thoughts
Dealing with Common TIG Welder Malfunctions and Quick Solutions is part of learning to TIG weld. You’ll encounter issues, but they are usually fixable. By checking your gas flow, ensuring clean tungsten, and using correct settings, you can solve most common problems.
Remember to keep your equipment clean and practice good welding habits. These steps will help you achieve better welds and enjoy the process more.